
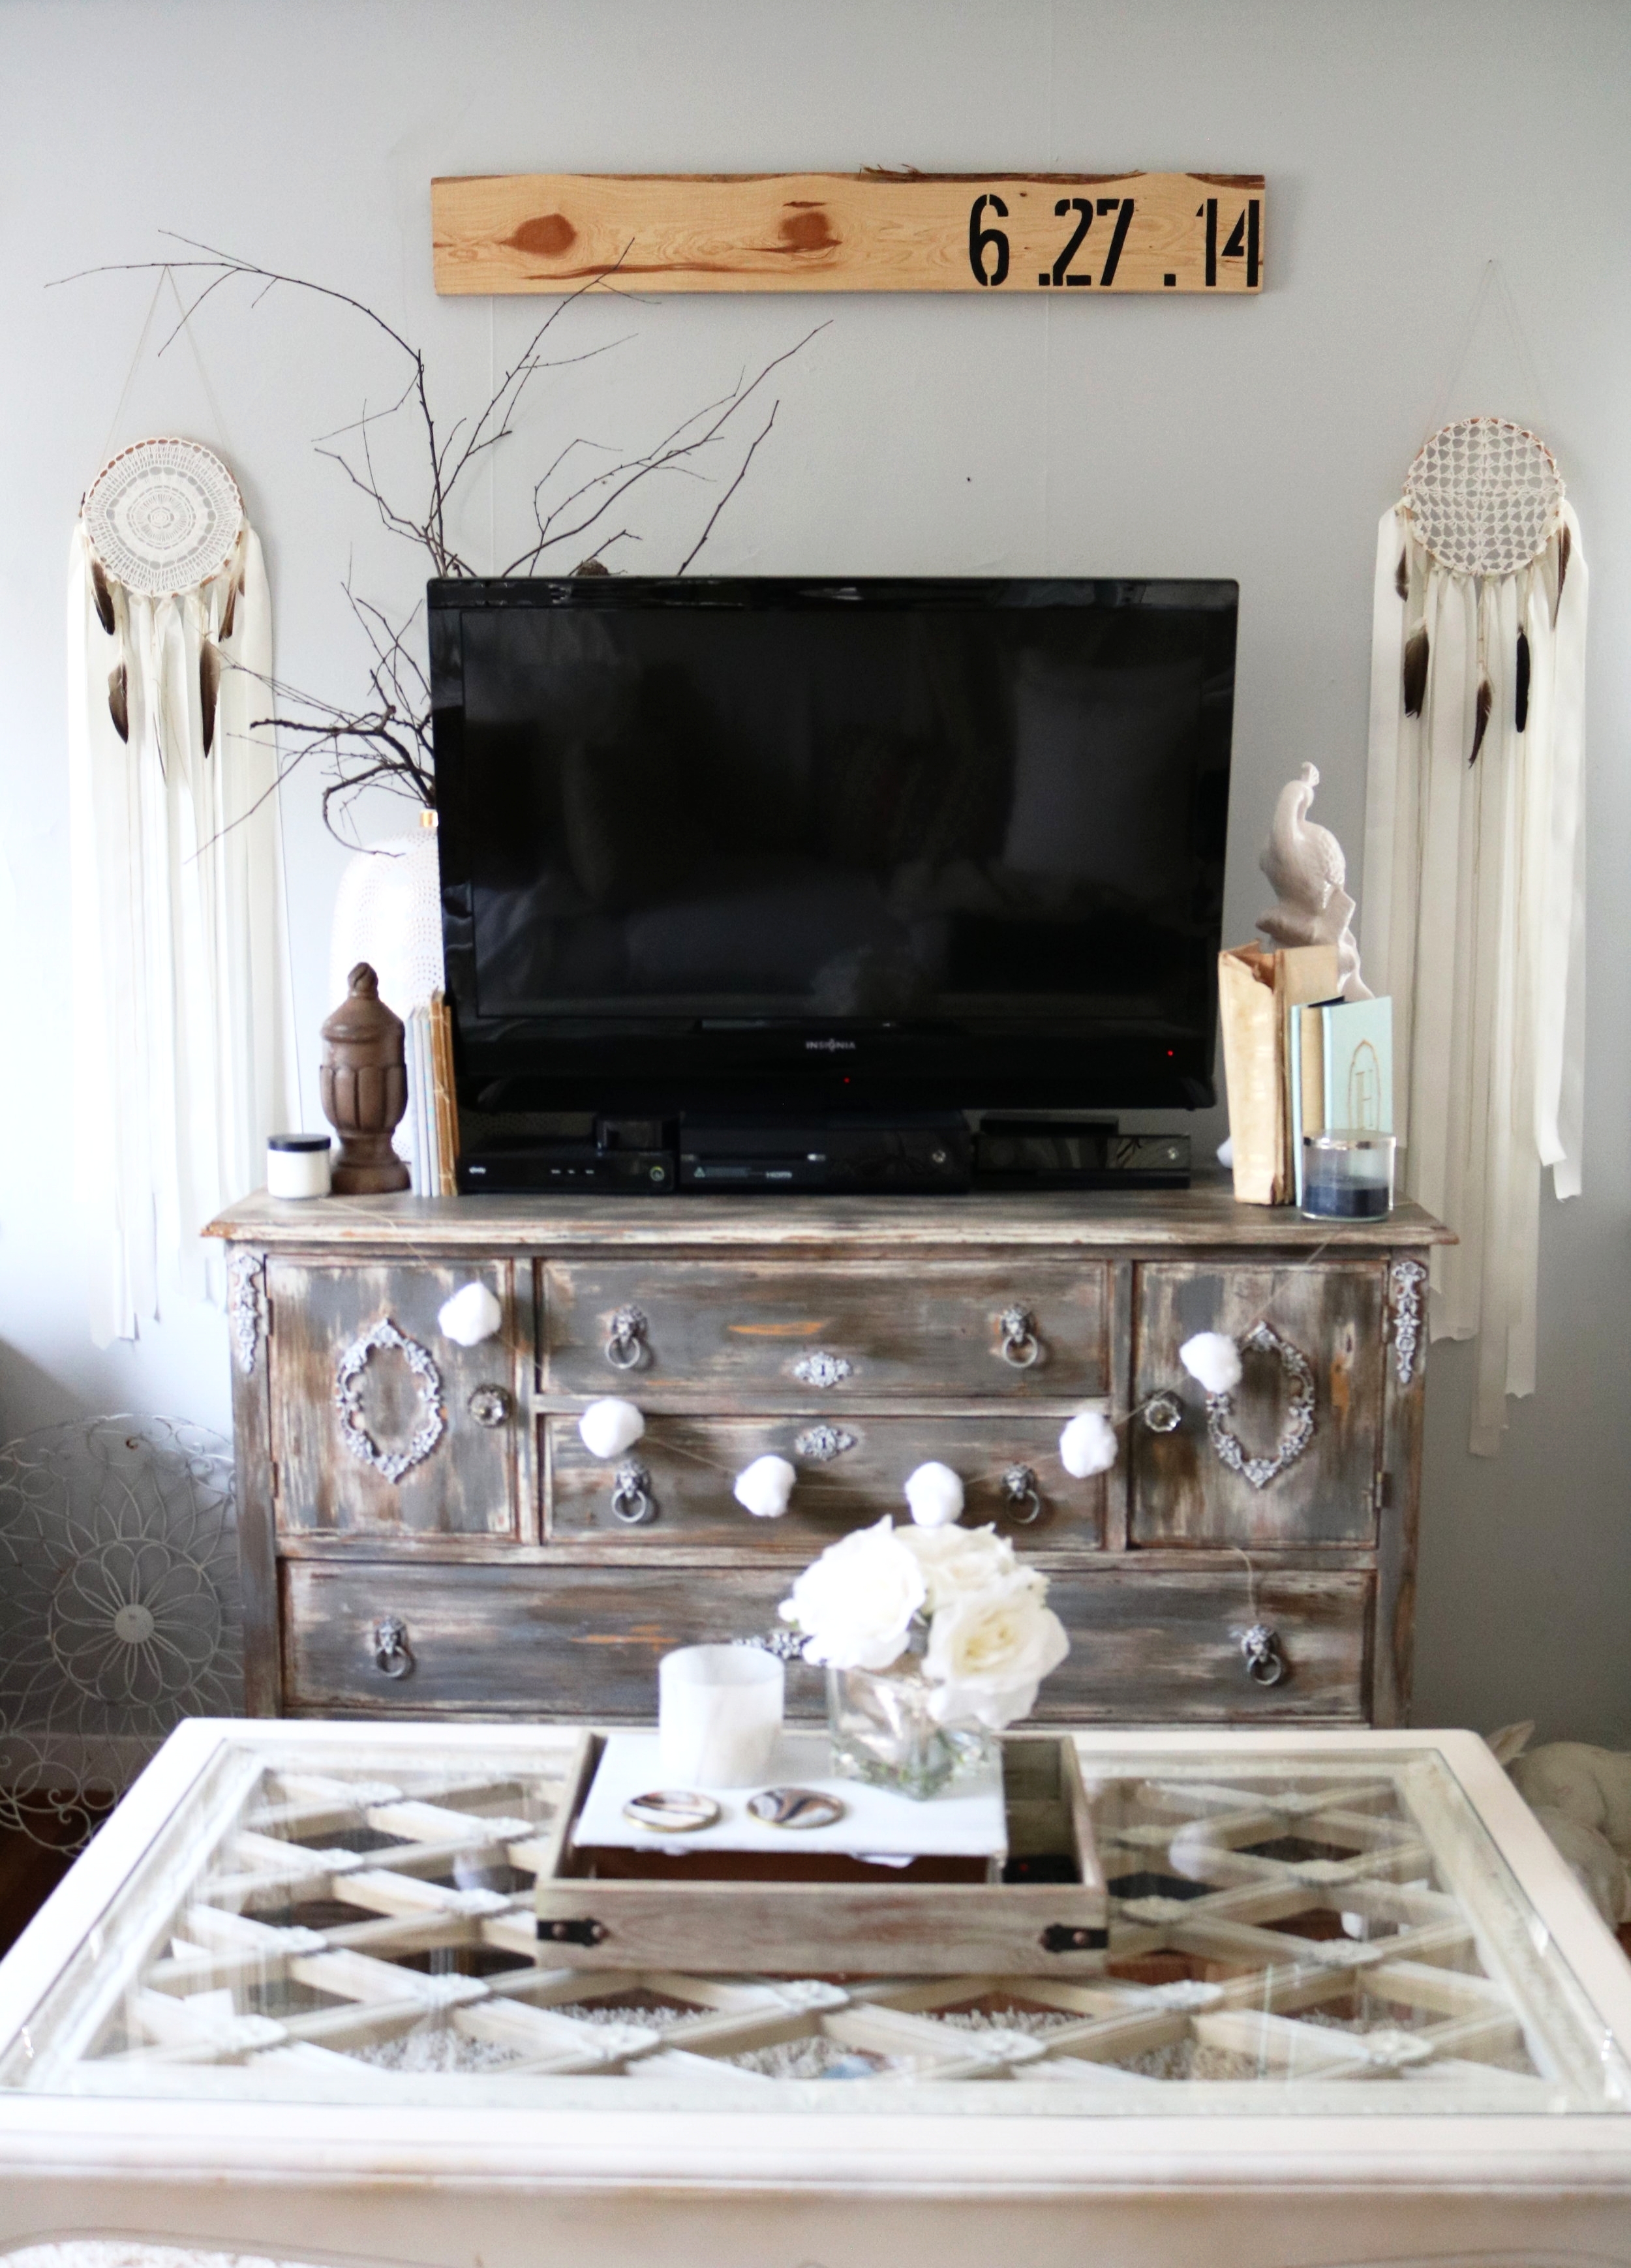
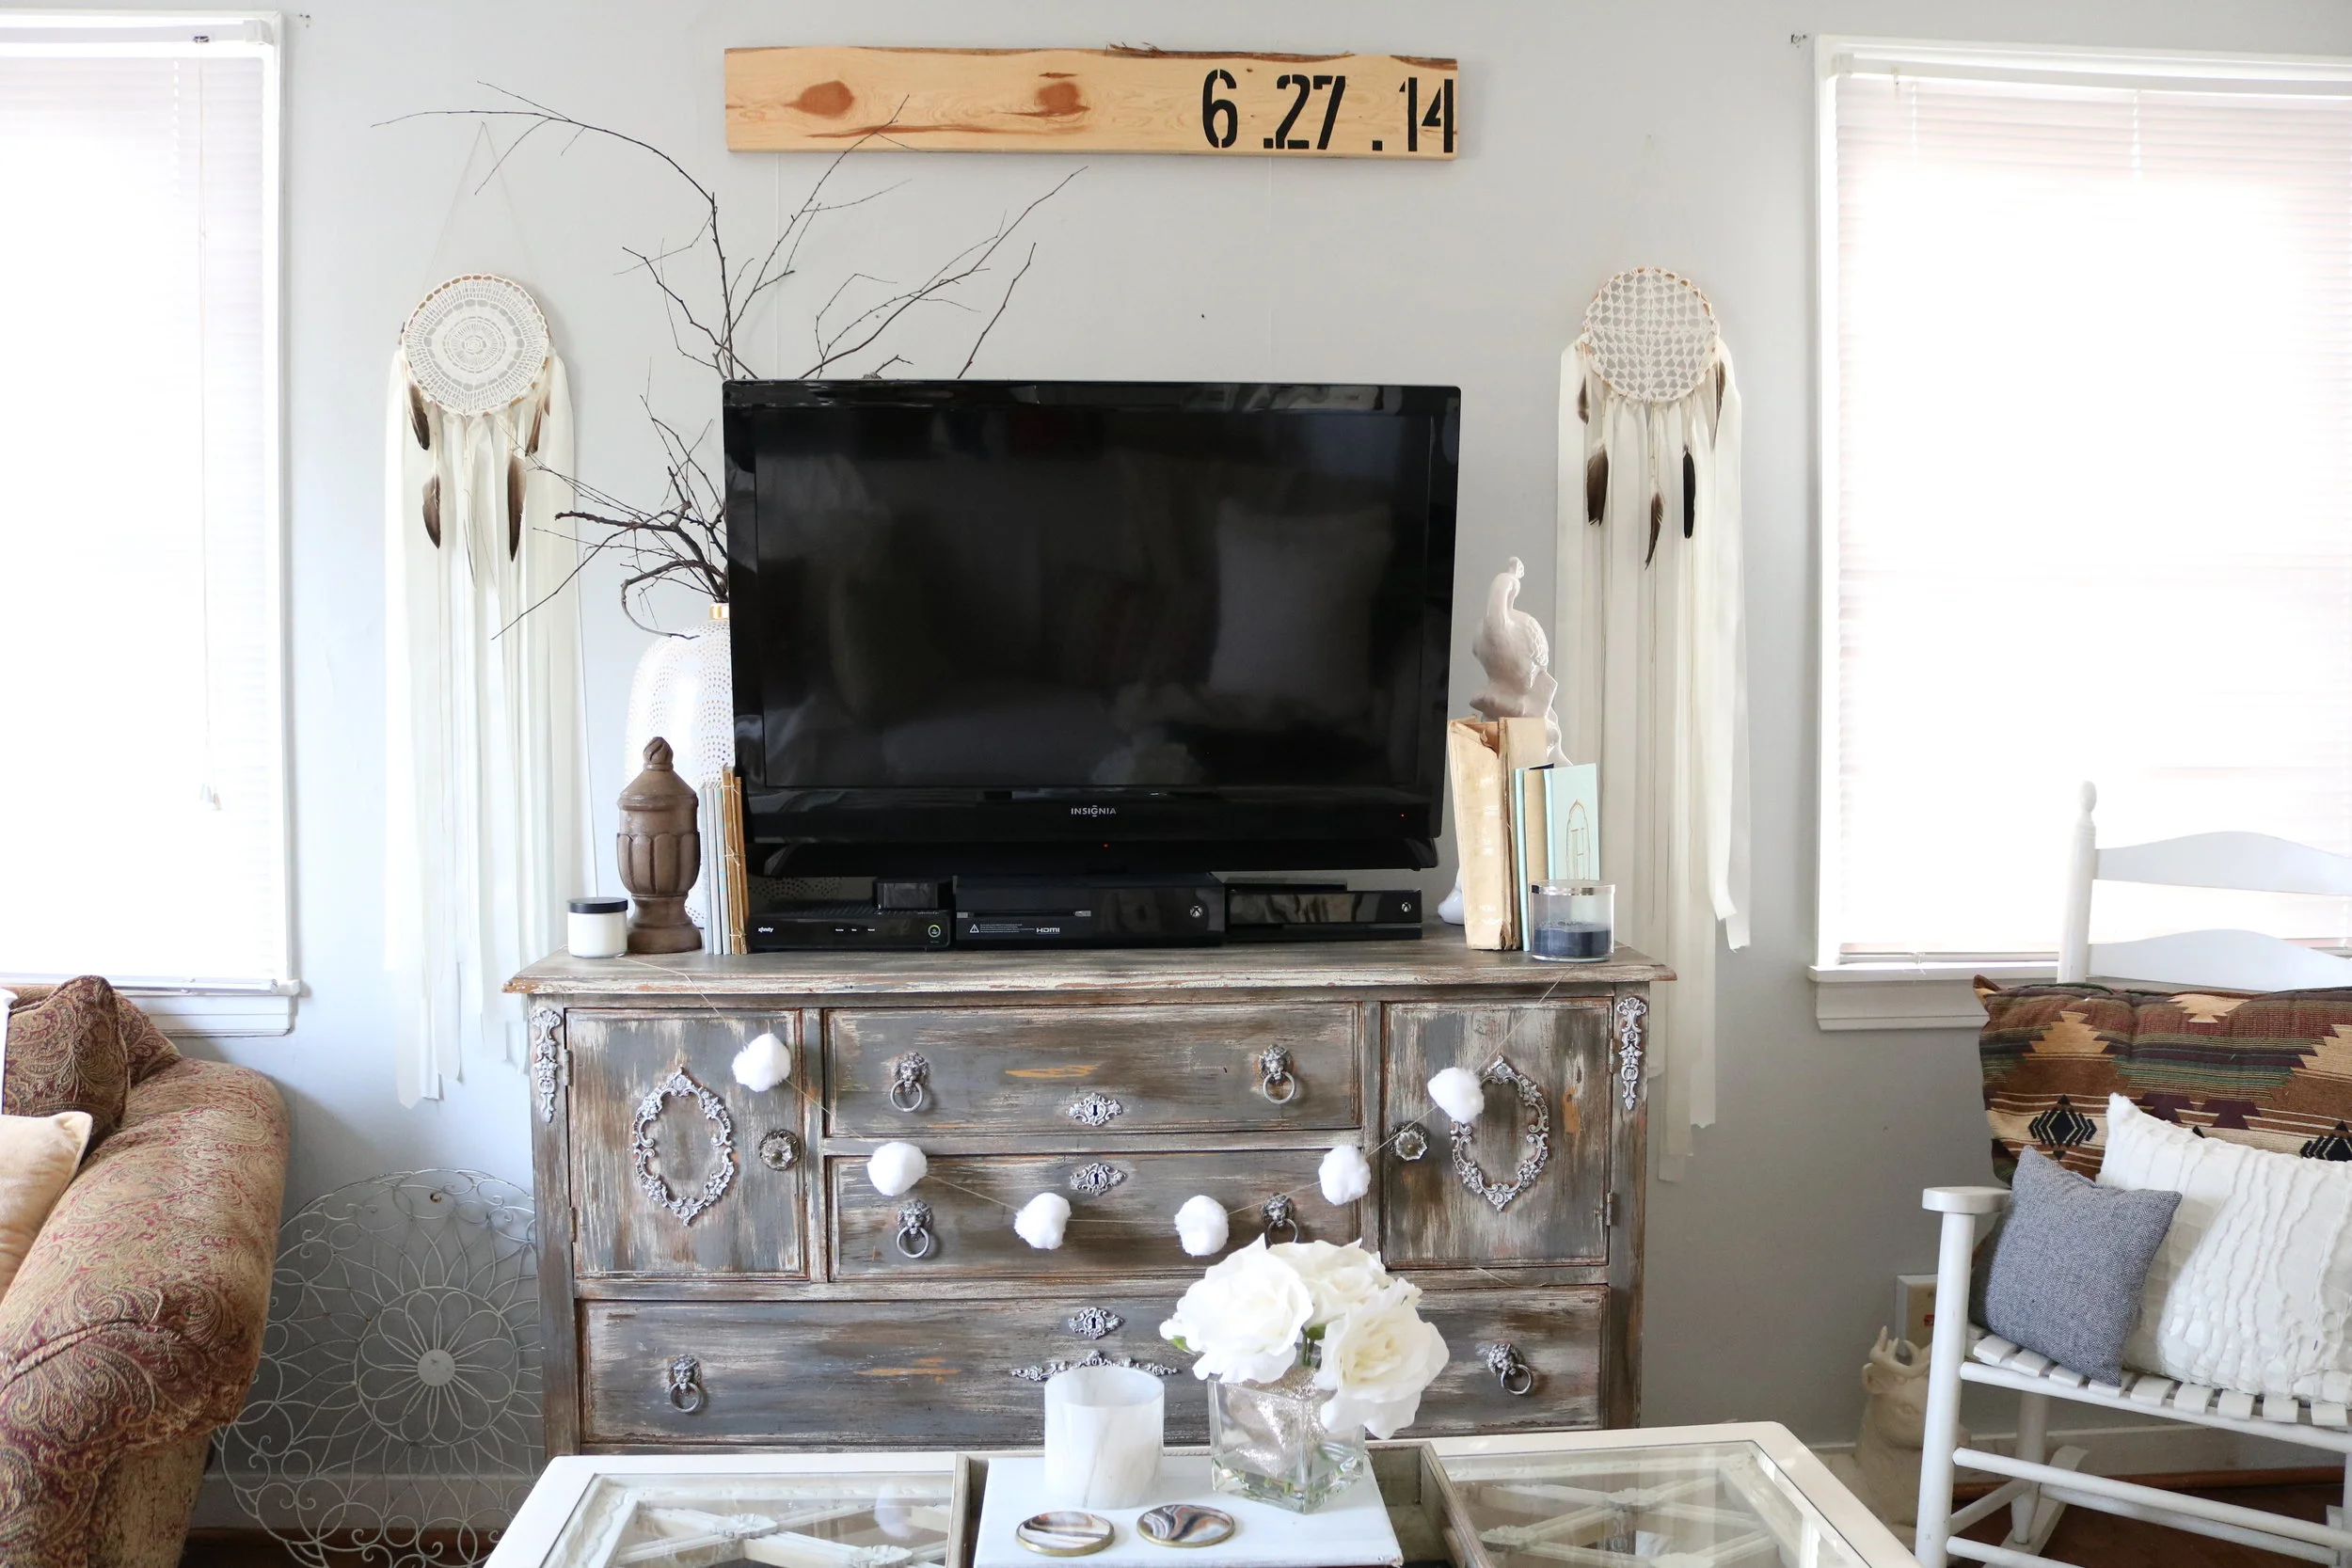
Hey loves. I have a fun weekend project for you today. I have been eye-balling a few of the prettiest dream catchers on the inter-webs lately. I have just been drooling over them. I decided that it was just what I needed to frame my t.v. So I started looking them up. I thought I would just find two off of Etsy and be done with it. You know I love to support other artisans. Well, I couldn't believe what I found. The price for them is outrageous and I just couldn't/can't justify the cost.
I'm not for sure if you know this about me, but I have a very "frugal" aspect about me. I also have an "I can do anything" view of myself as well. I find this to be both a virtue and a flaw. When you combine those two it can either turn out really good or really bad. When I see handmade things, my mind automatically starts taking them apart to see how I could make it myself; because "I can totally do that." Most of the time it is because of cost, but also because I genuinely love to make things.
Now, I don't mean to discredit someone else's craft, but in order for me to get something even remotely close to what I made, it would have cost me around one hundred and fifty dollars. To me that is insane. Especially since they are incredibly easy to make. I have financial priorities, and spending that much on dream-catchers that probably will not stay there long anyways just is not something I can do. So, I thought I would share this with you because it really is so fun and so easy to do.
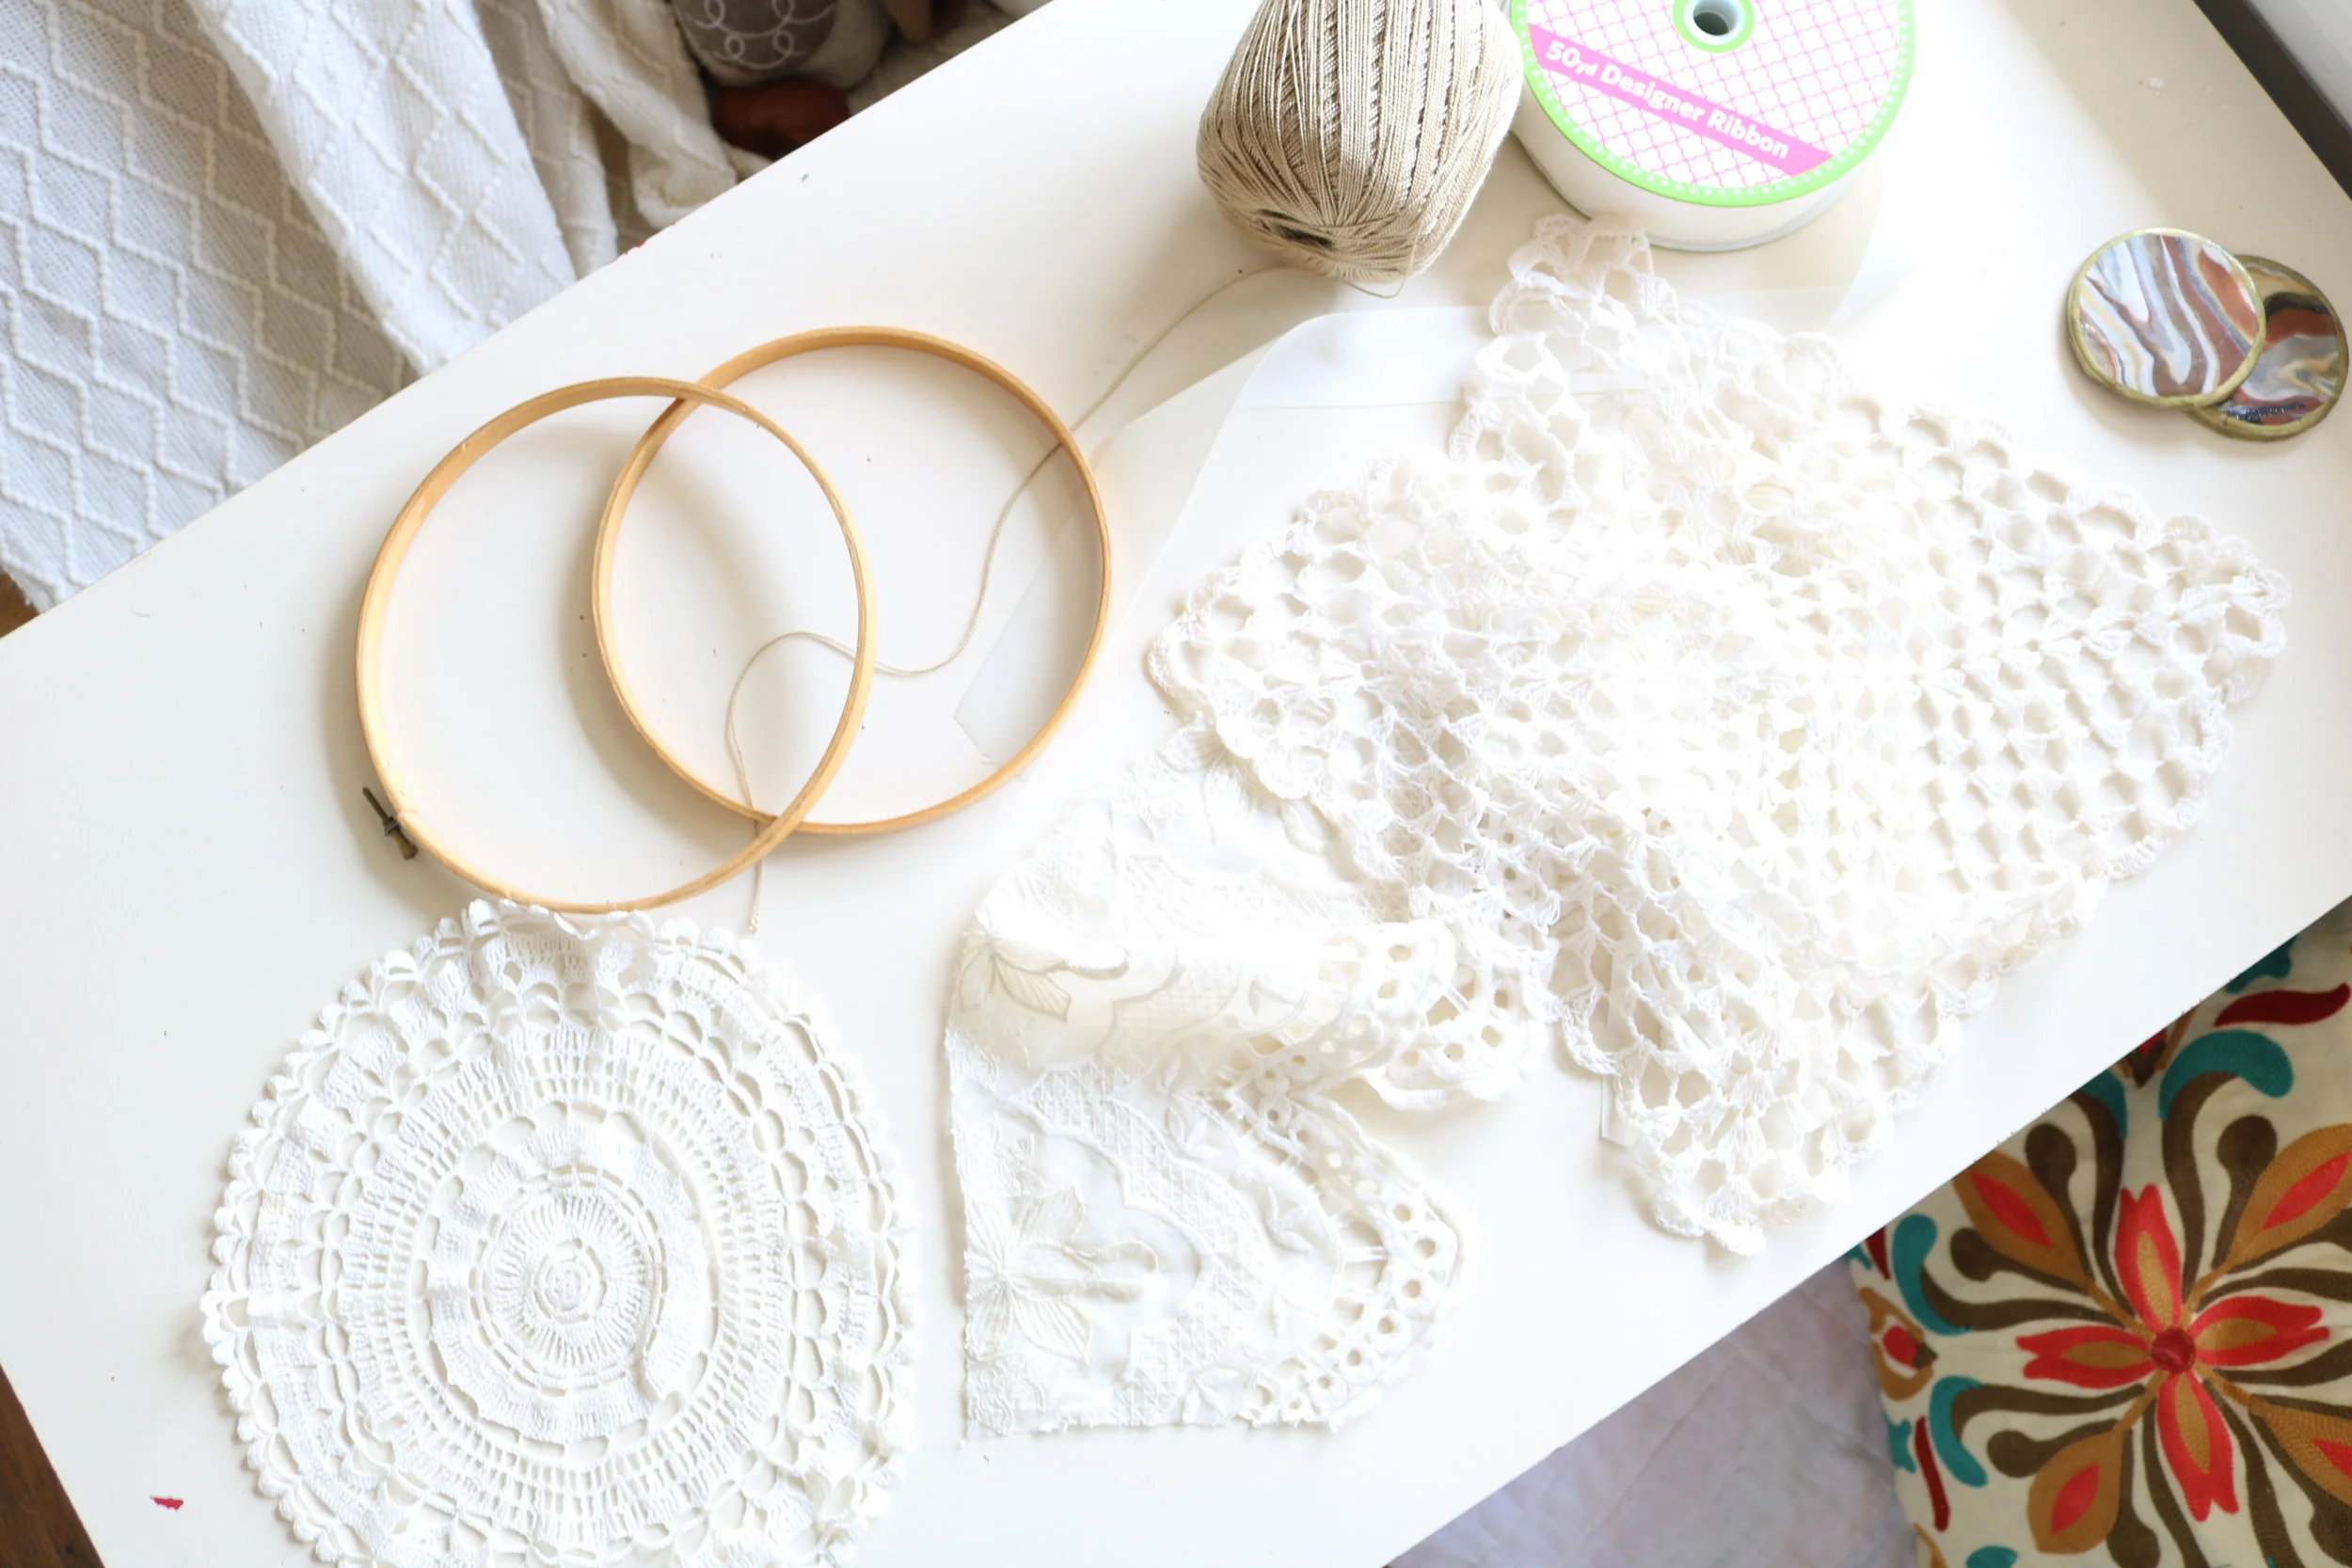
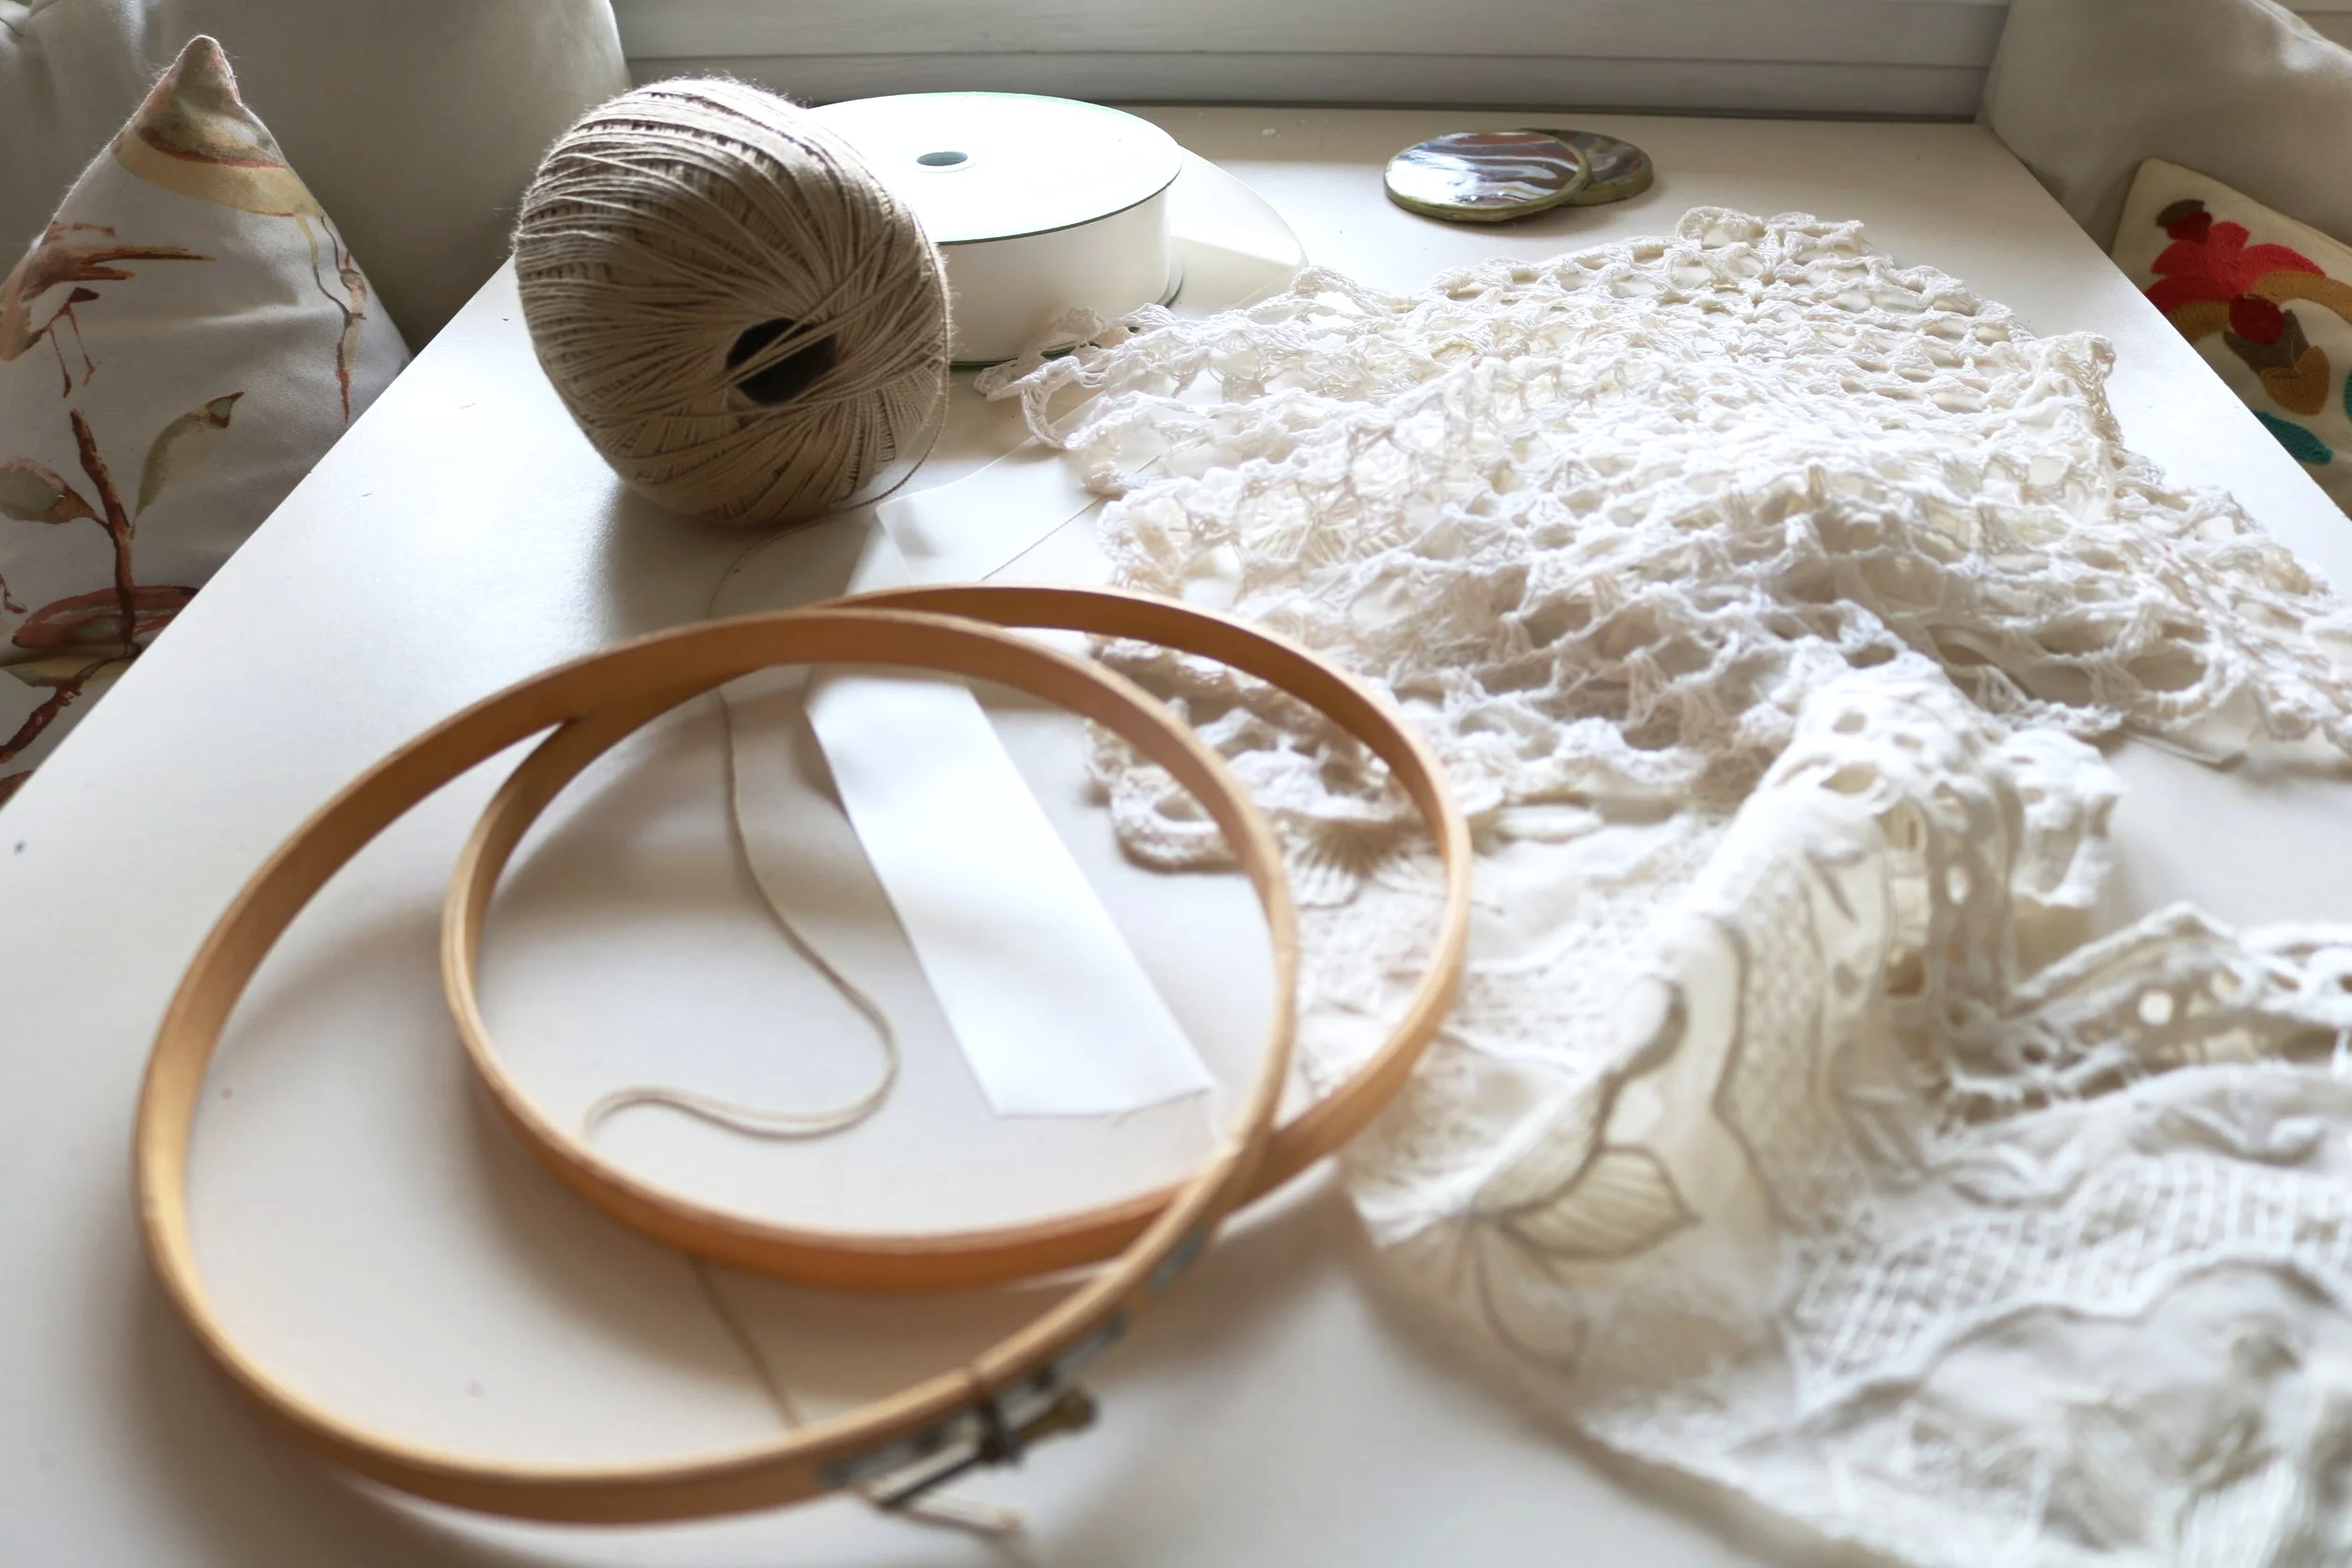
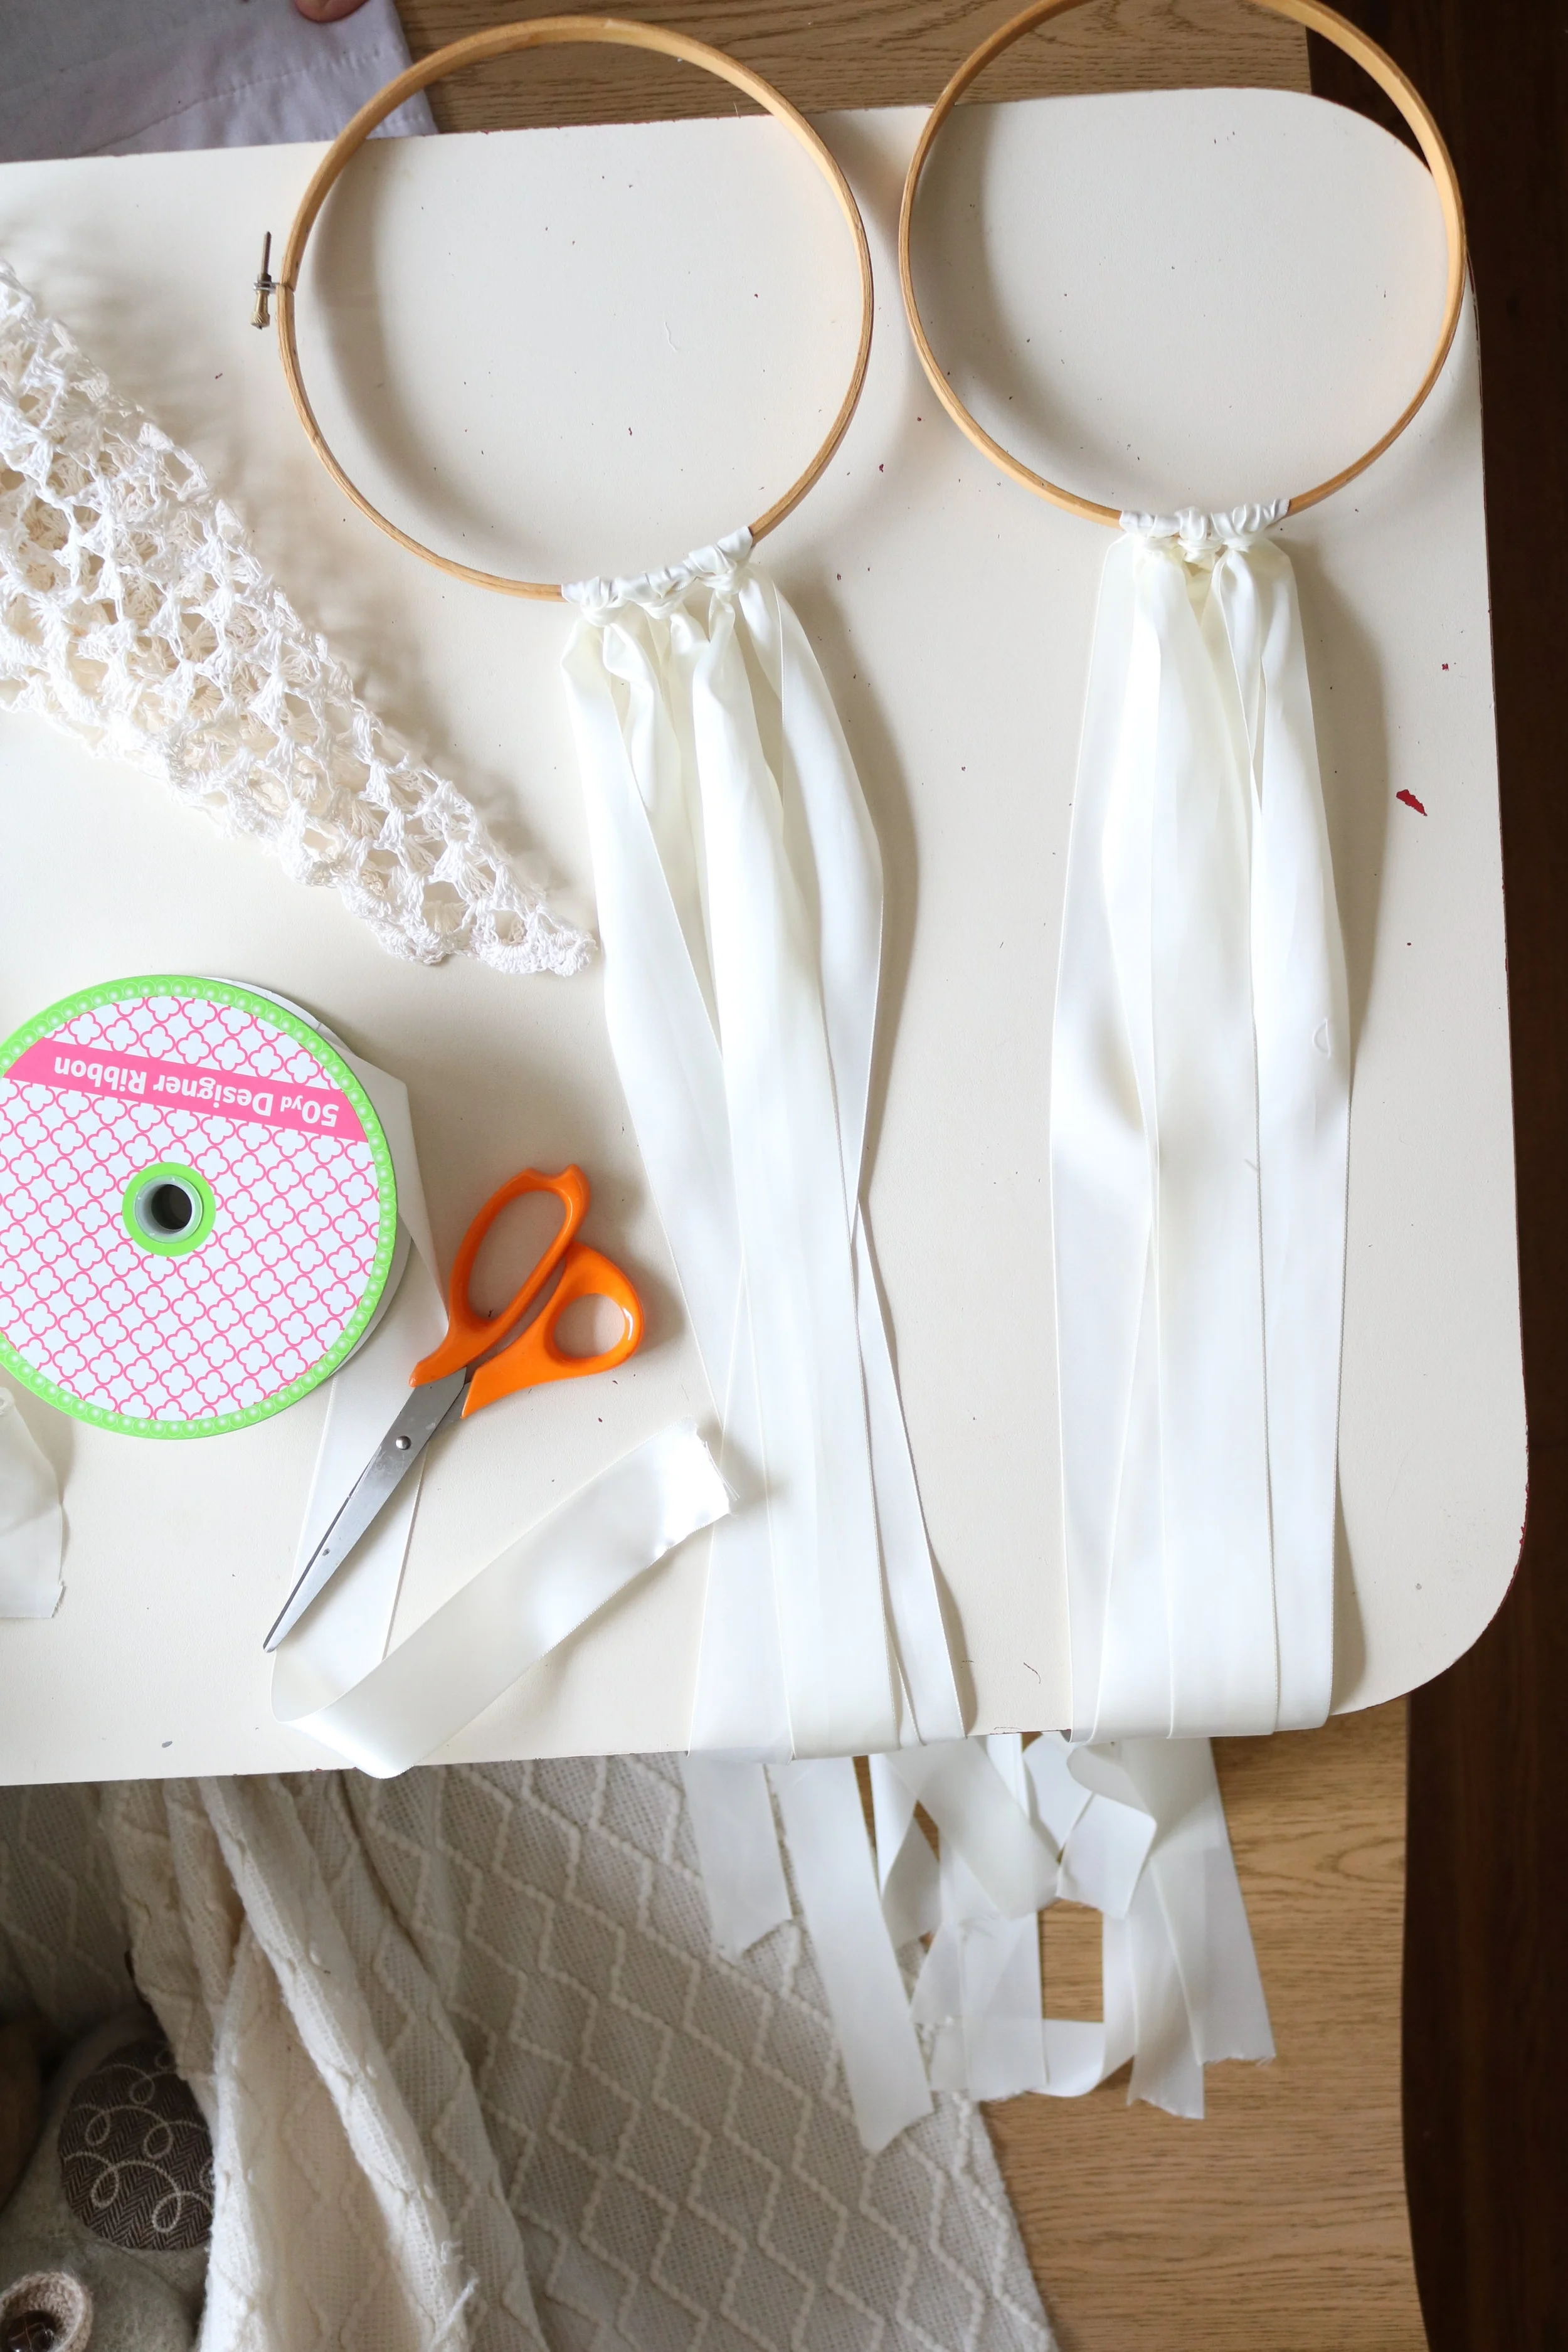
What you will need:
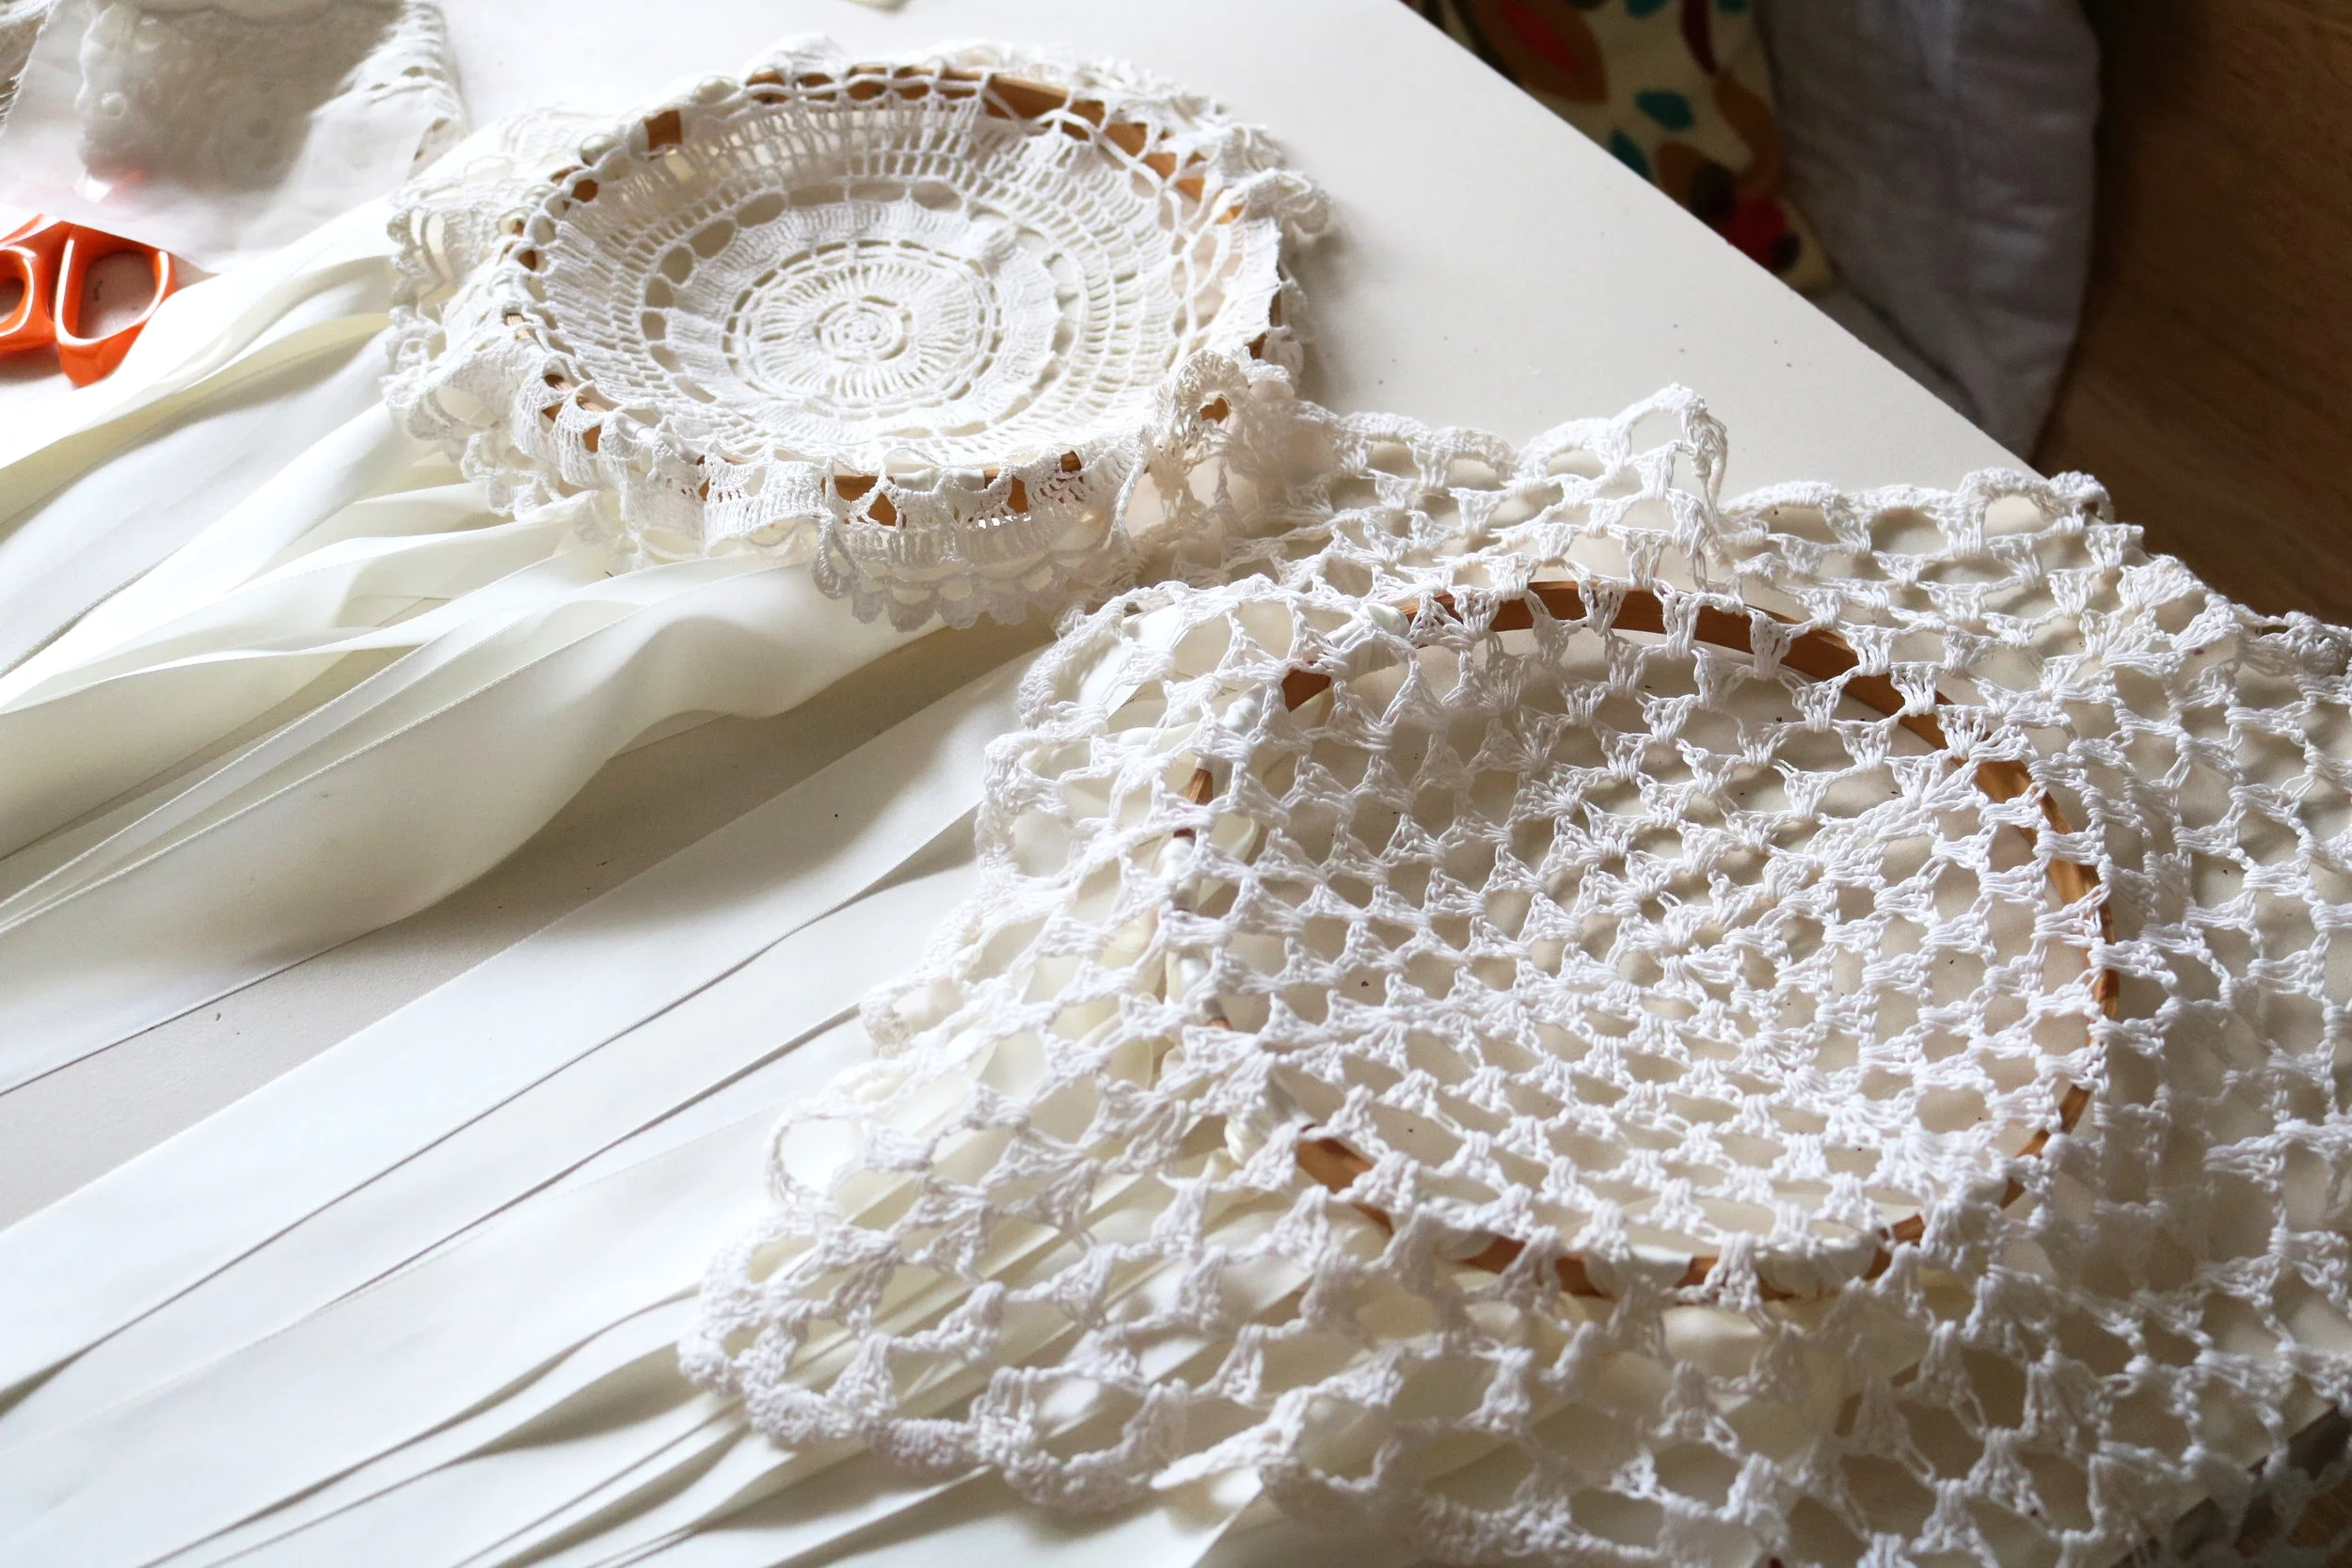
If you already have these items like I did, that is great. If you don't, you can easily get the supplies for under ten dollars. You will need: 1 Embroidery Hoop. I used 8" rings. Keep in mind that you only need to buy one because it is made of two rings. One spool of ribbon of your choice. I used a satin ribbon. I usually find the mega rolls at Sam's Club for the best price for the amount of yards. Twine, to make a loop for hanging. You could also use some of the ribbon if you don't want to buy the twine. You will need two doilies (Grandmas are a good place to find these. Ha. I get all of mine thrifting.) The two I used don't even match. Feathers are optional. You will also need scissors and a hot glue gun.
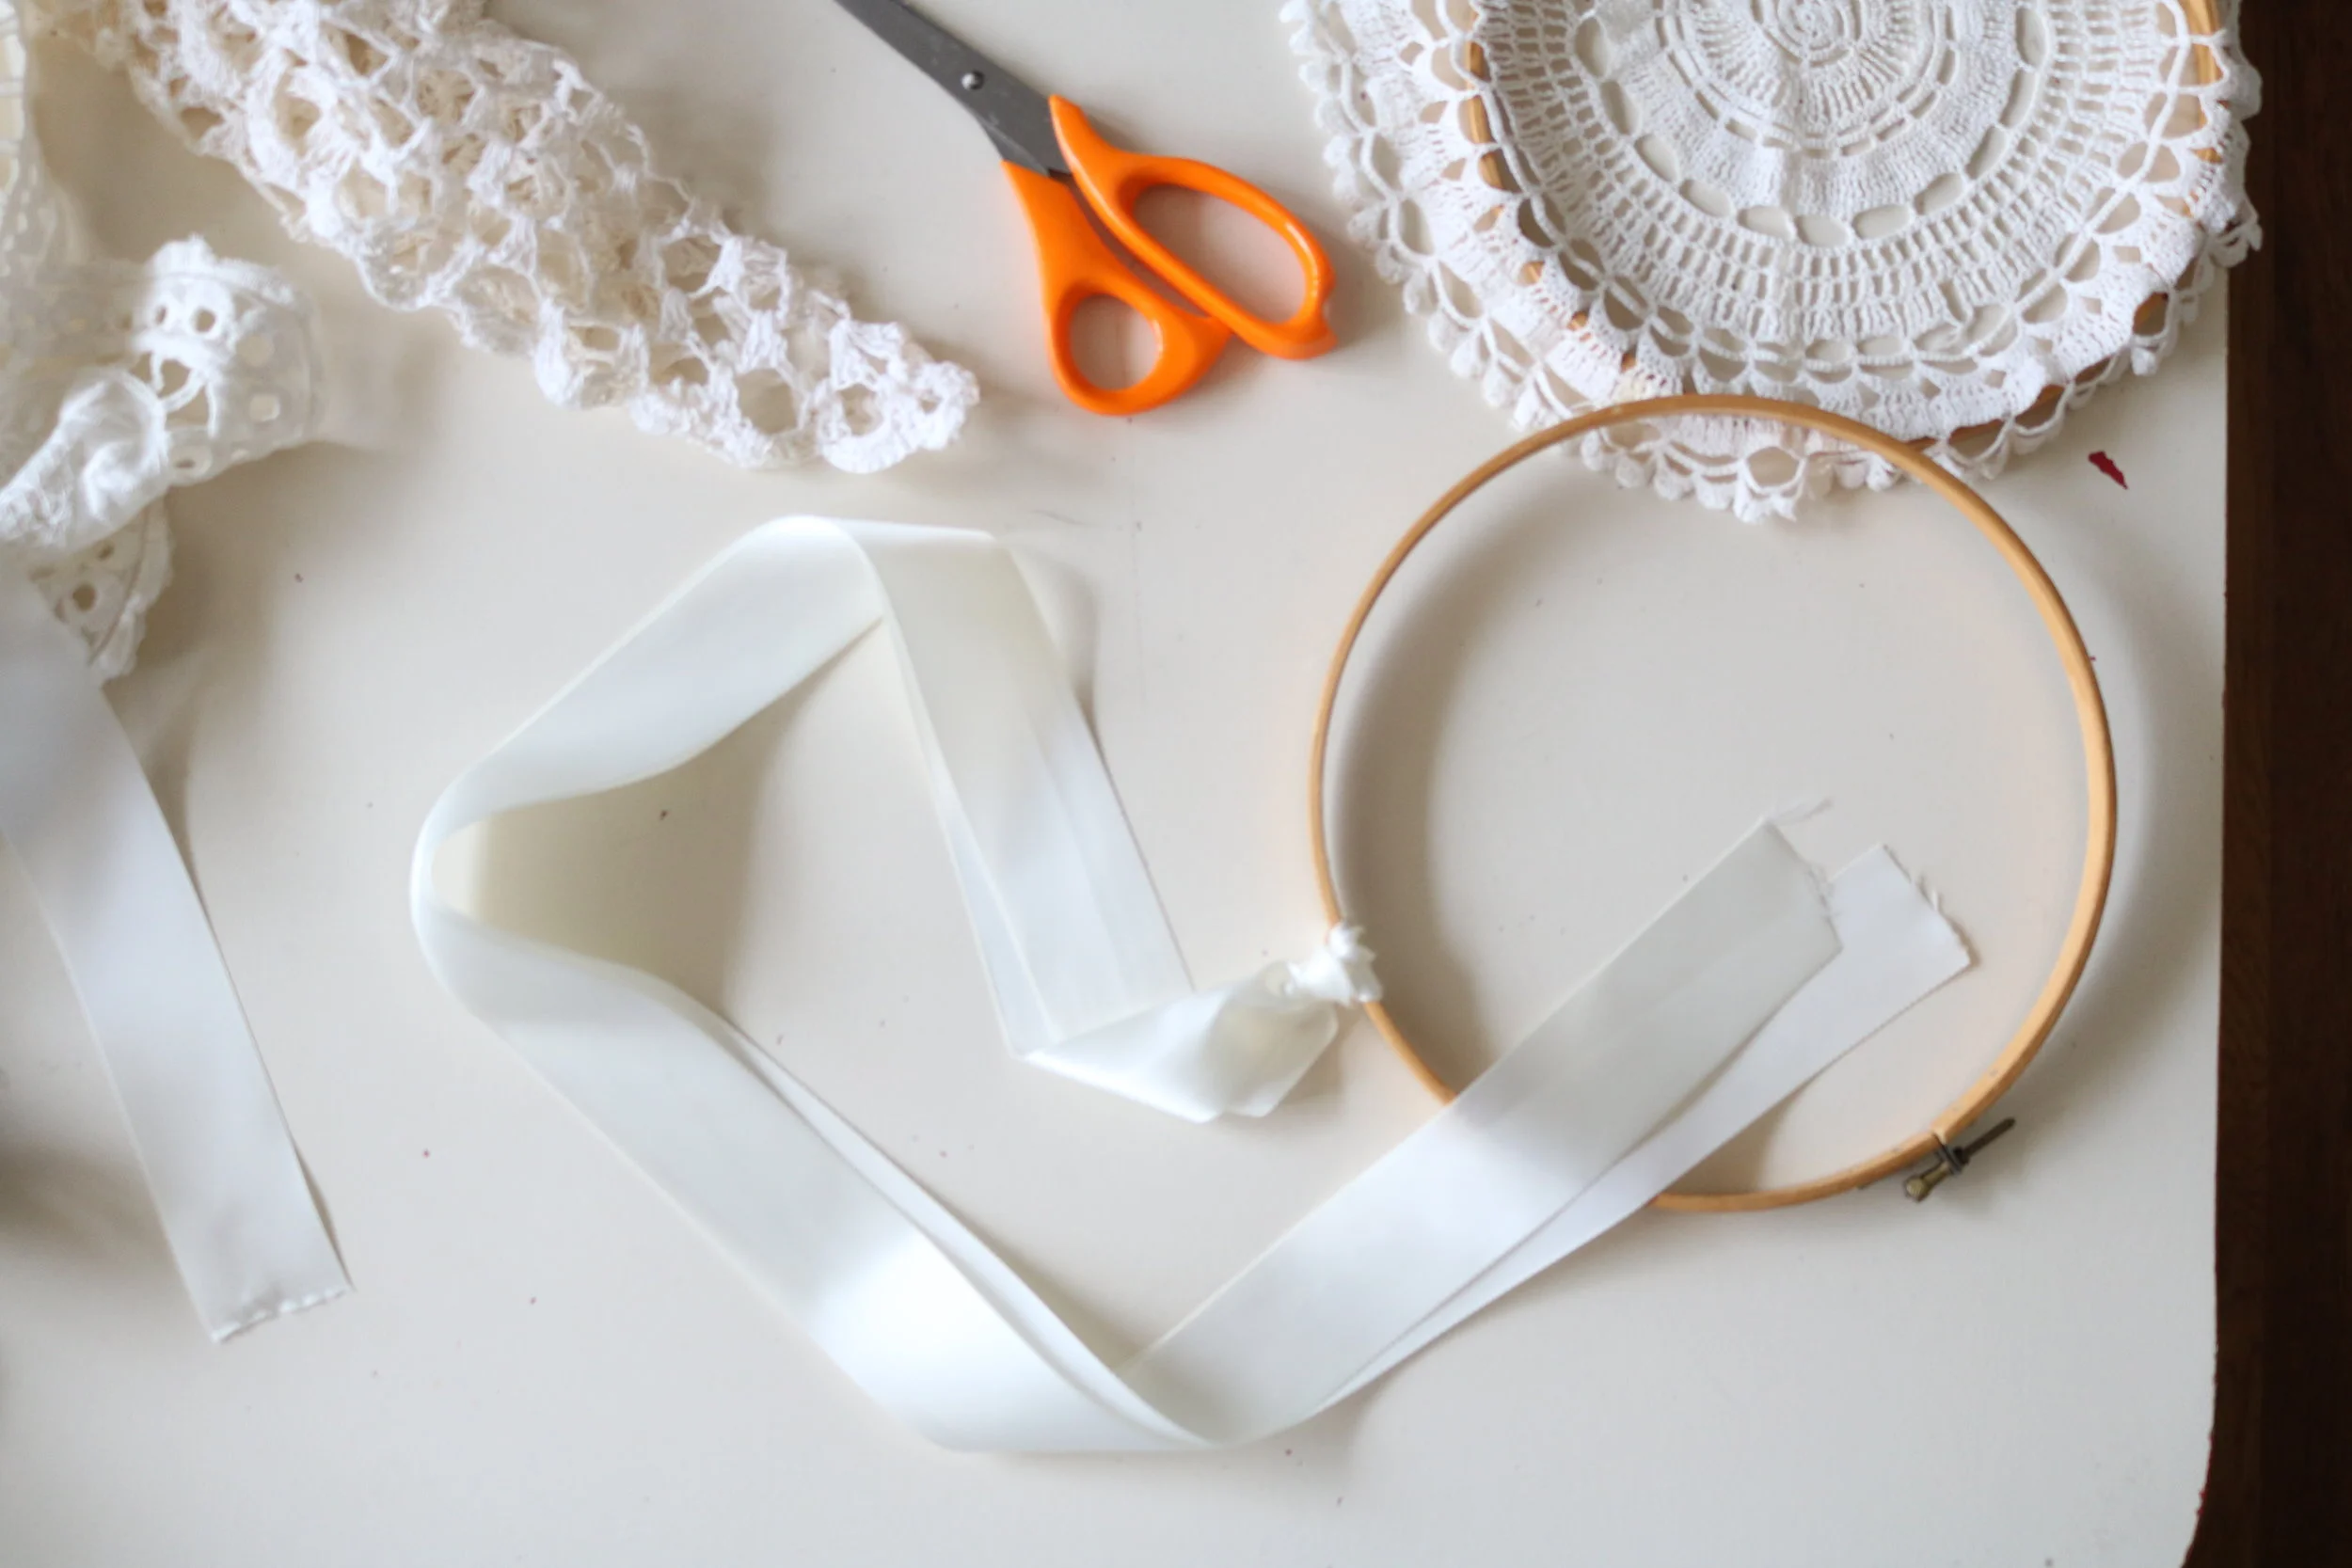
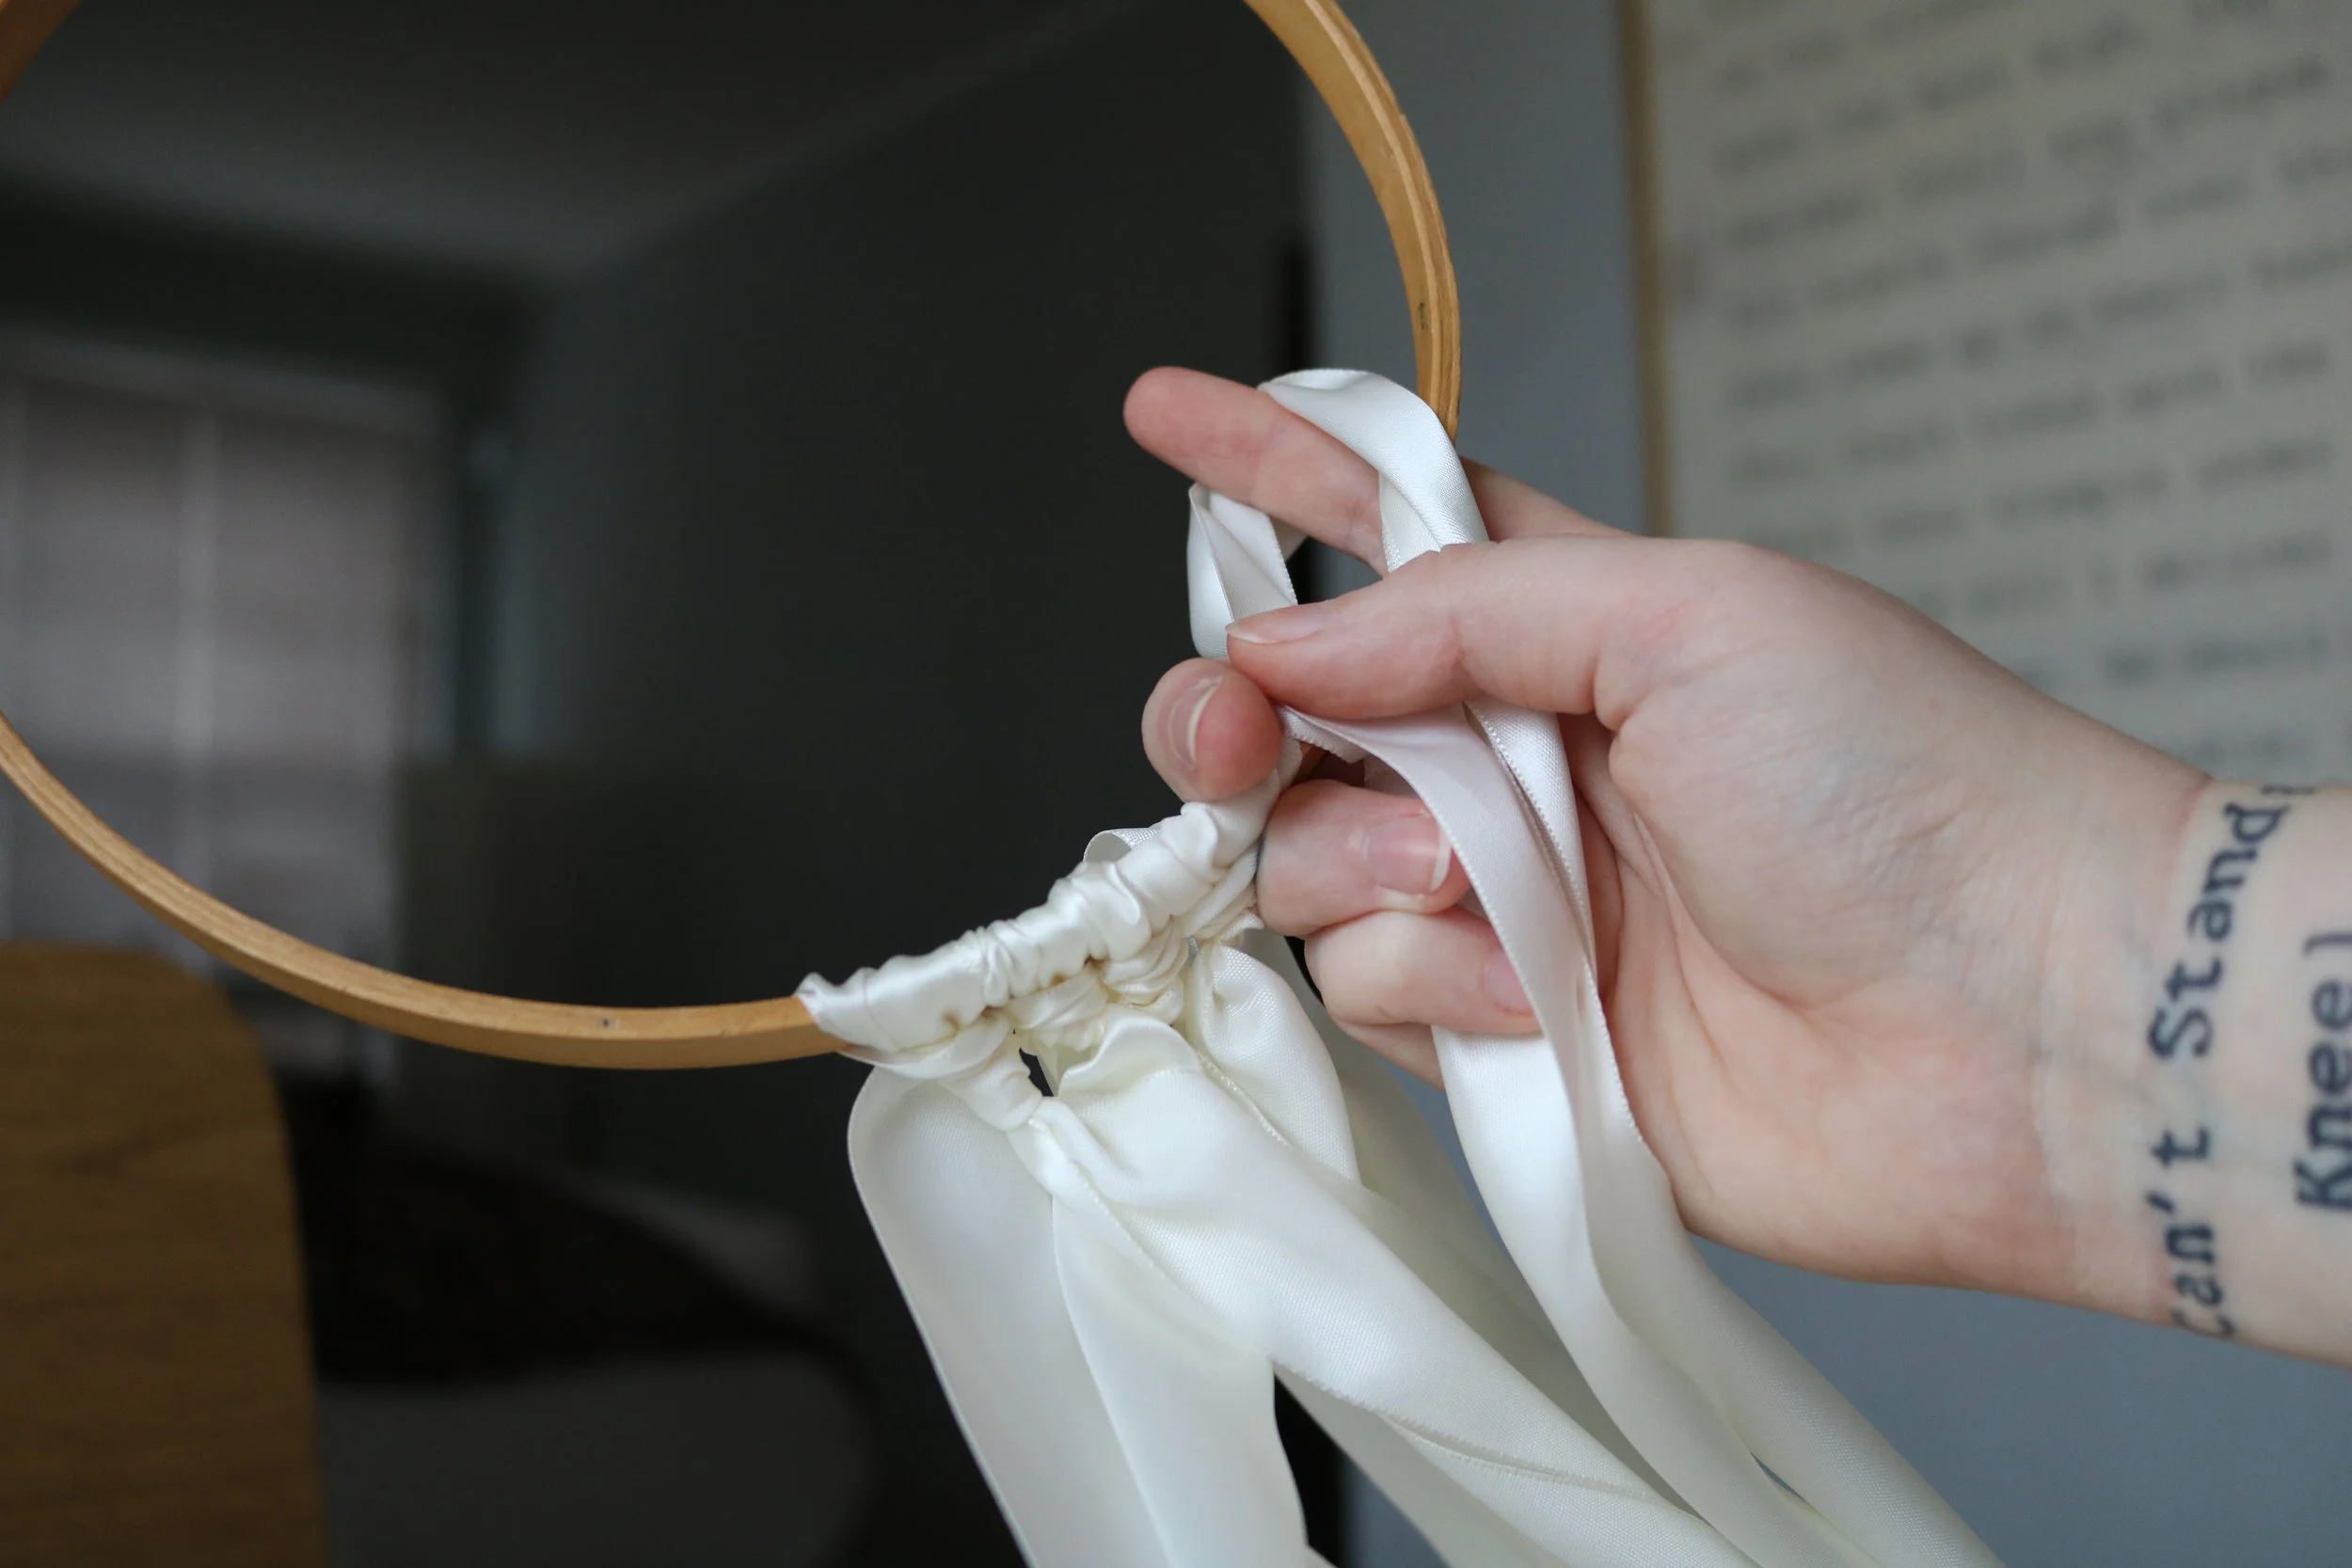
Step ONe: The Ribbon Tassels
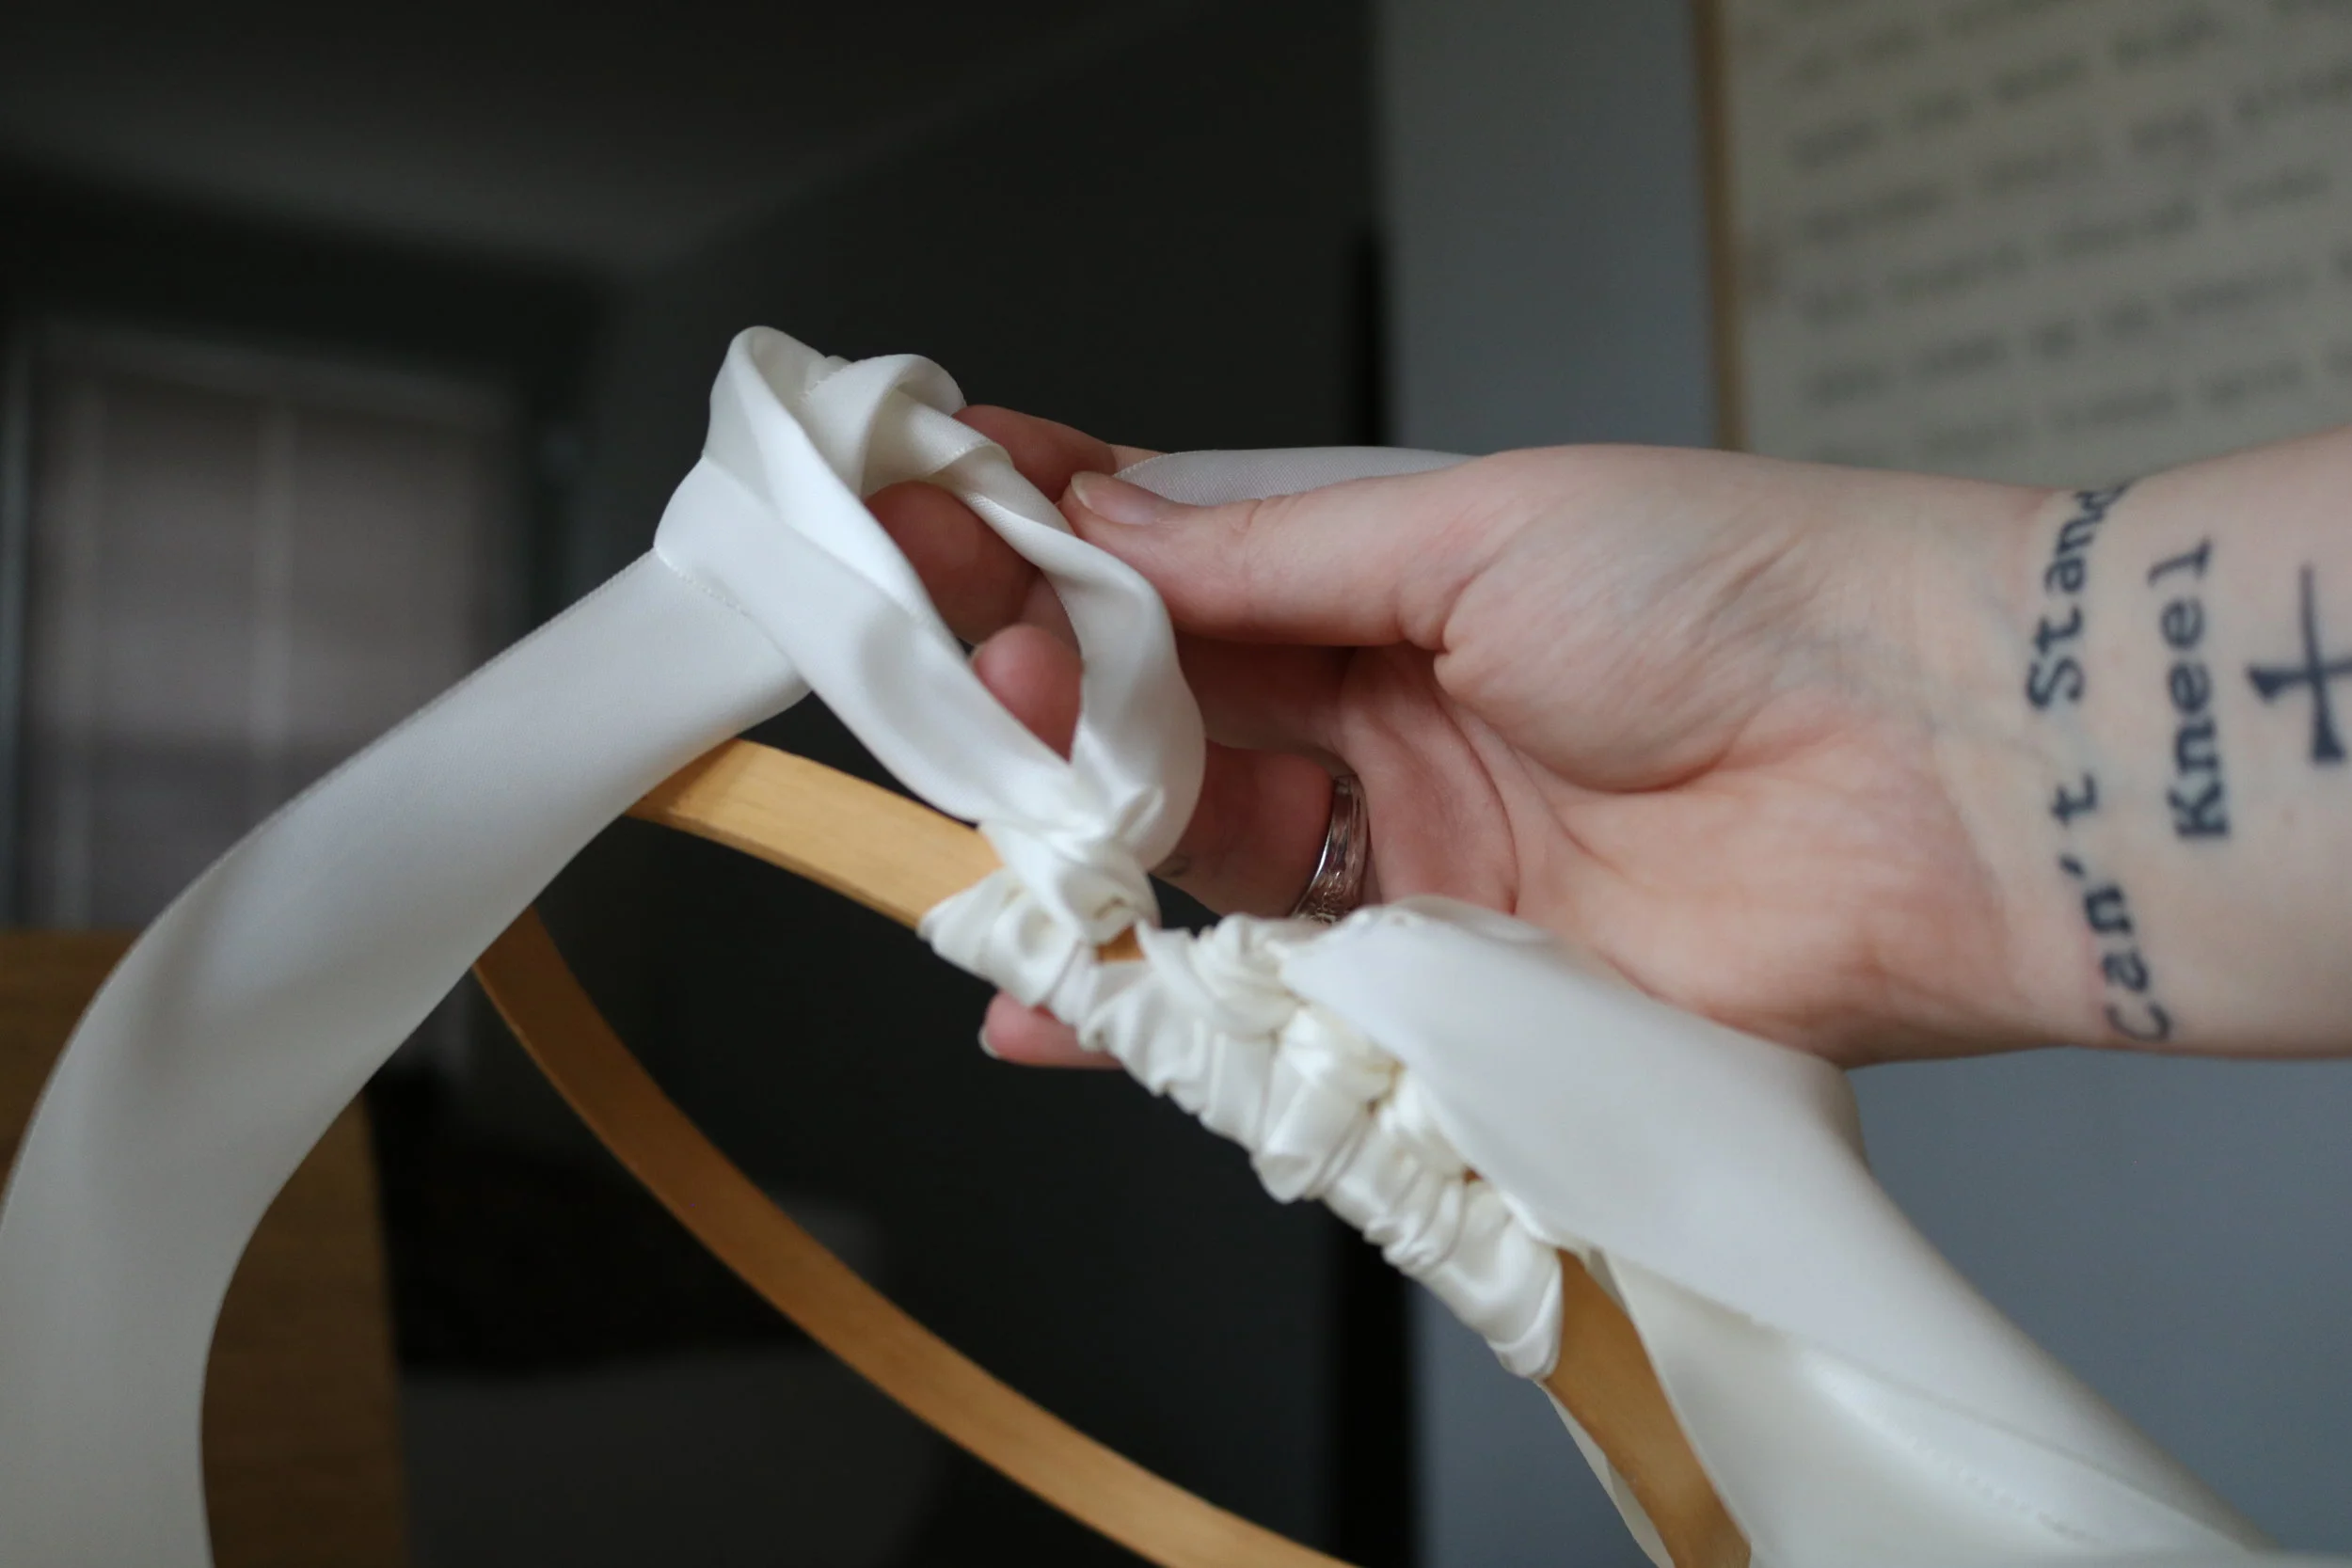
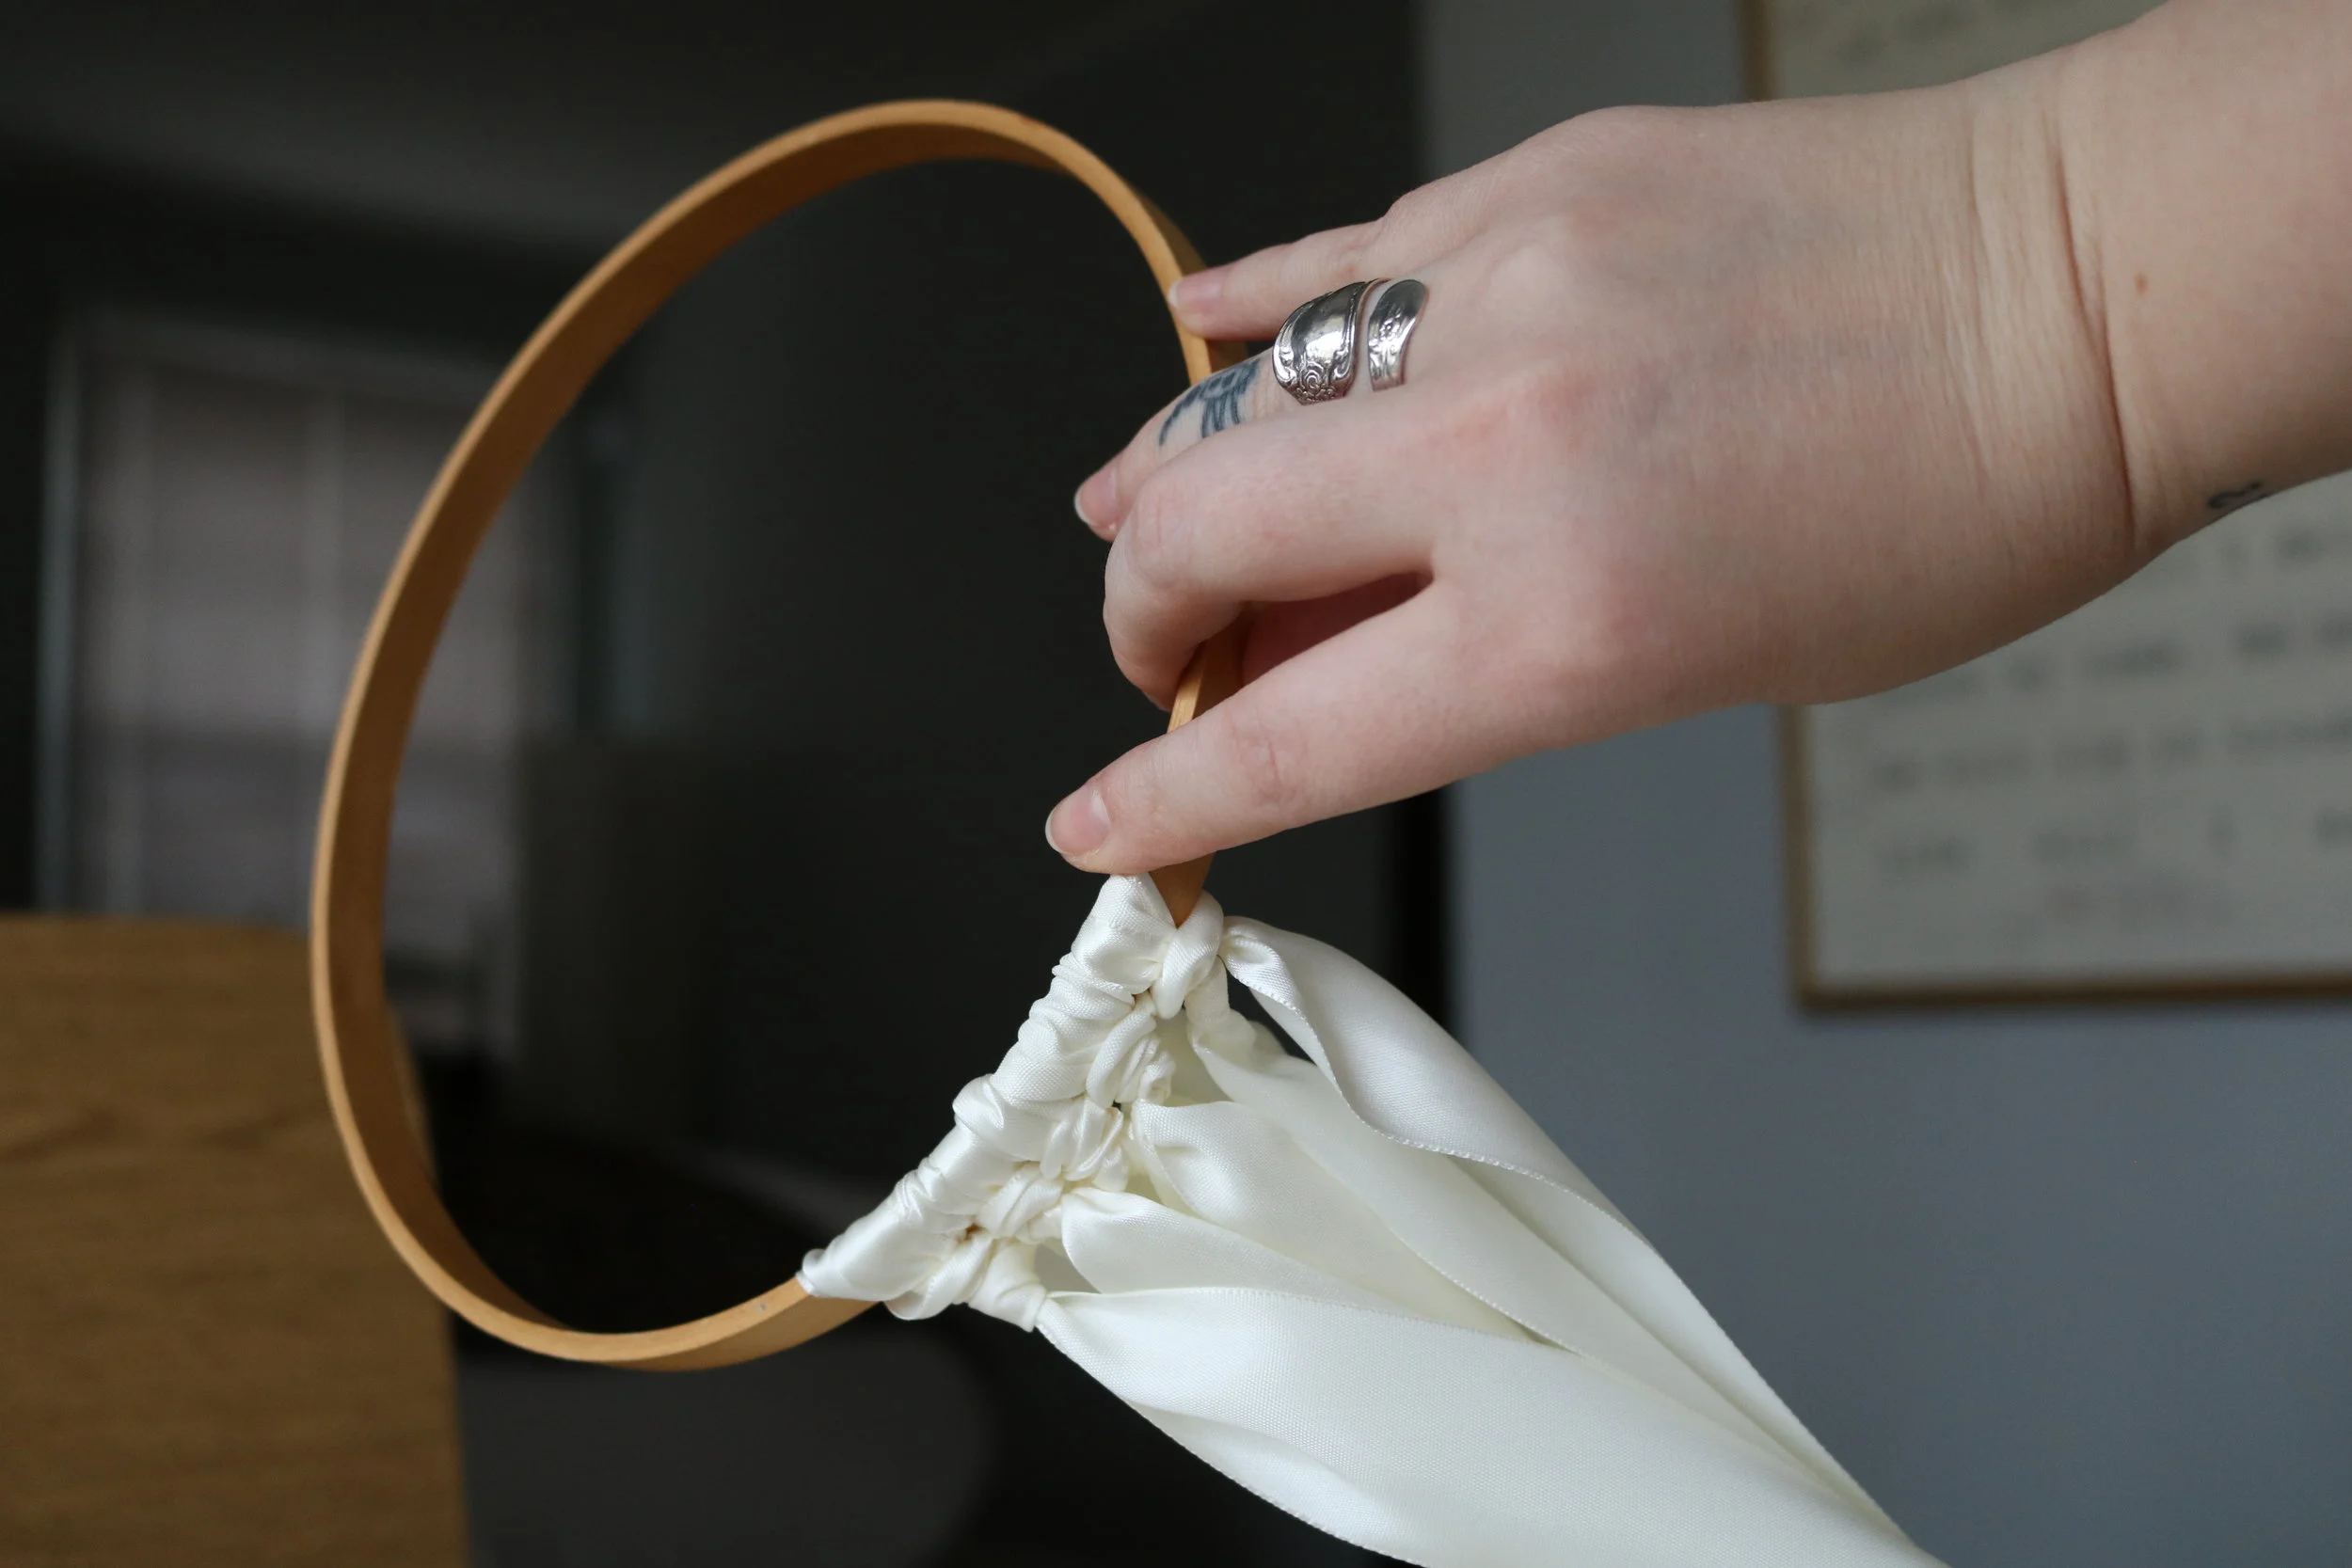
Separate your two embroidery rings. One will have a clamp and one will not. Cut the ribbon into very long strips. They do not all have to be the exact same length, and I actually suggest that you make a few different lengths. Now this part you may be impressed with. I researched the actual name of the knot that you will be using to attach the ribbon to the hoop. It is, if I came to the right conclusion, called a Lark's Head knot. Once you have made several tassels, tie an addition knot below the first to help secure each ribbon. This will also help the ribbons to fall in different directions, rather than the ribbons falling together flat. It will give the overall look of fullness.
Here, I have demonstrated the Larks Head knot:
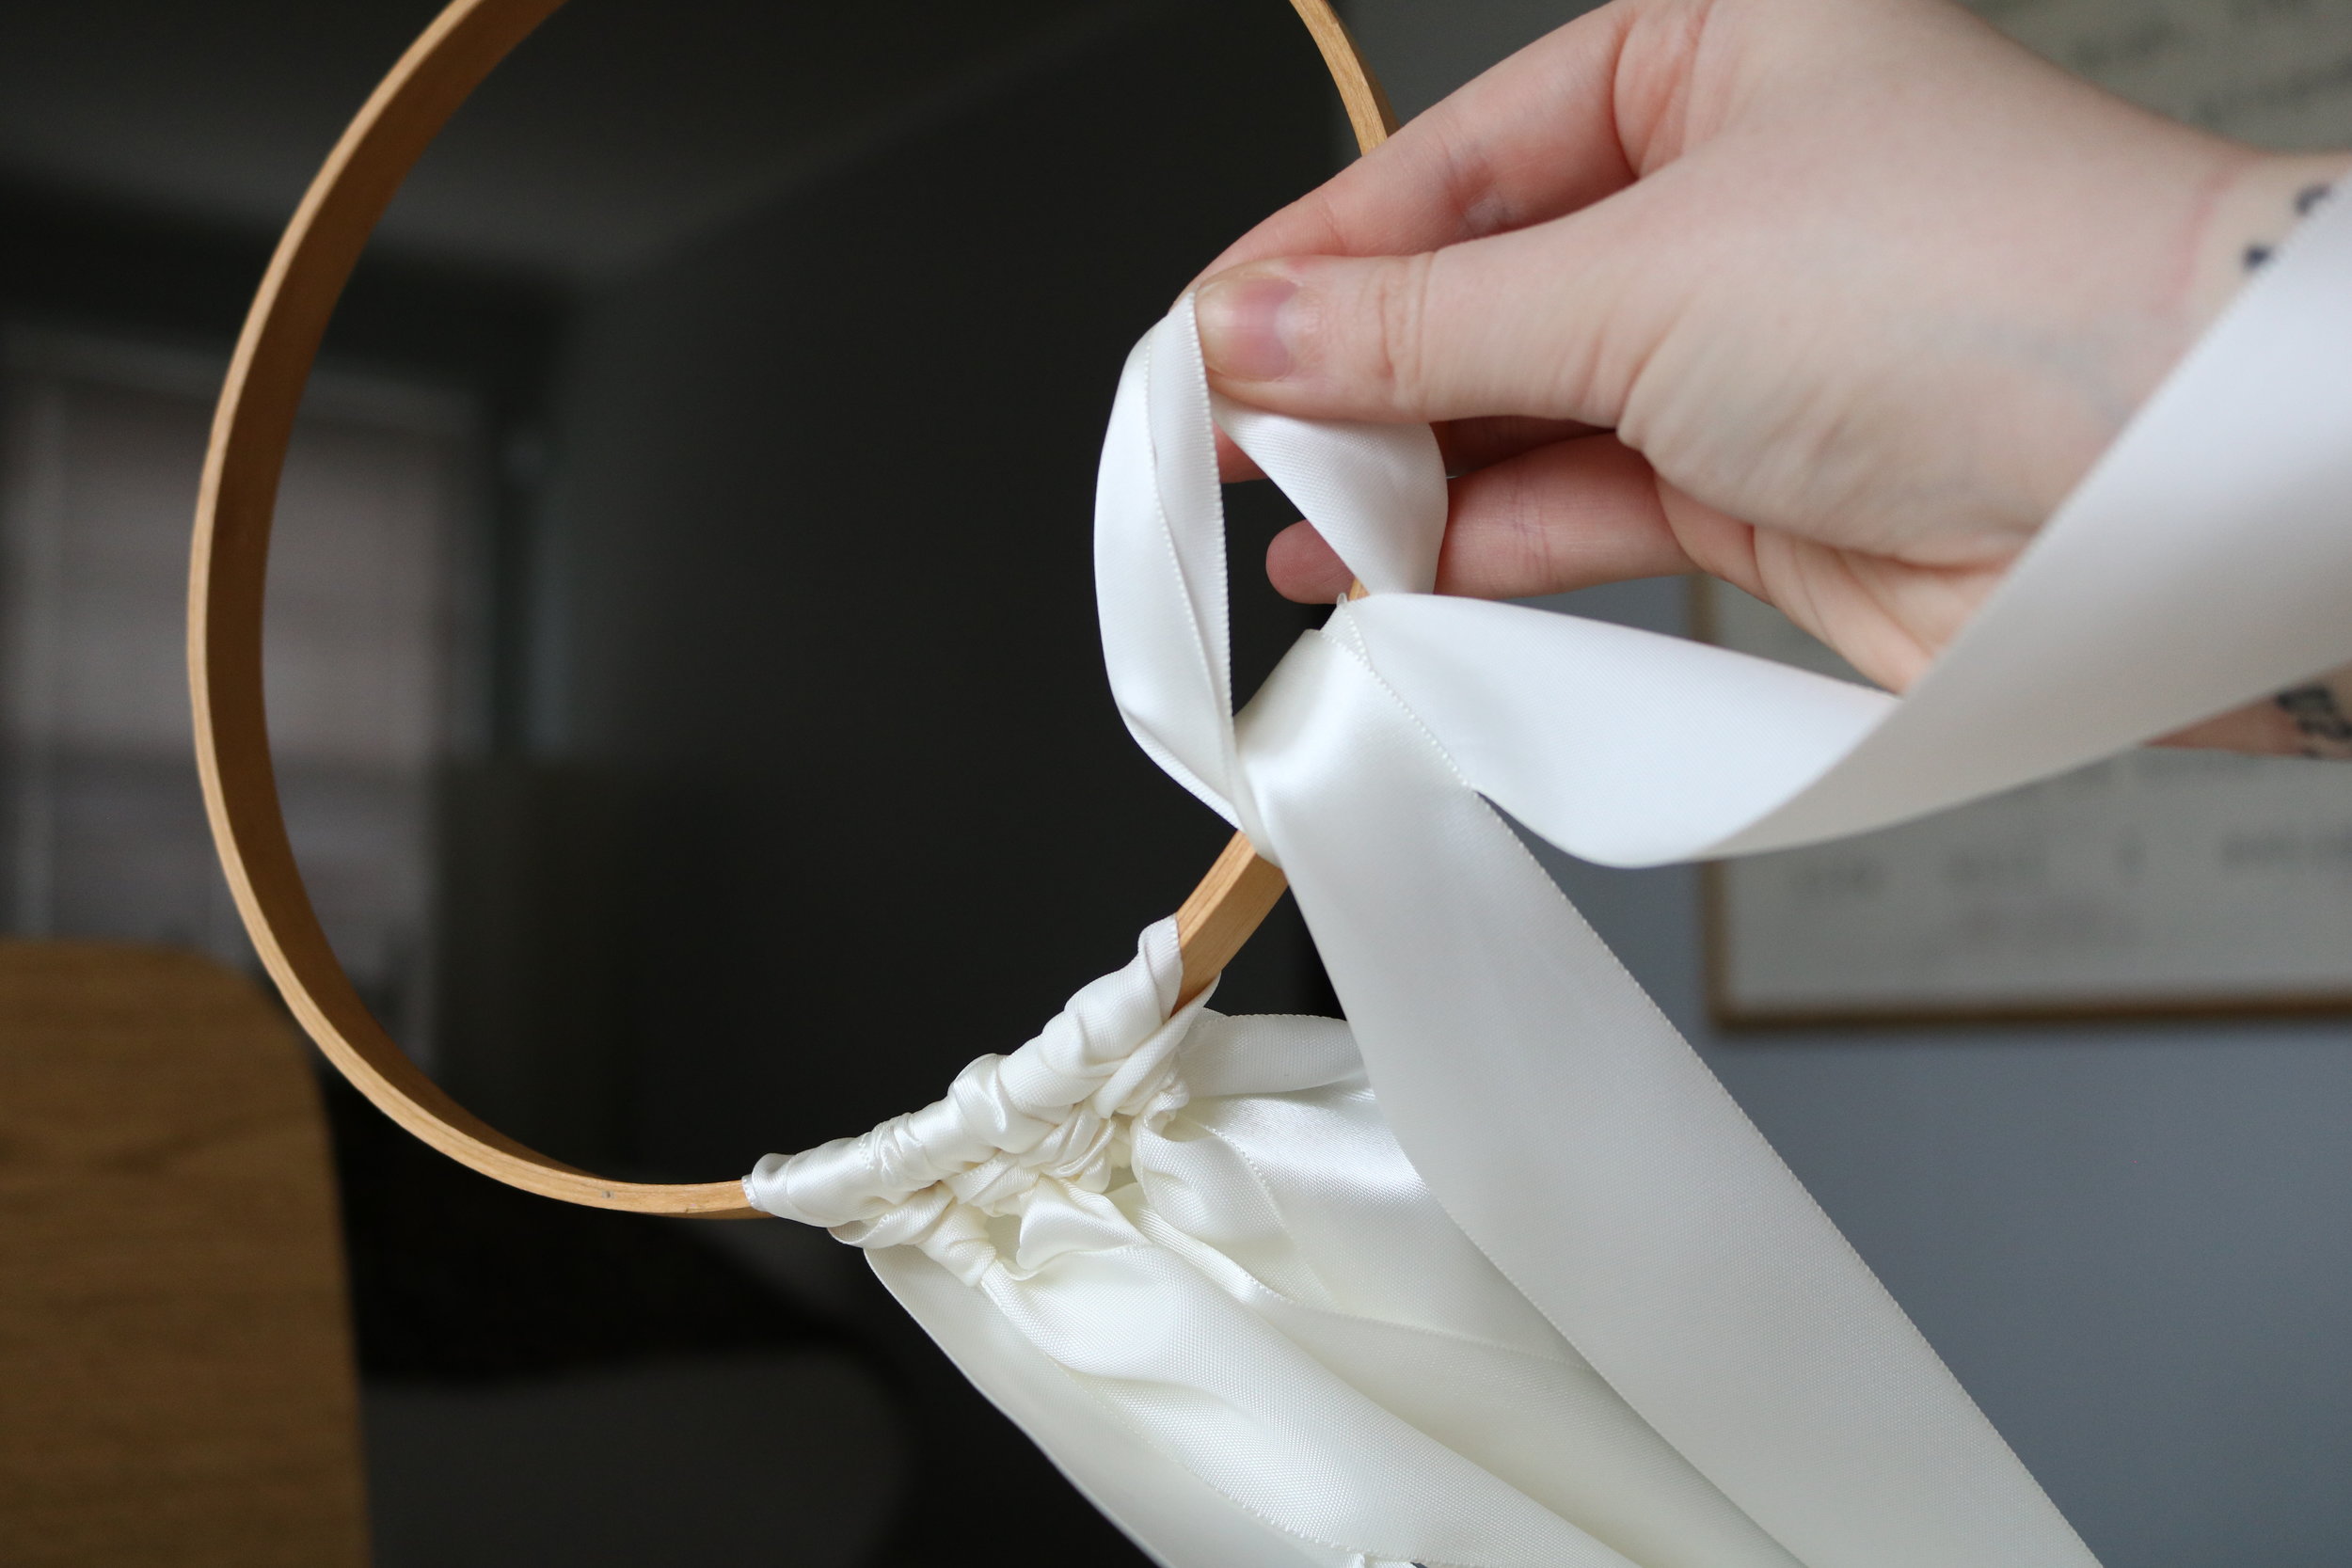
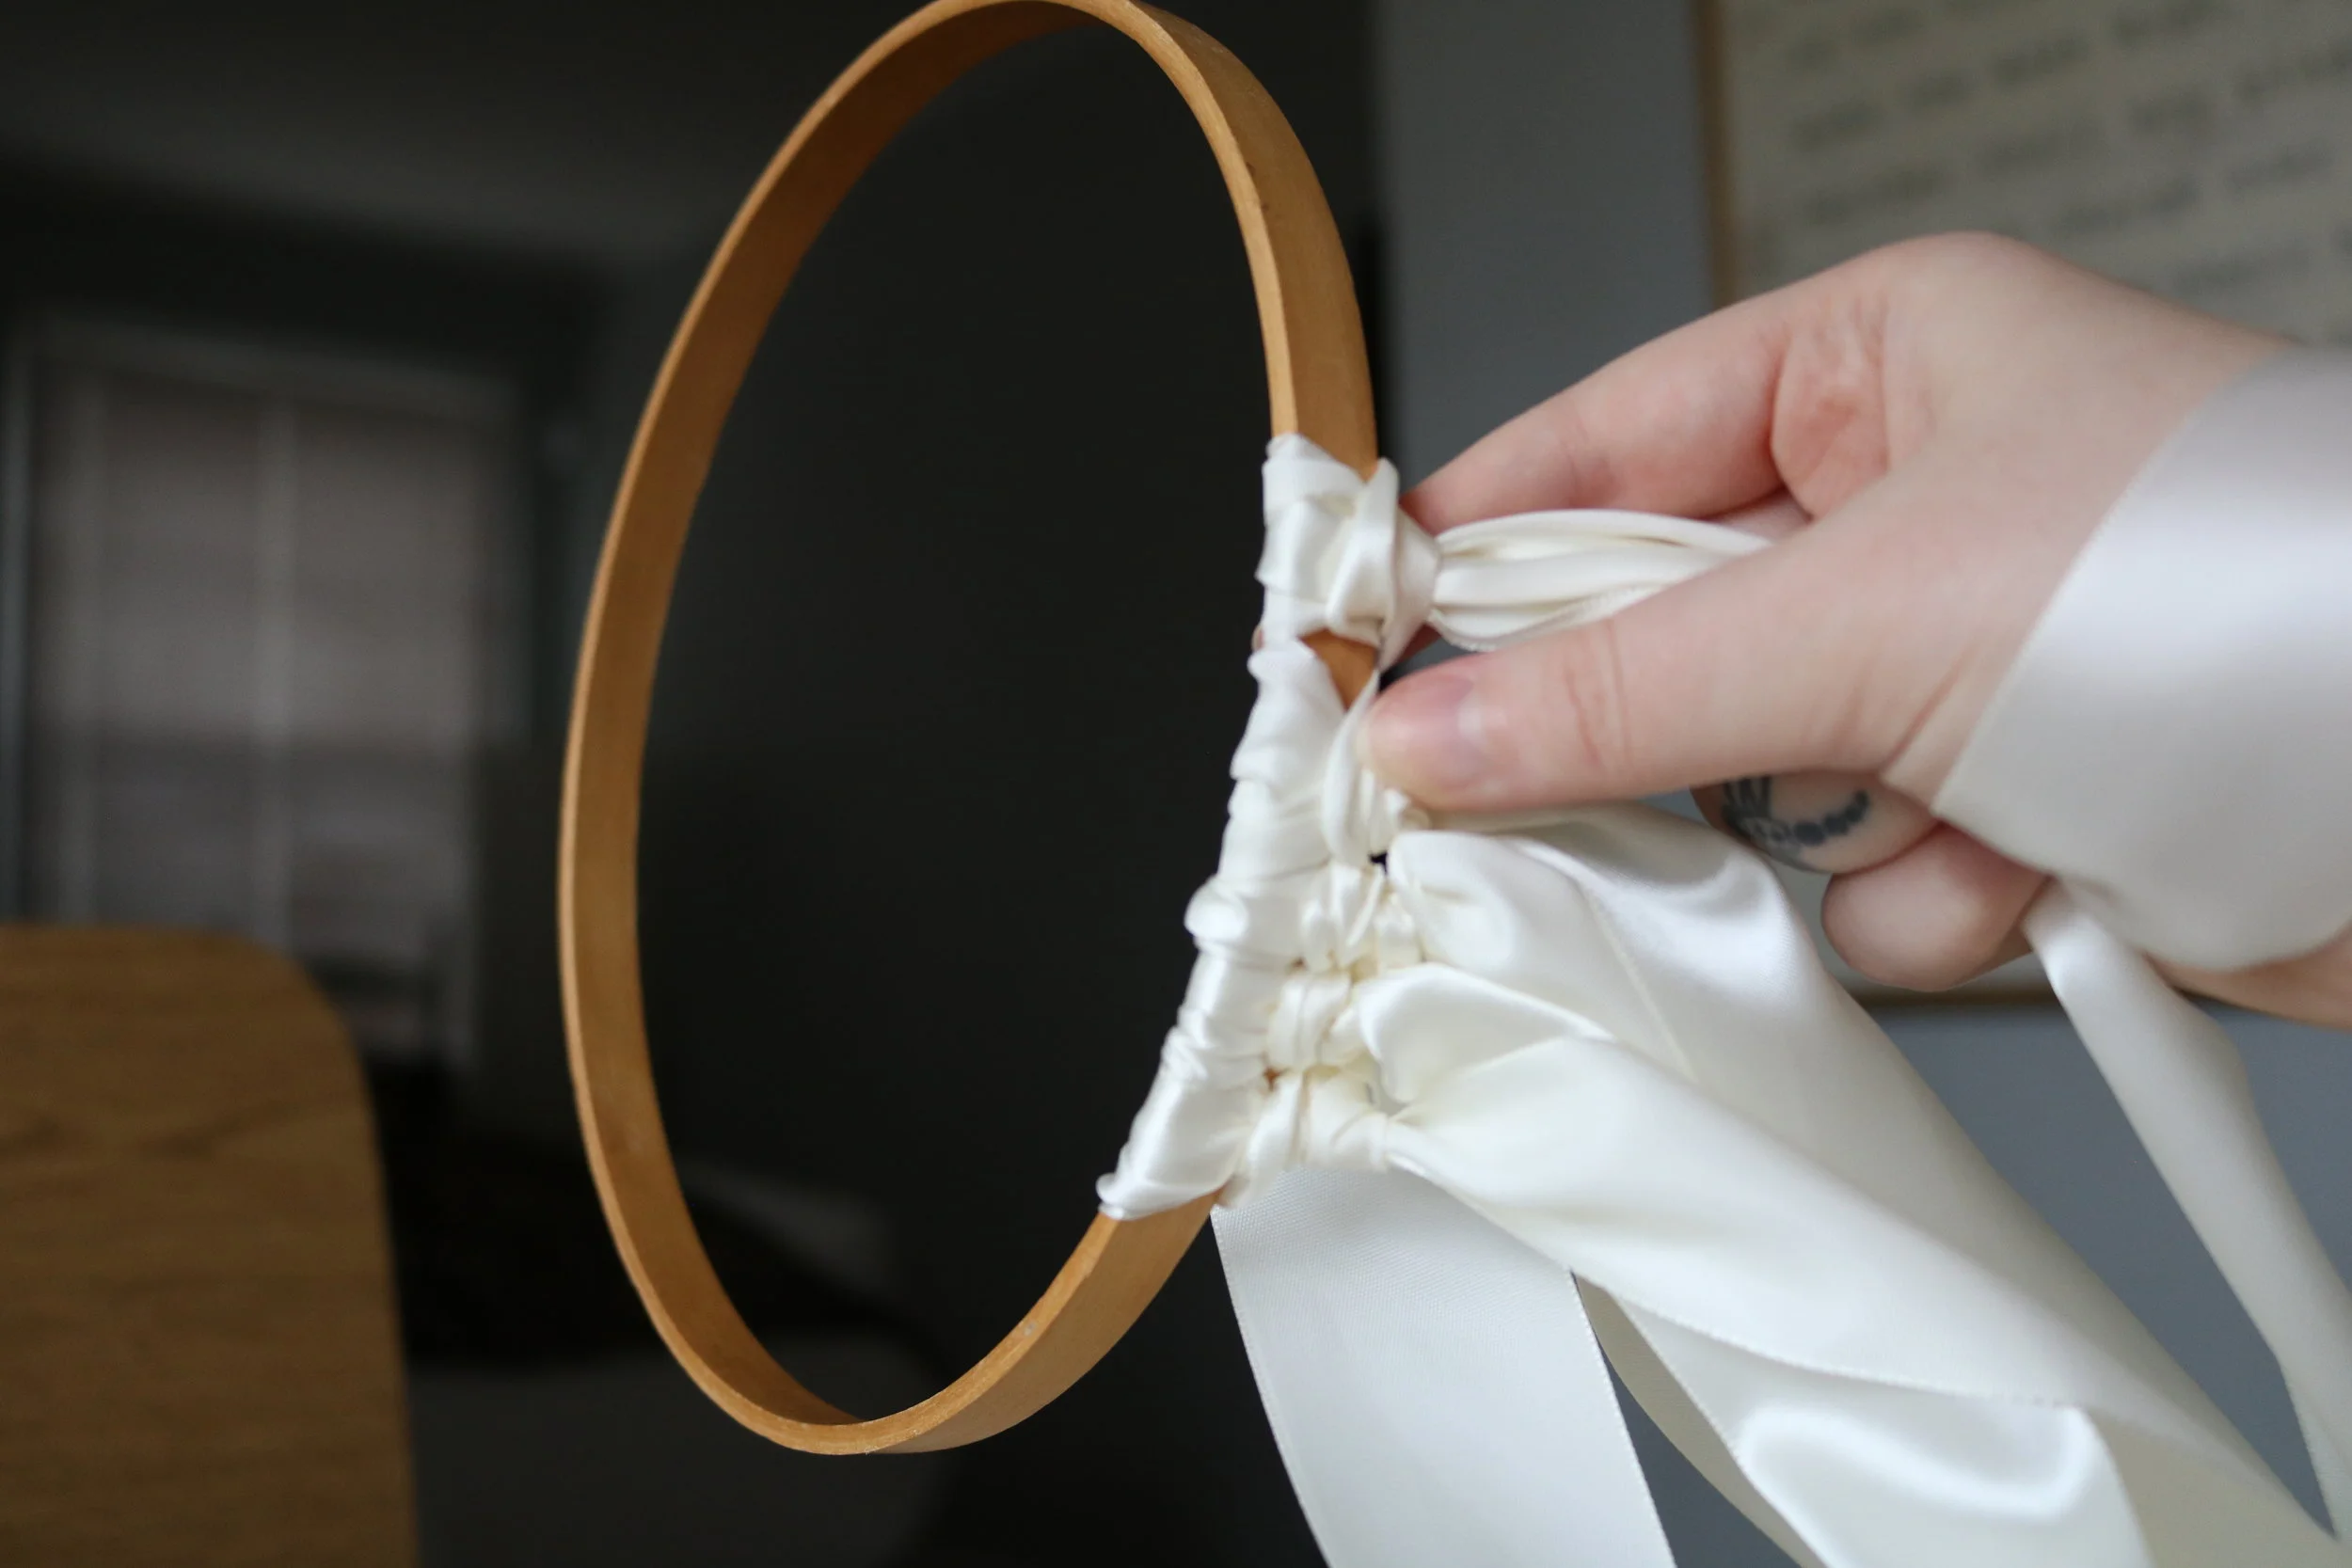
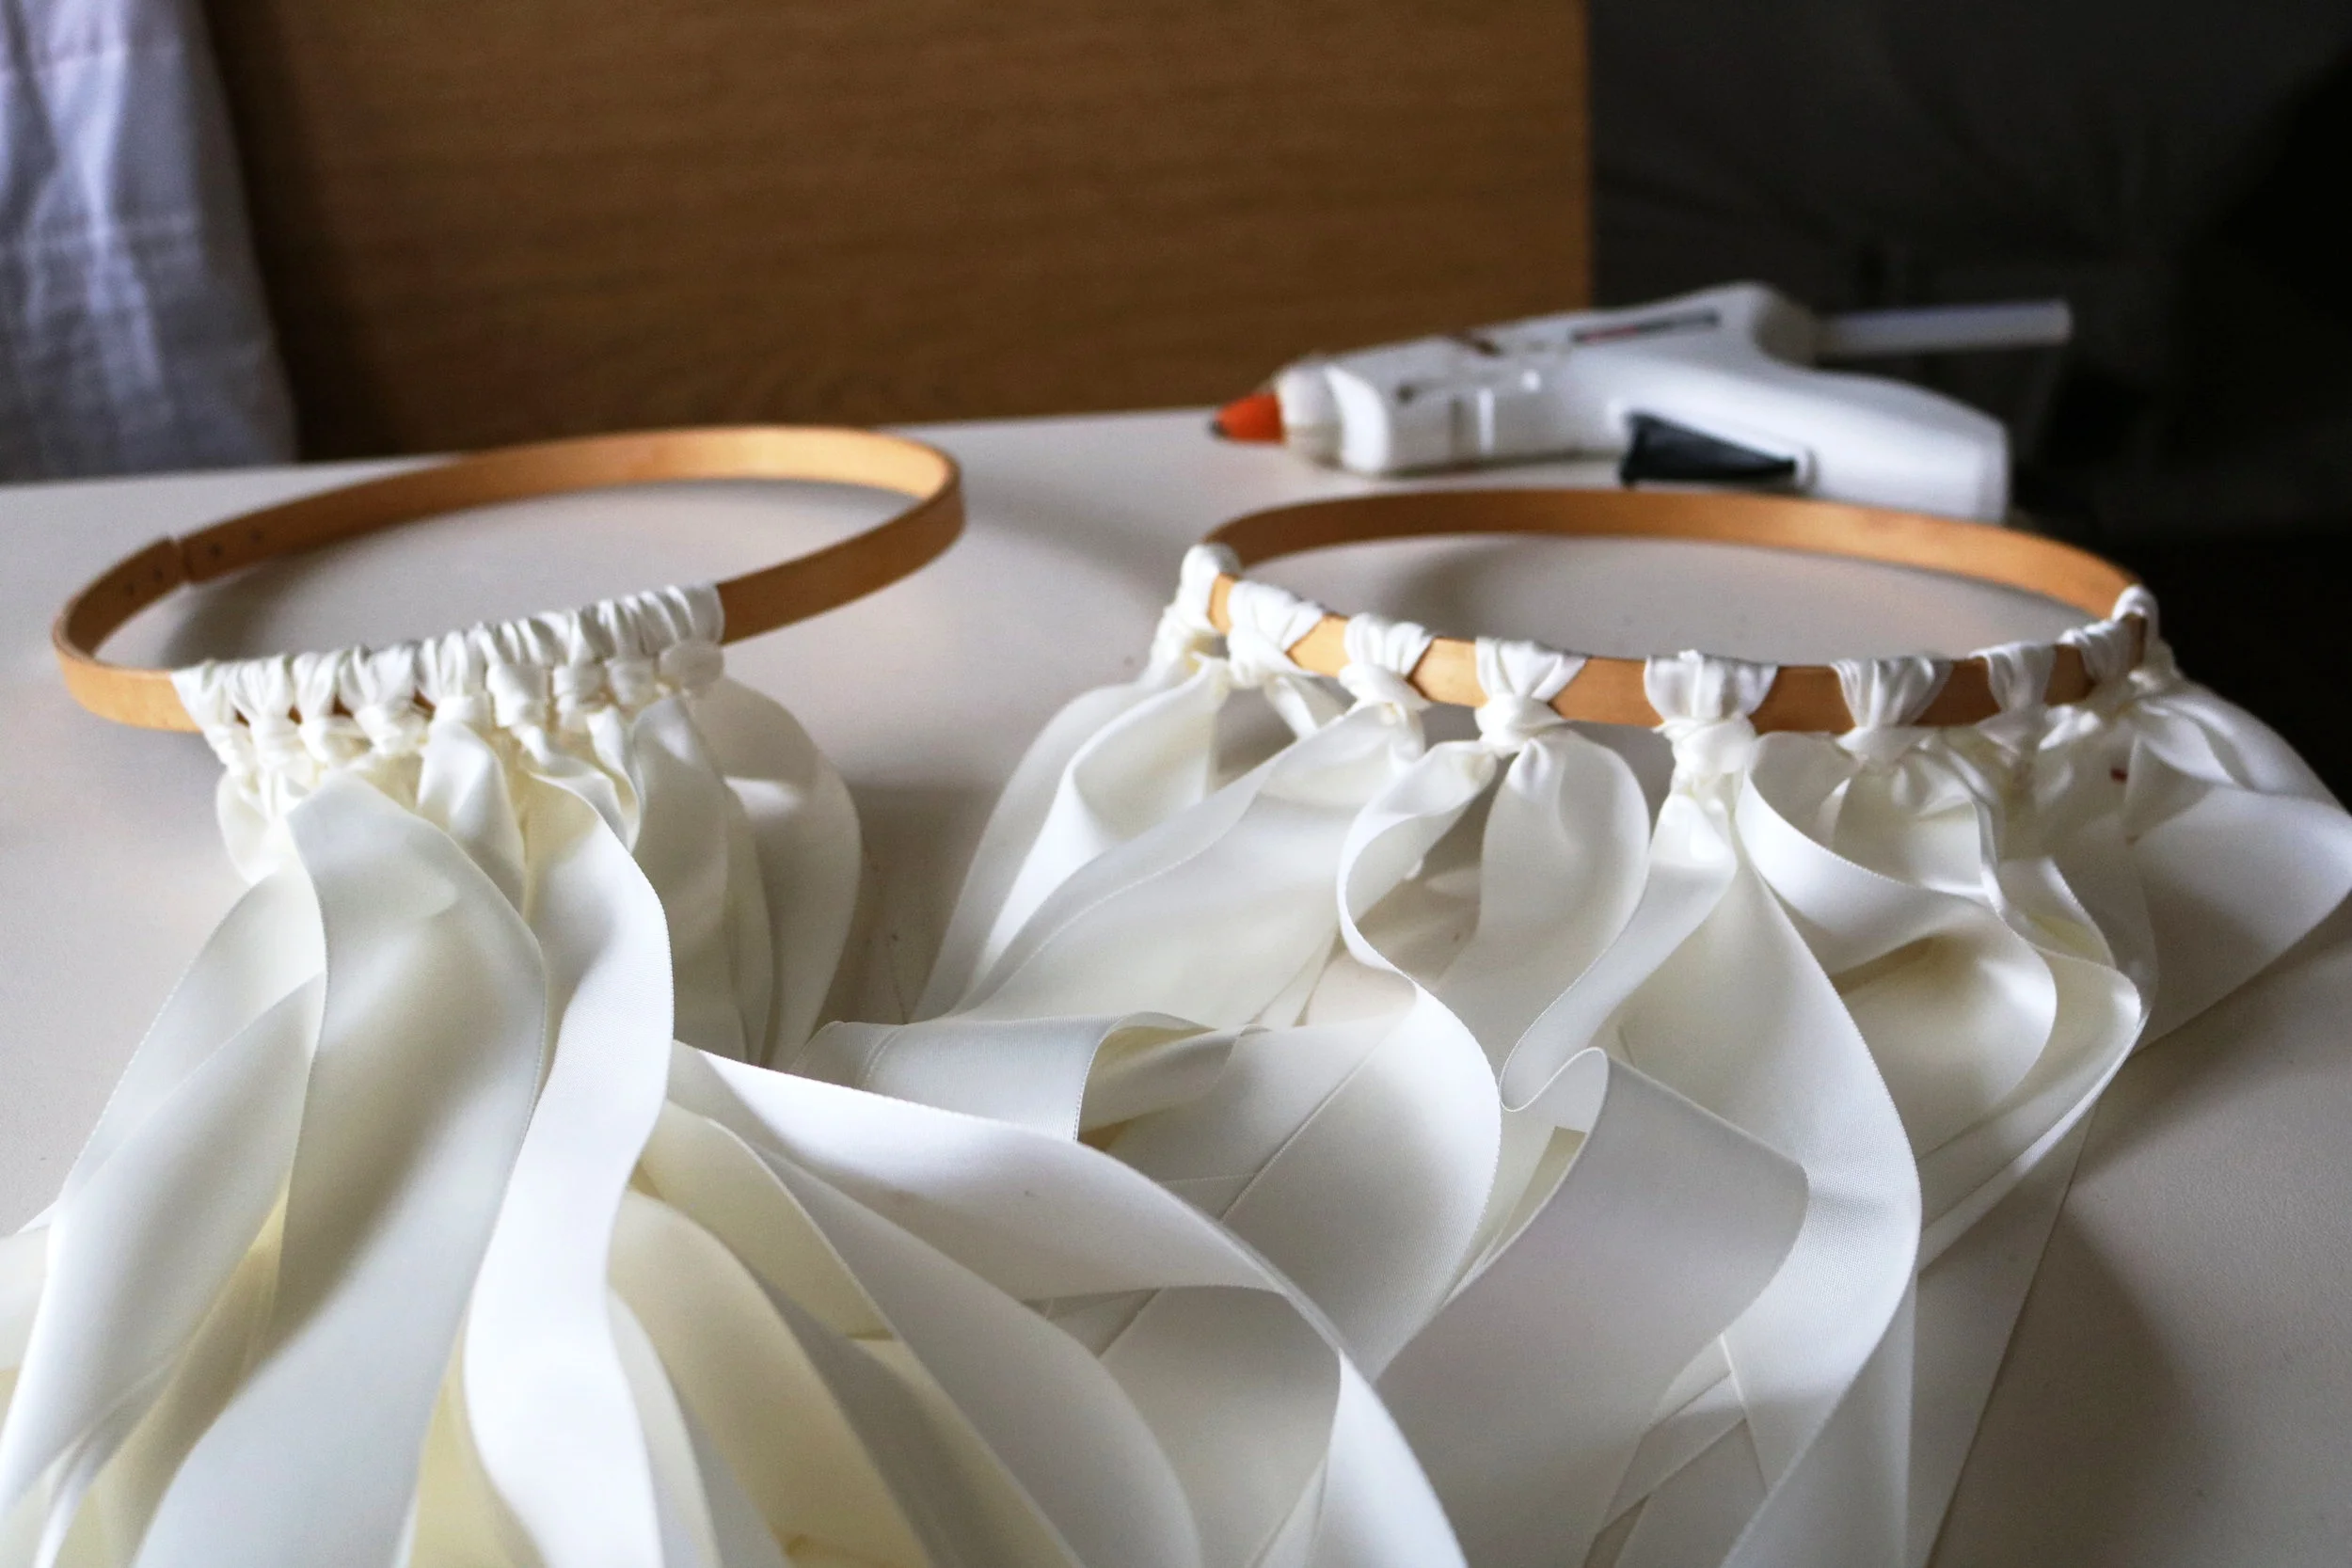
Once you have completed all of the first knots, go back and make a second plain knot below each one. You can see how the addition knot helps to separate the ribbons from each other.
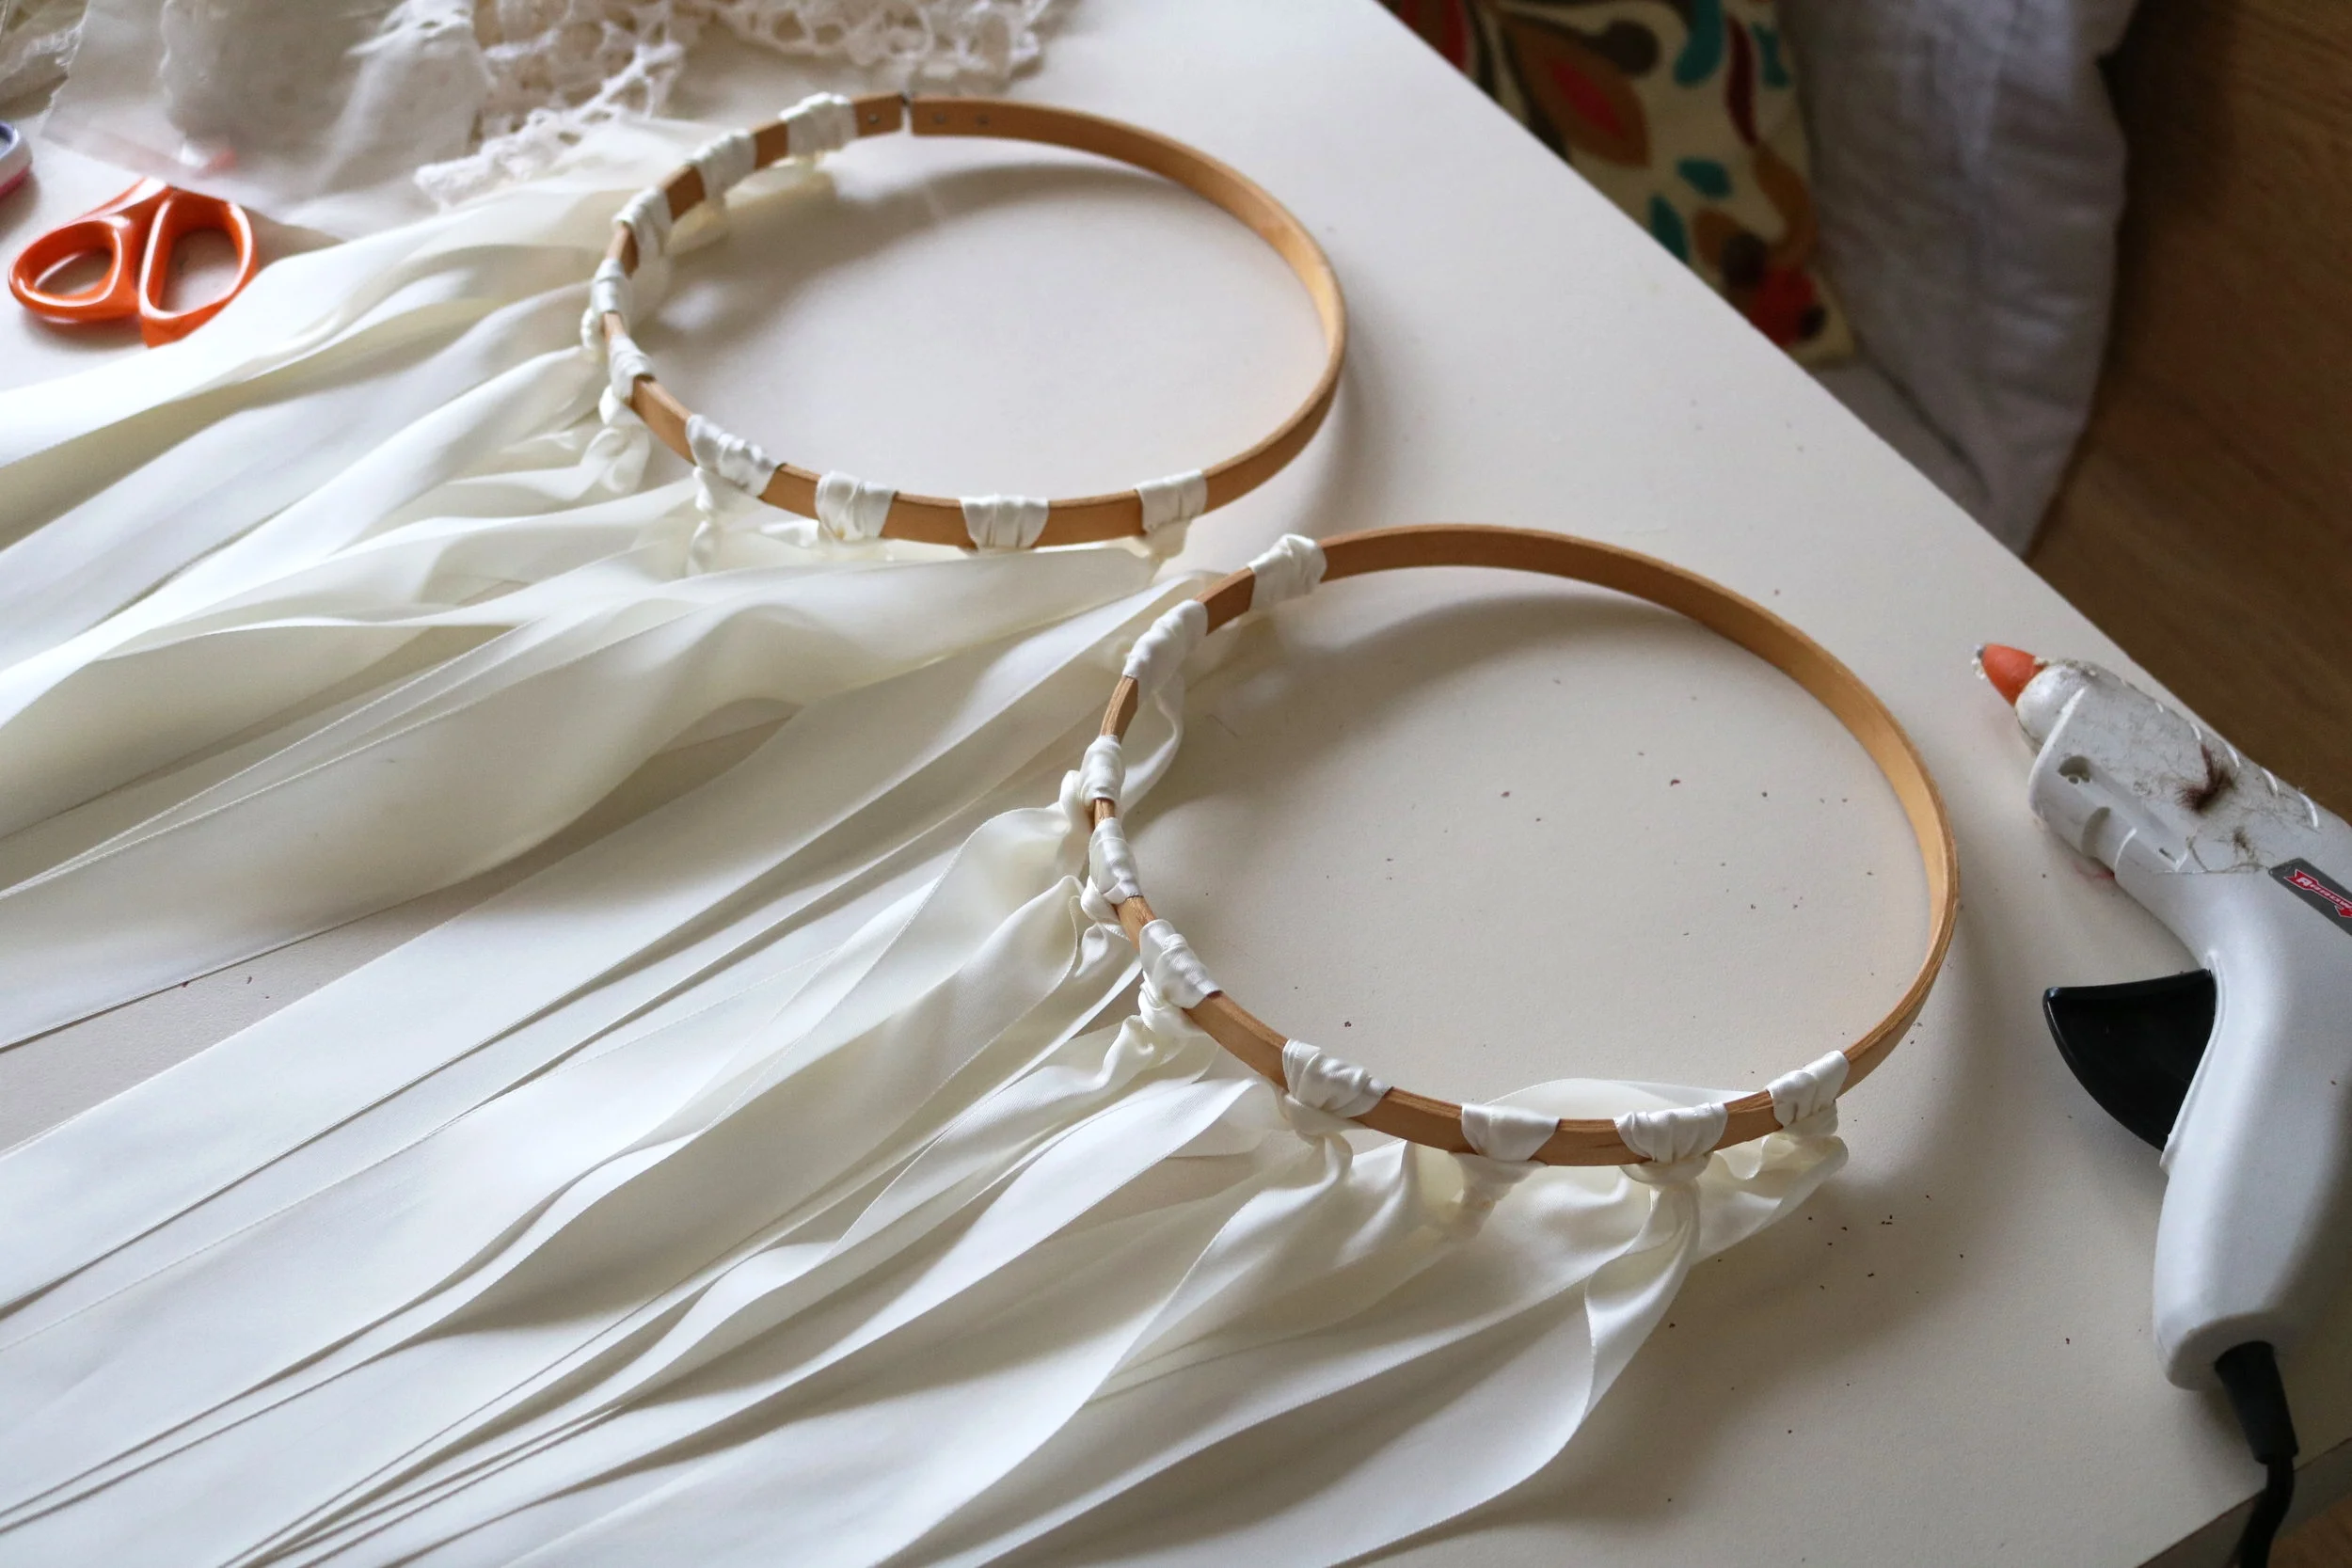
Once you have completed all of the knots, (I made nine on each hoop), you will then spread out each one evenly over one half of the hoop as shown below.
Step 2: Applying the Doilies
This step is really much simpler than it looks. All you do is figure out how you want your doily to look once it is complete, and then hot glue it on. There really is no rhyme or reason to this step. I just did my best to center the doily while I stretched it to see where the fabric needed to be glued down. Don't try to over-complicate things. Just glue it.
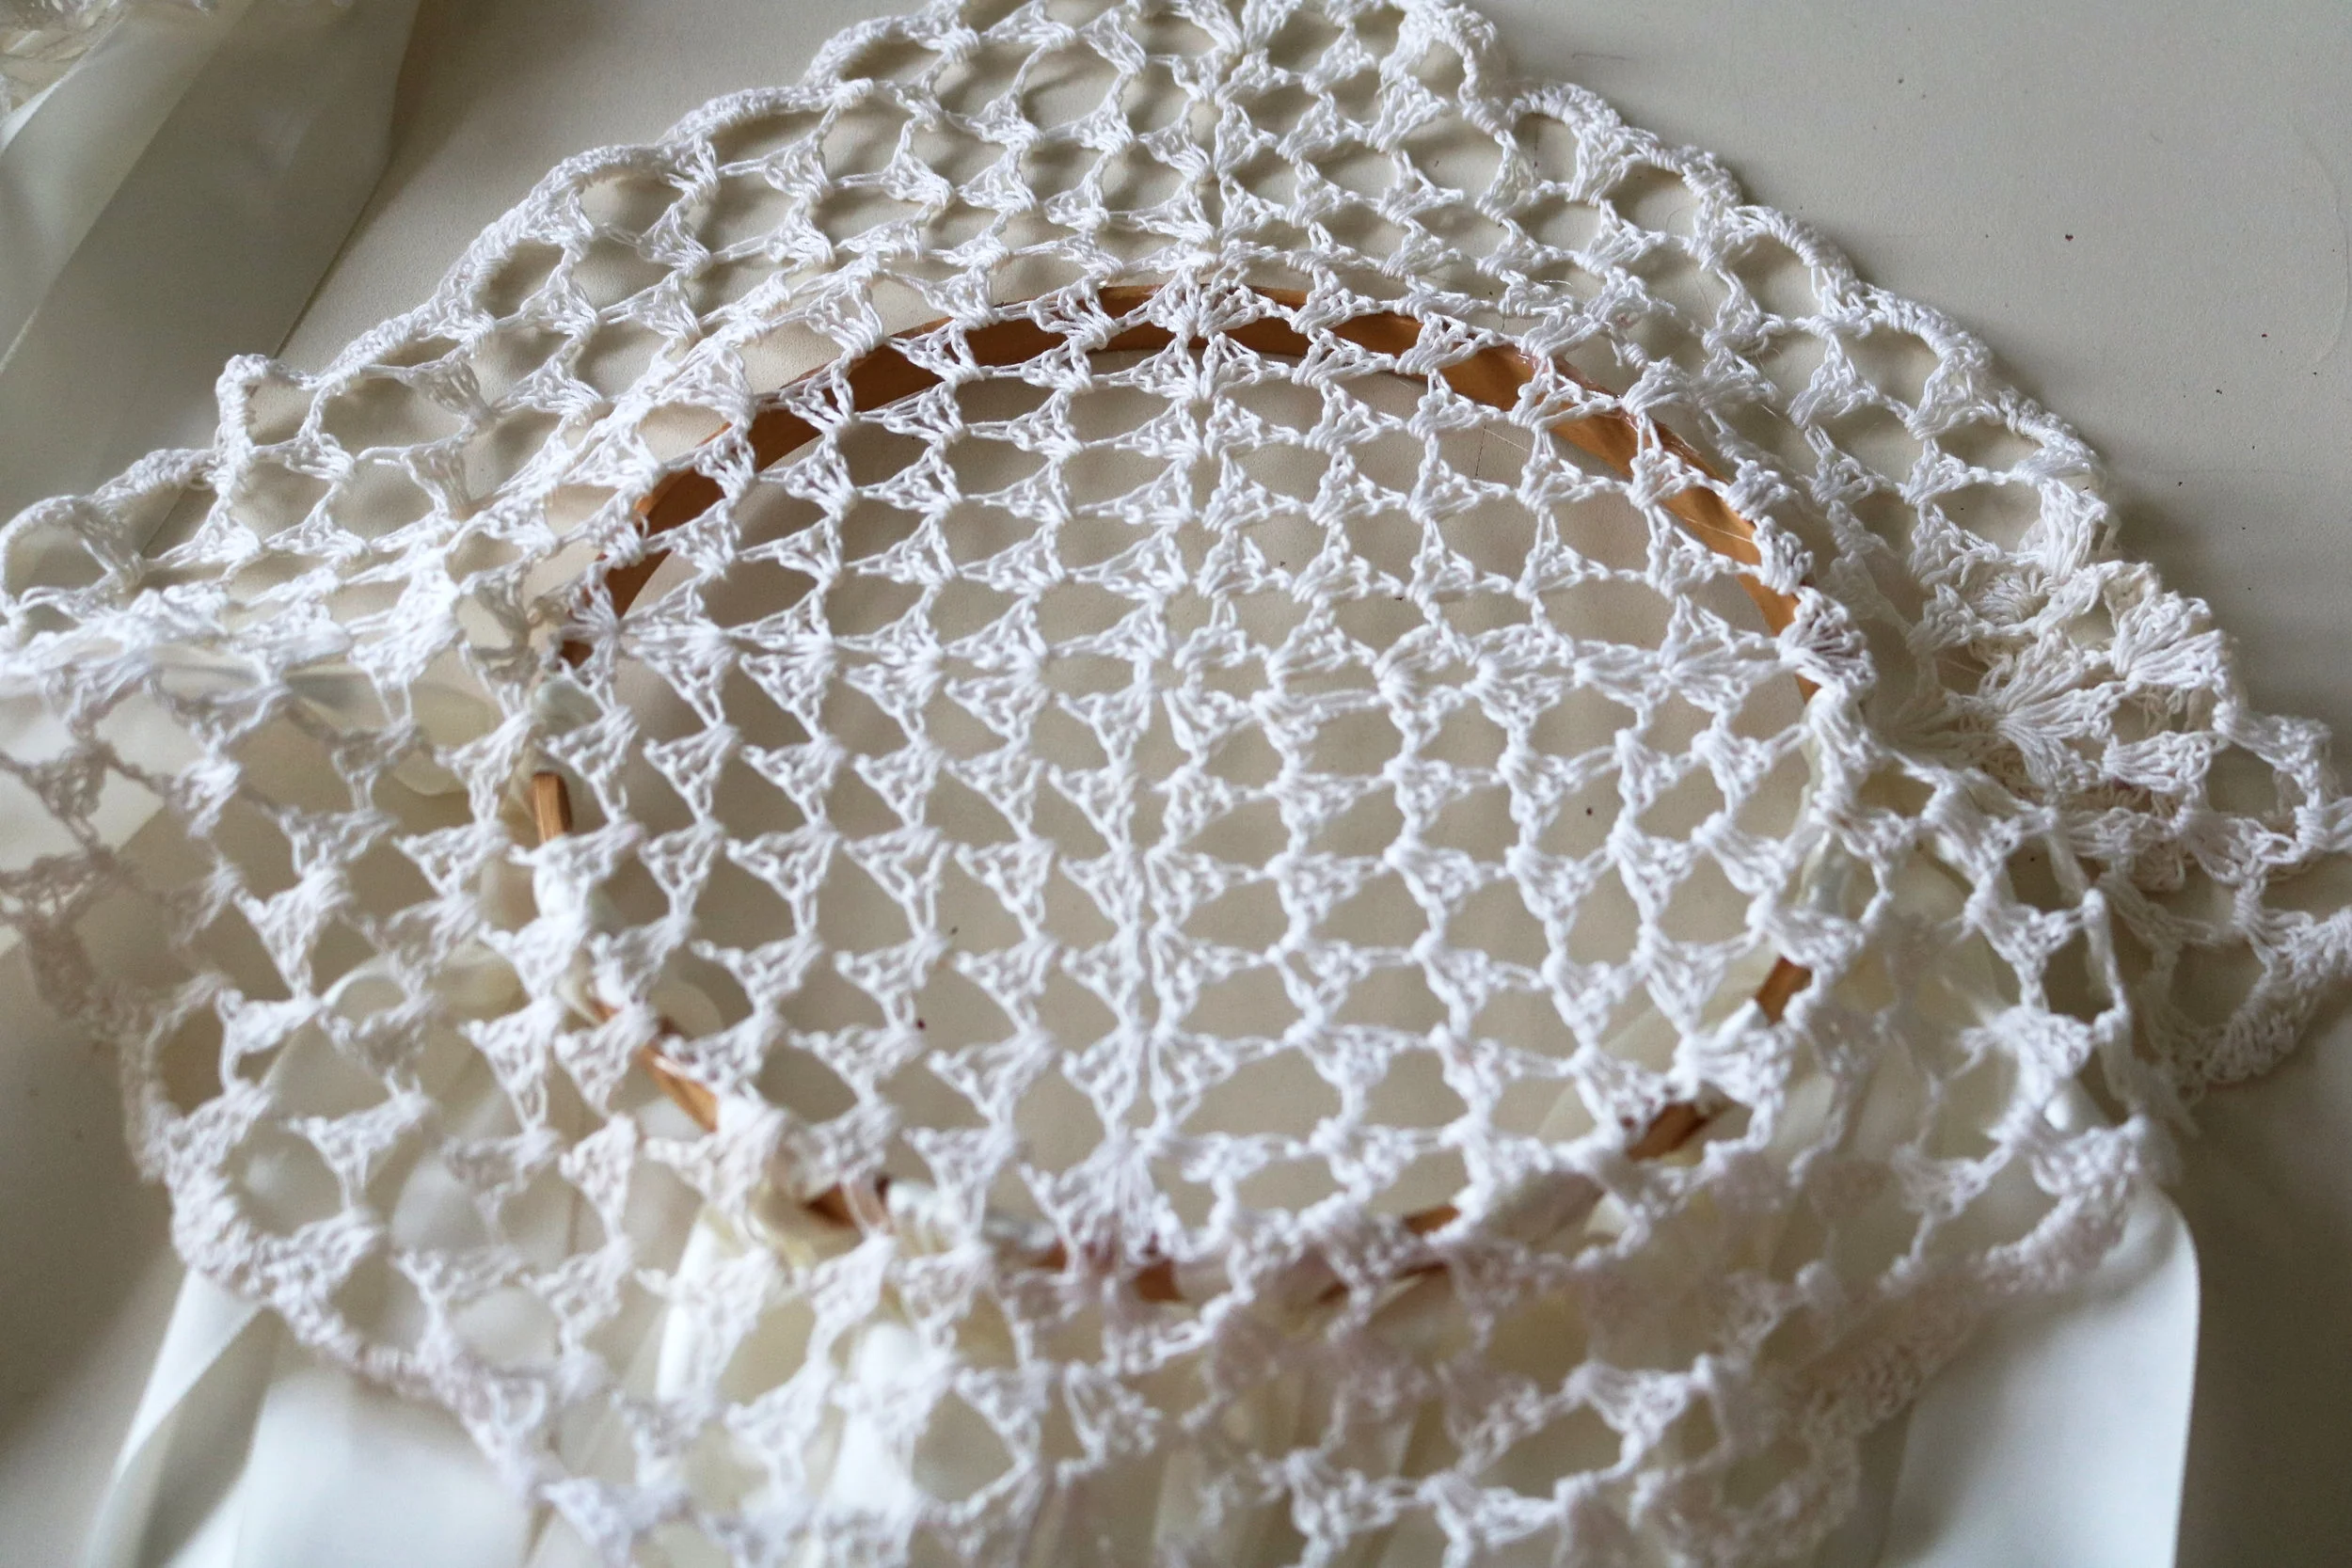
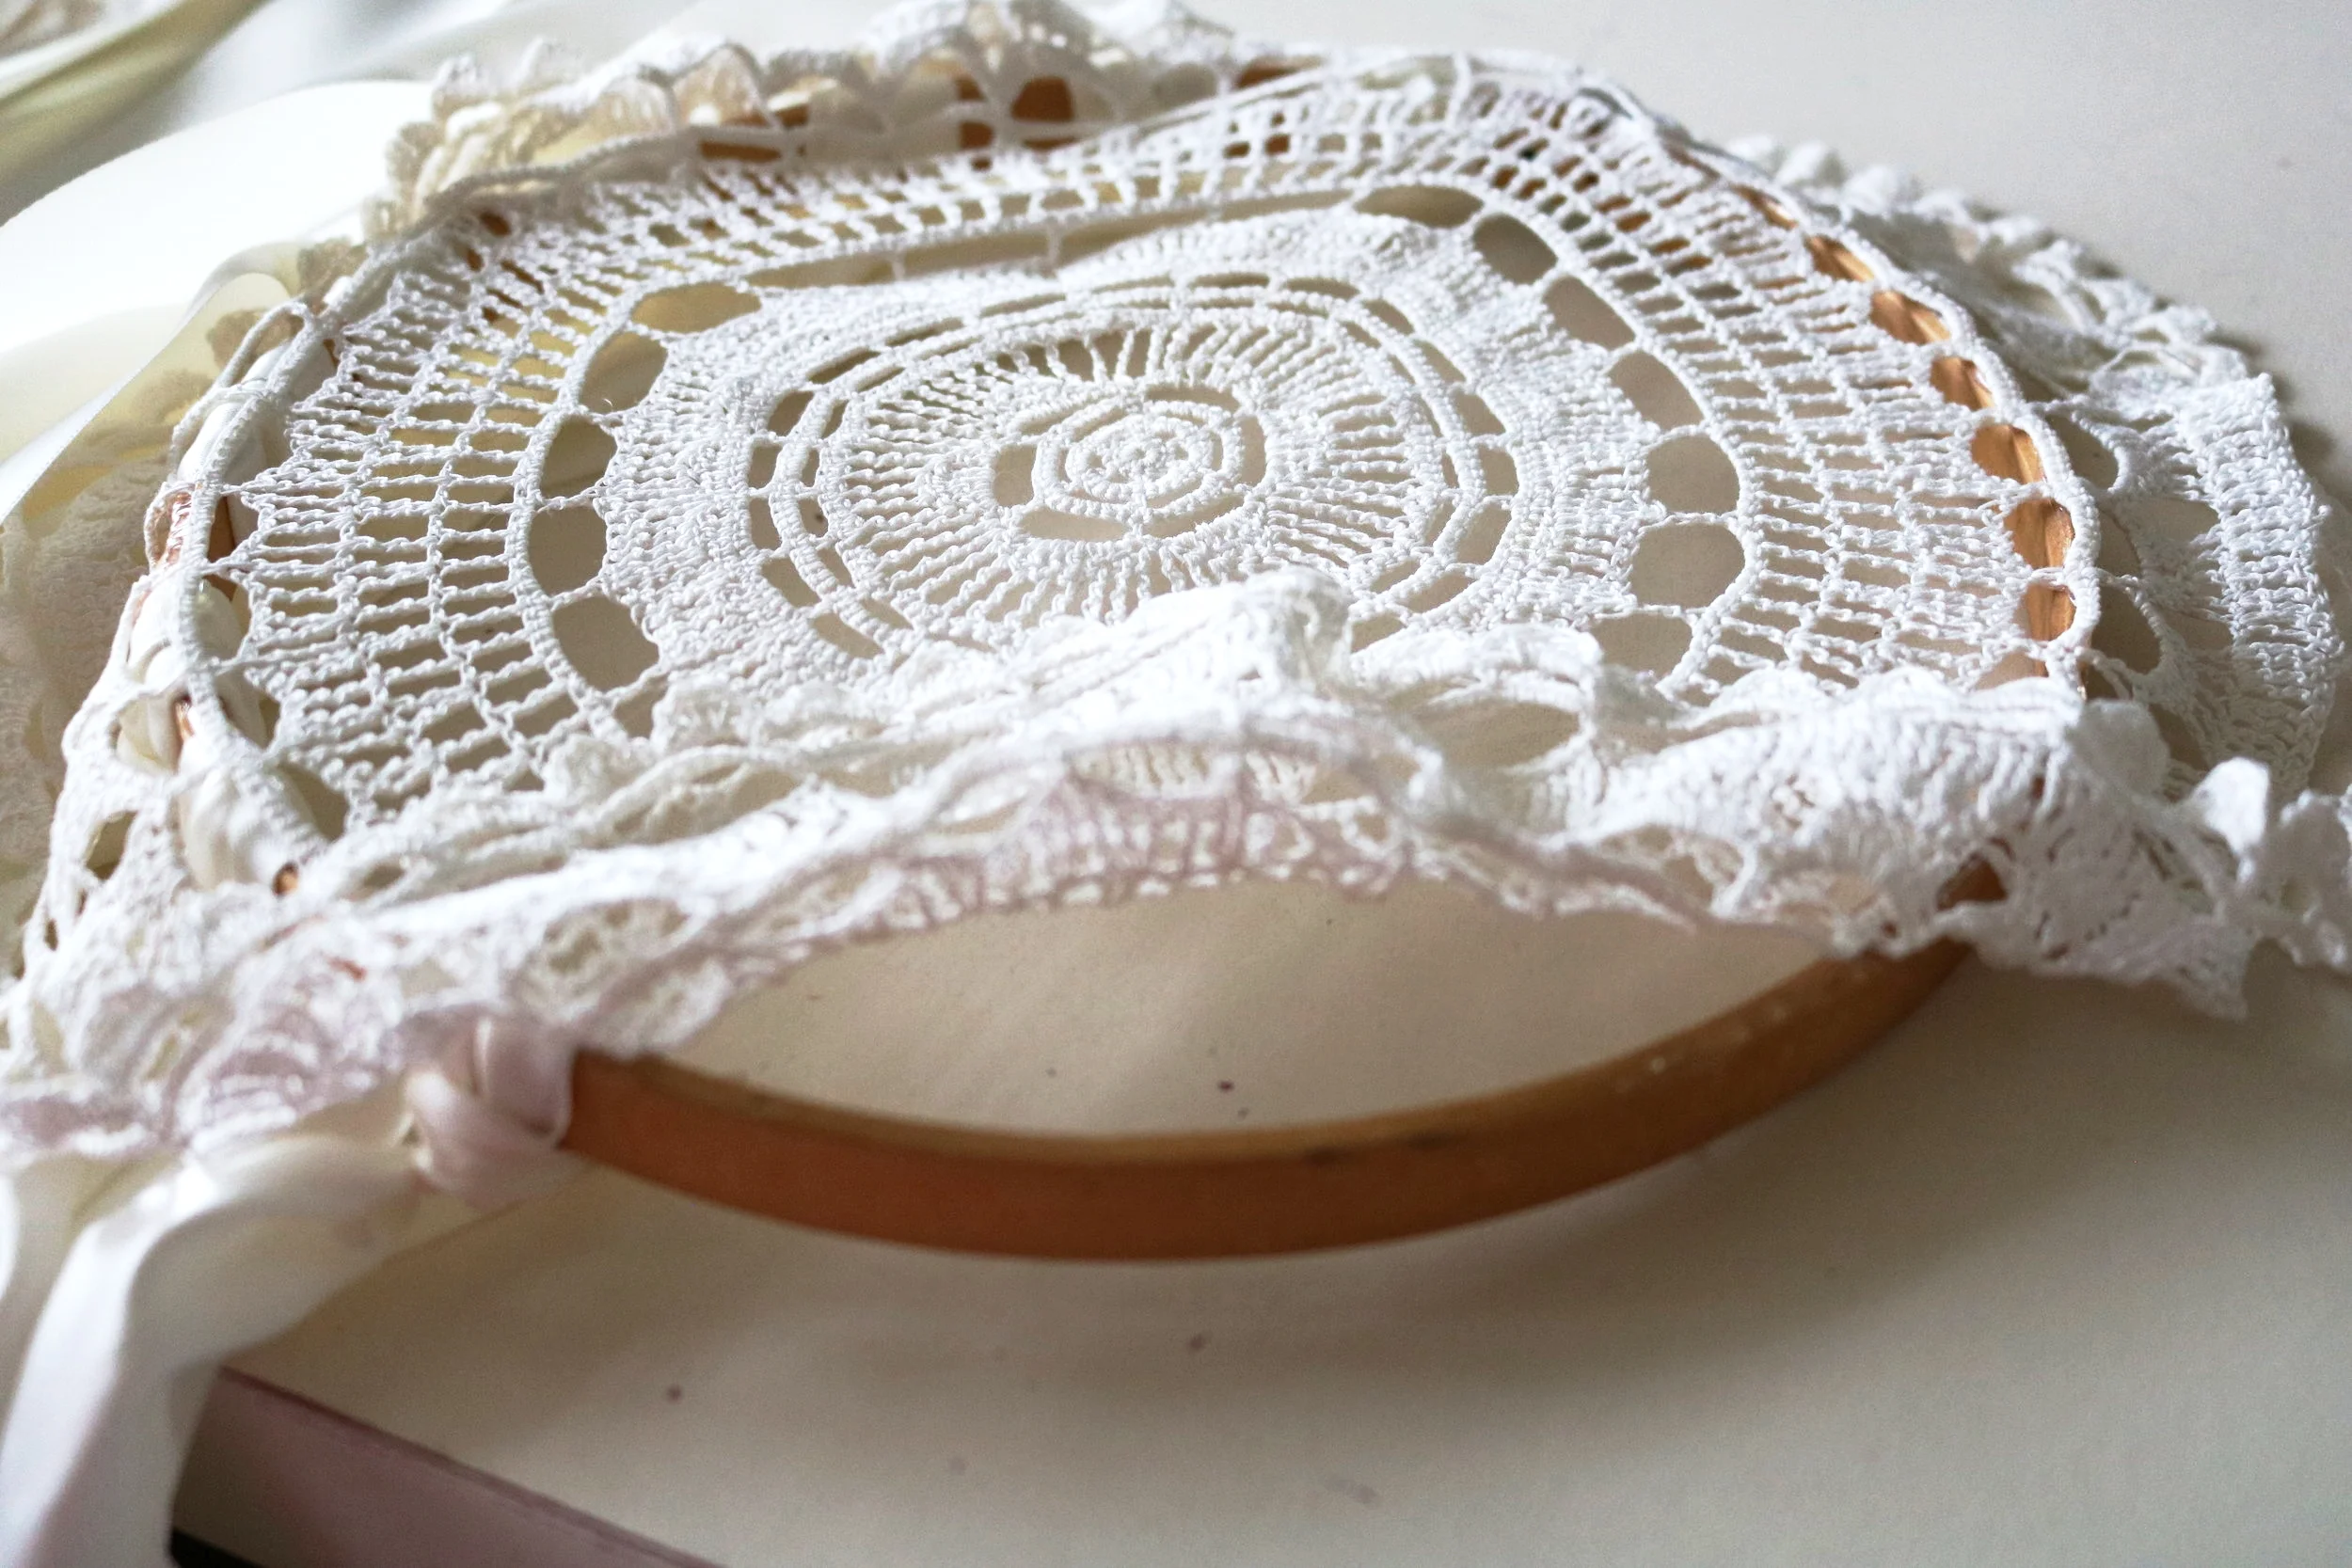
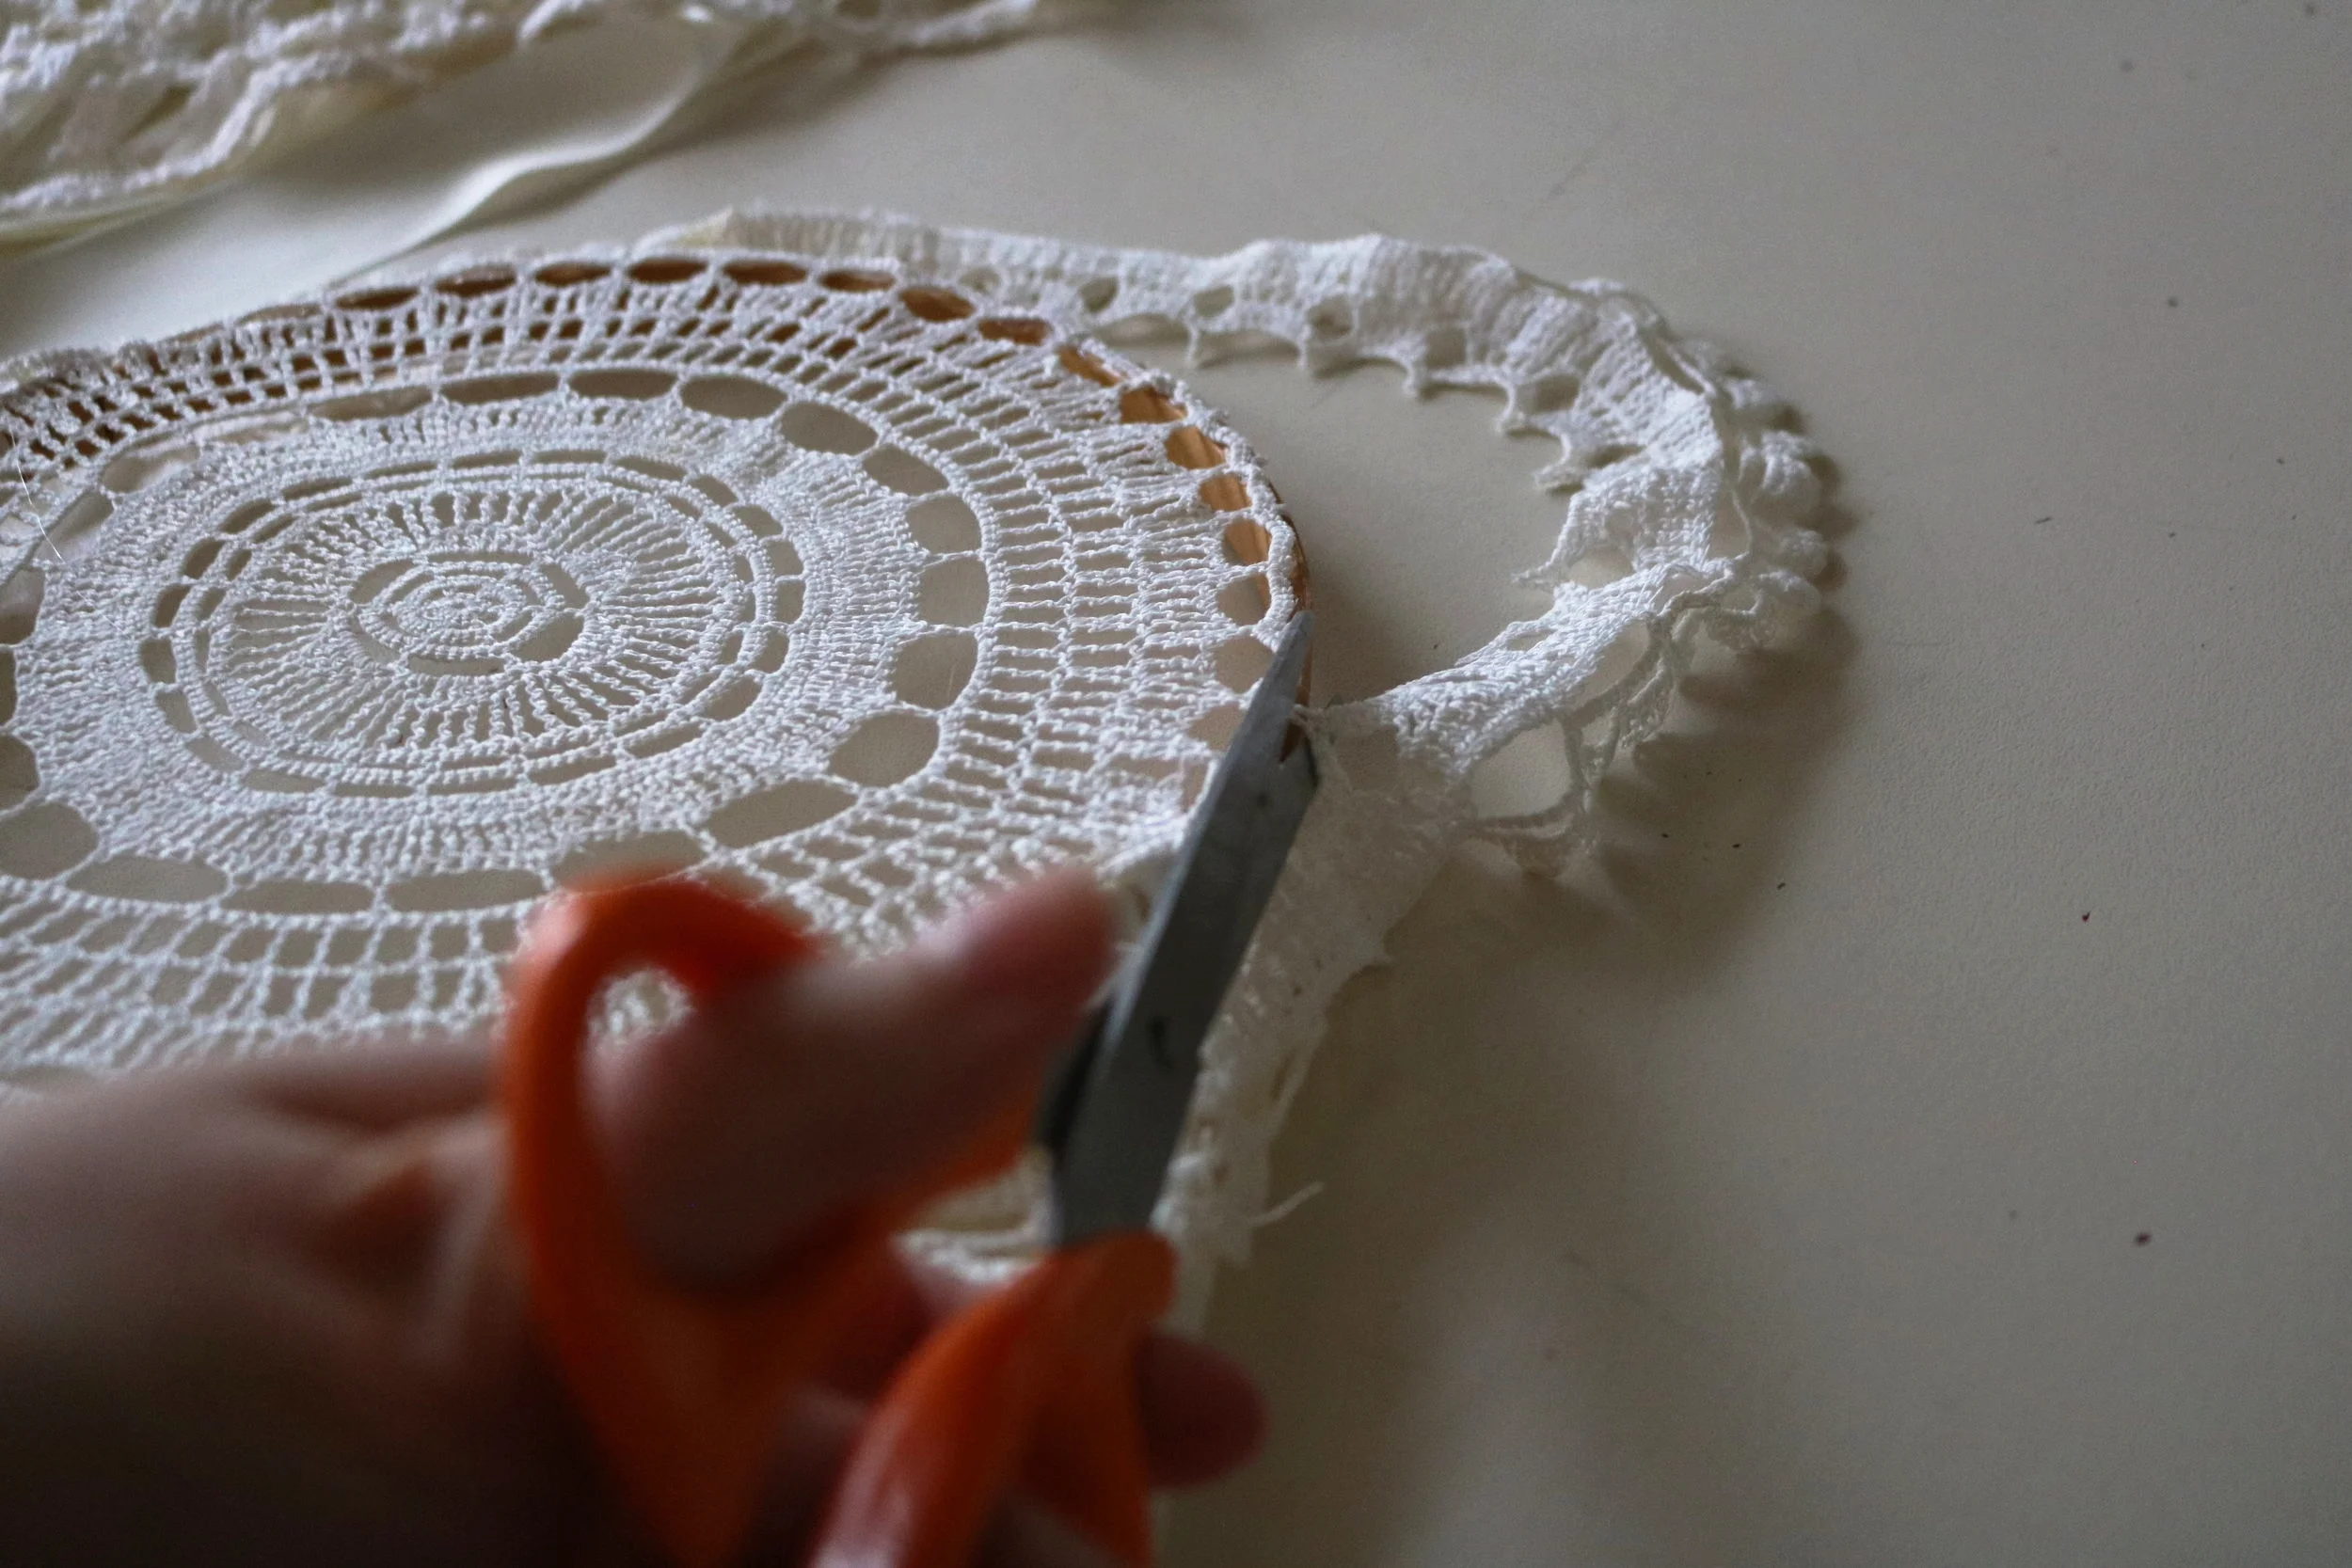
Once you have glued the doily to the edge of the hoop, simply trim the excess off with your scissors.
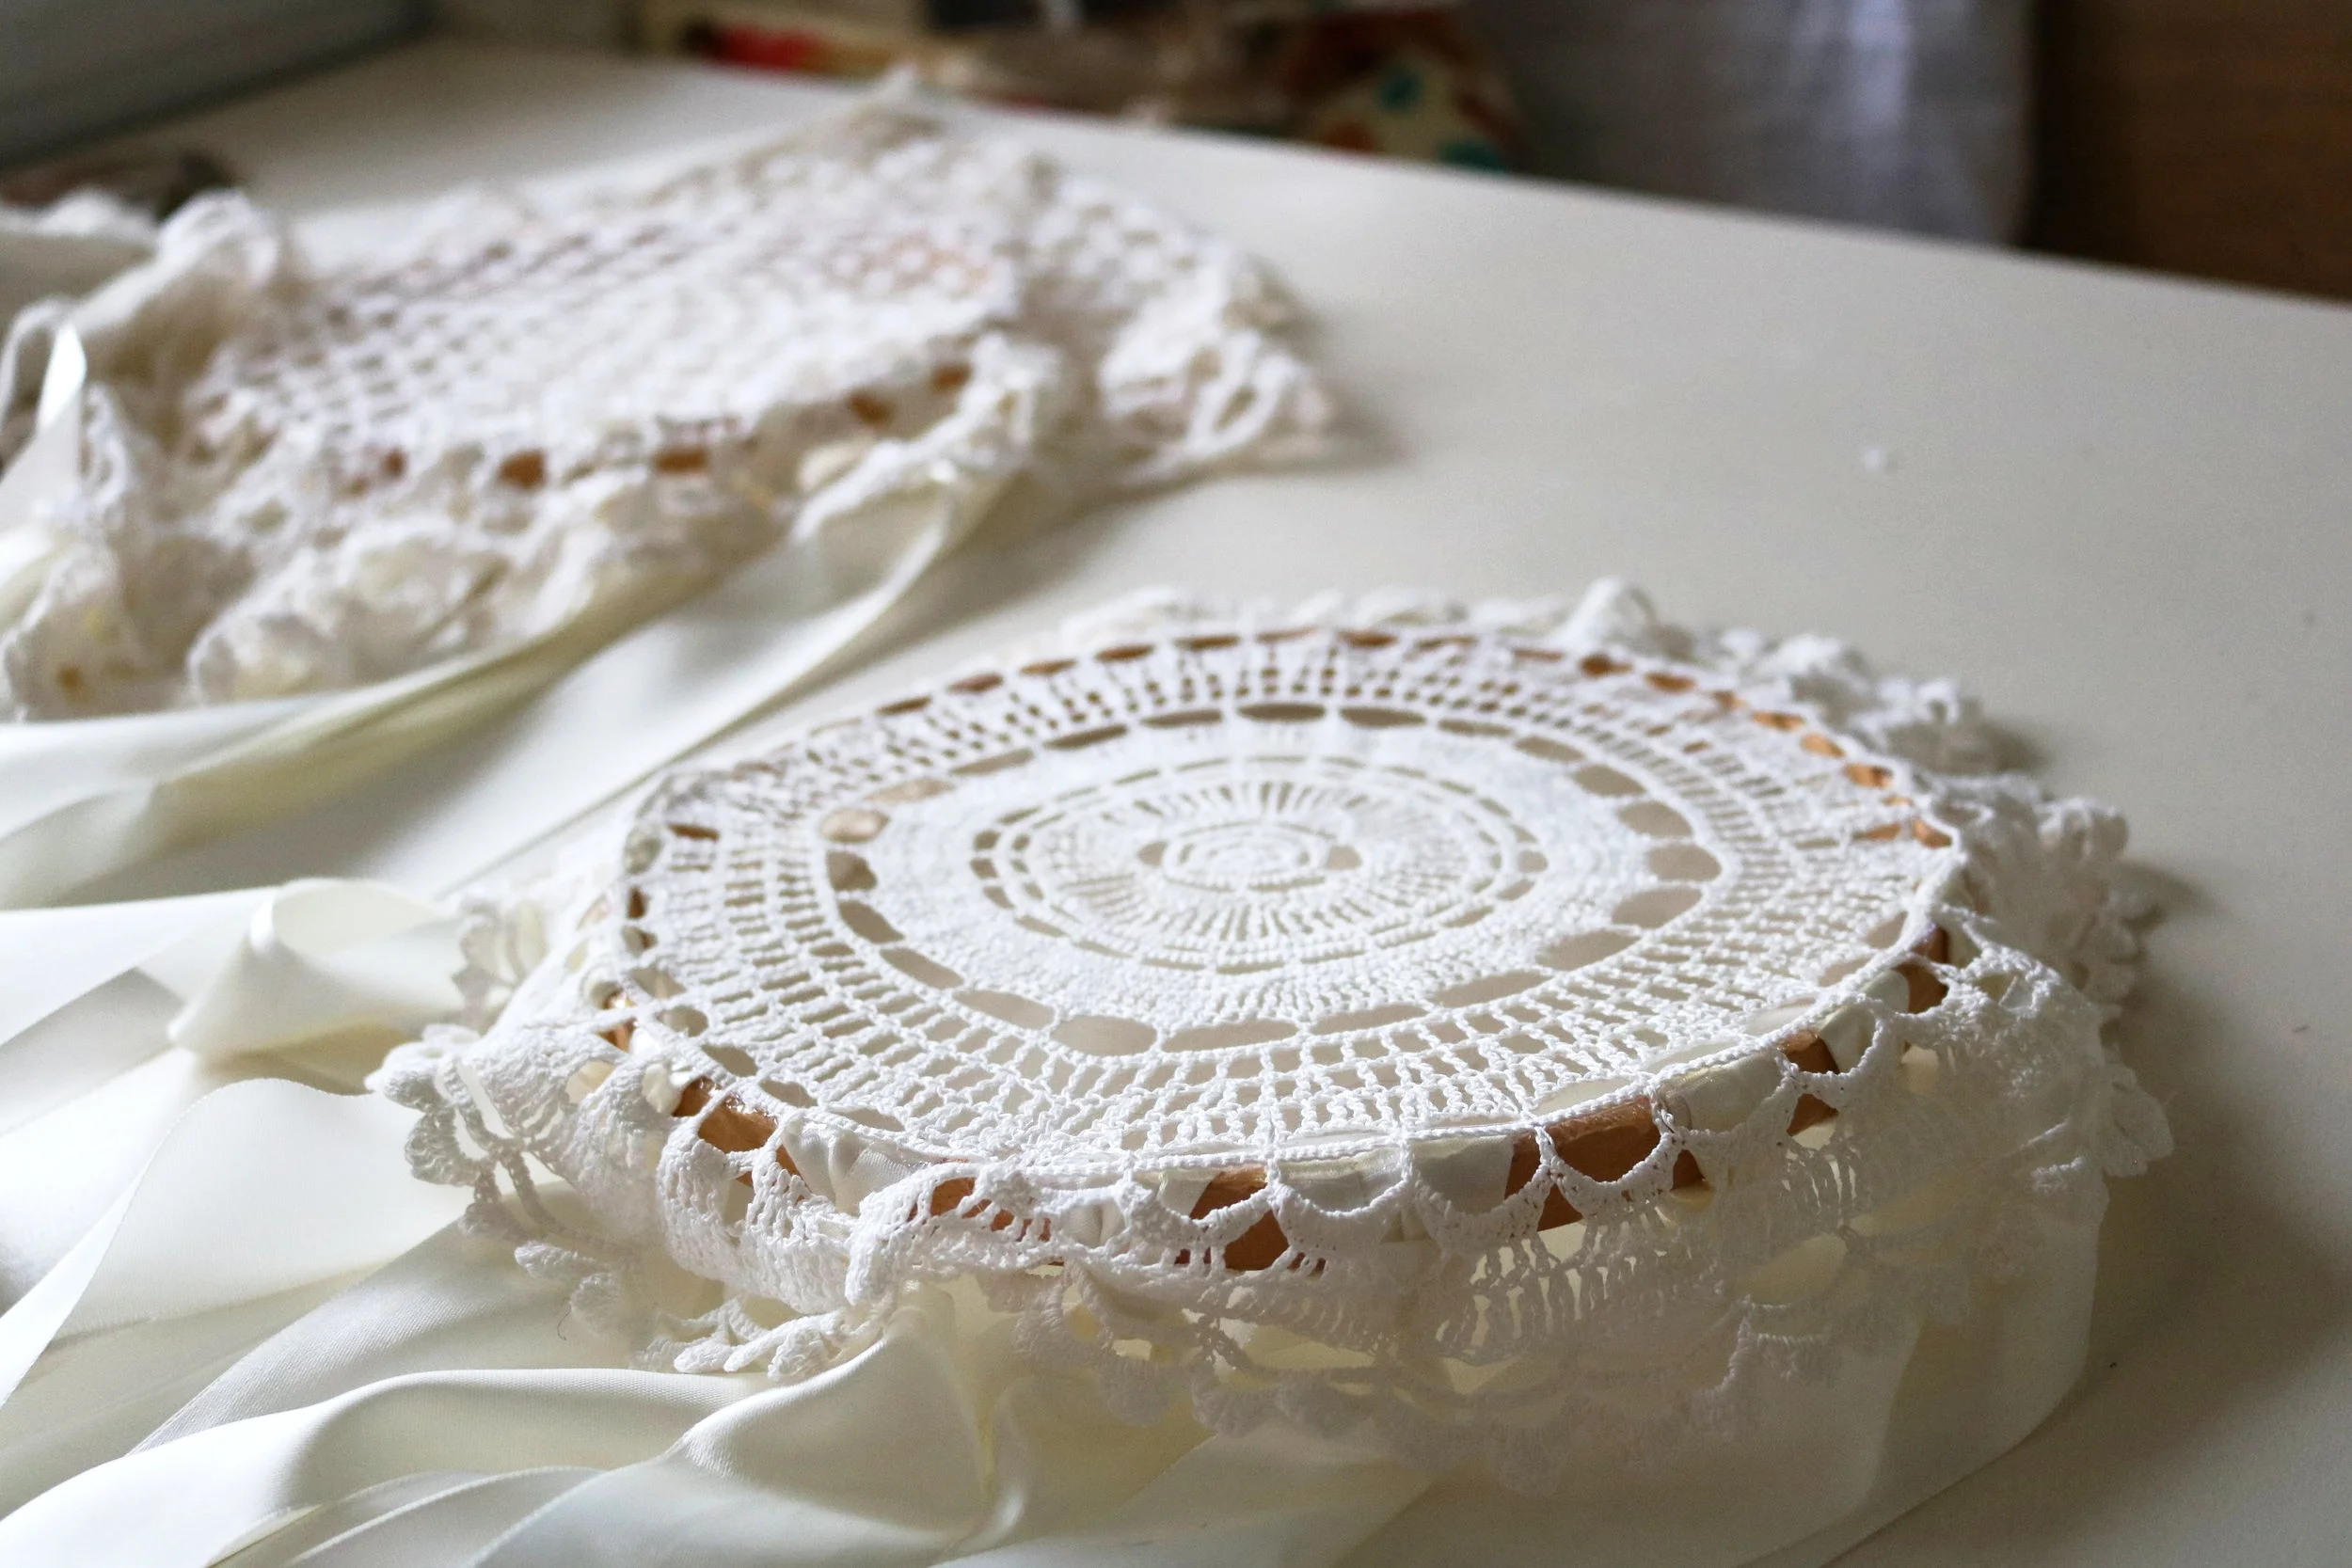
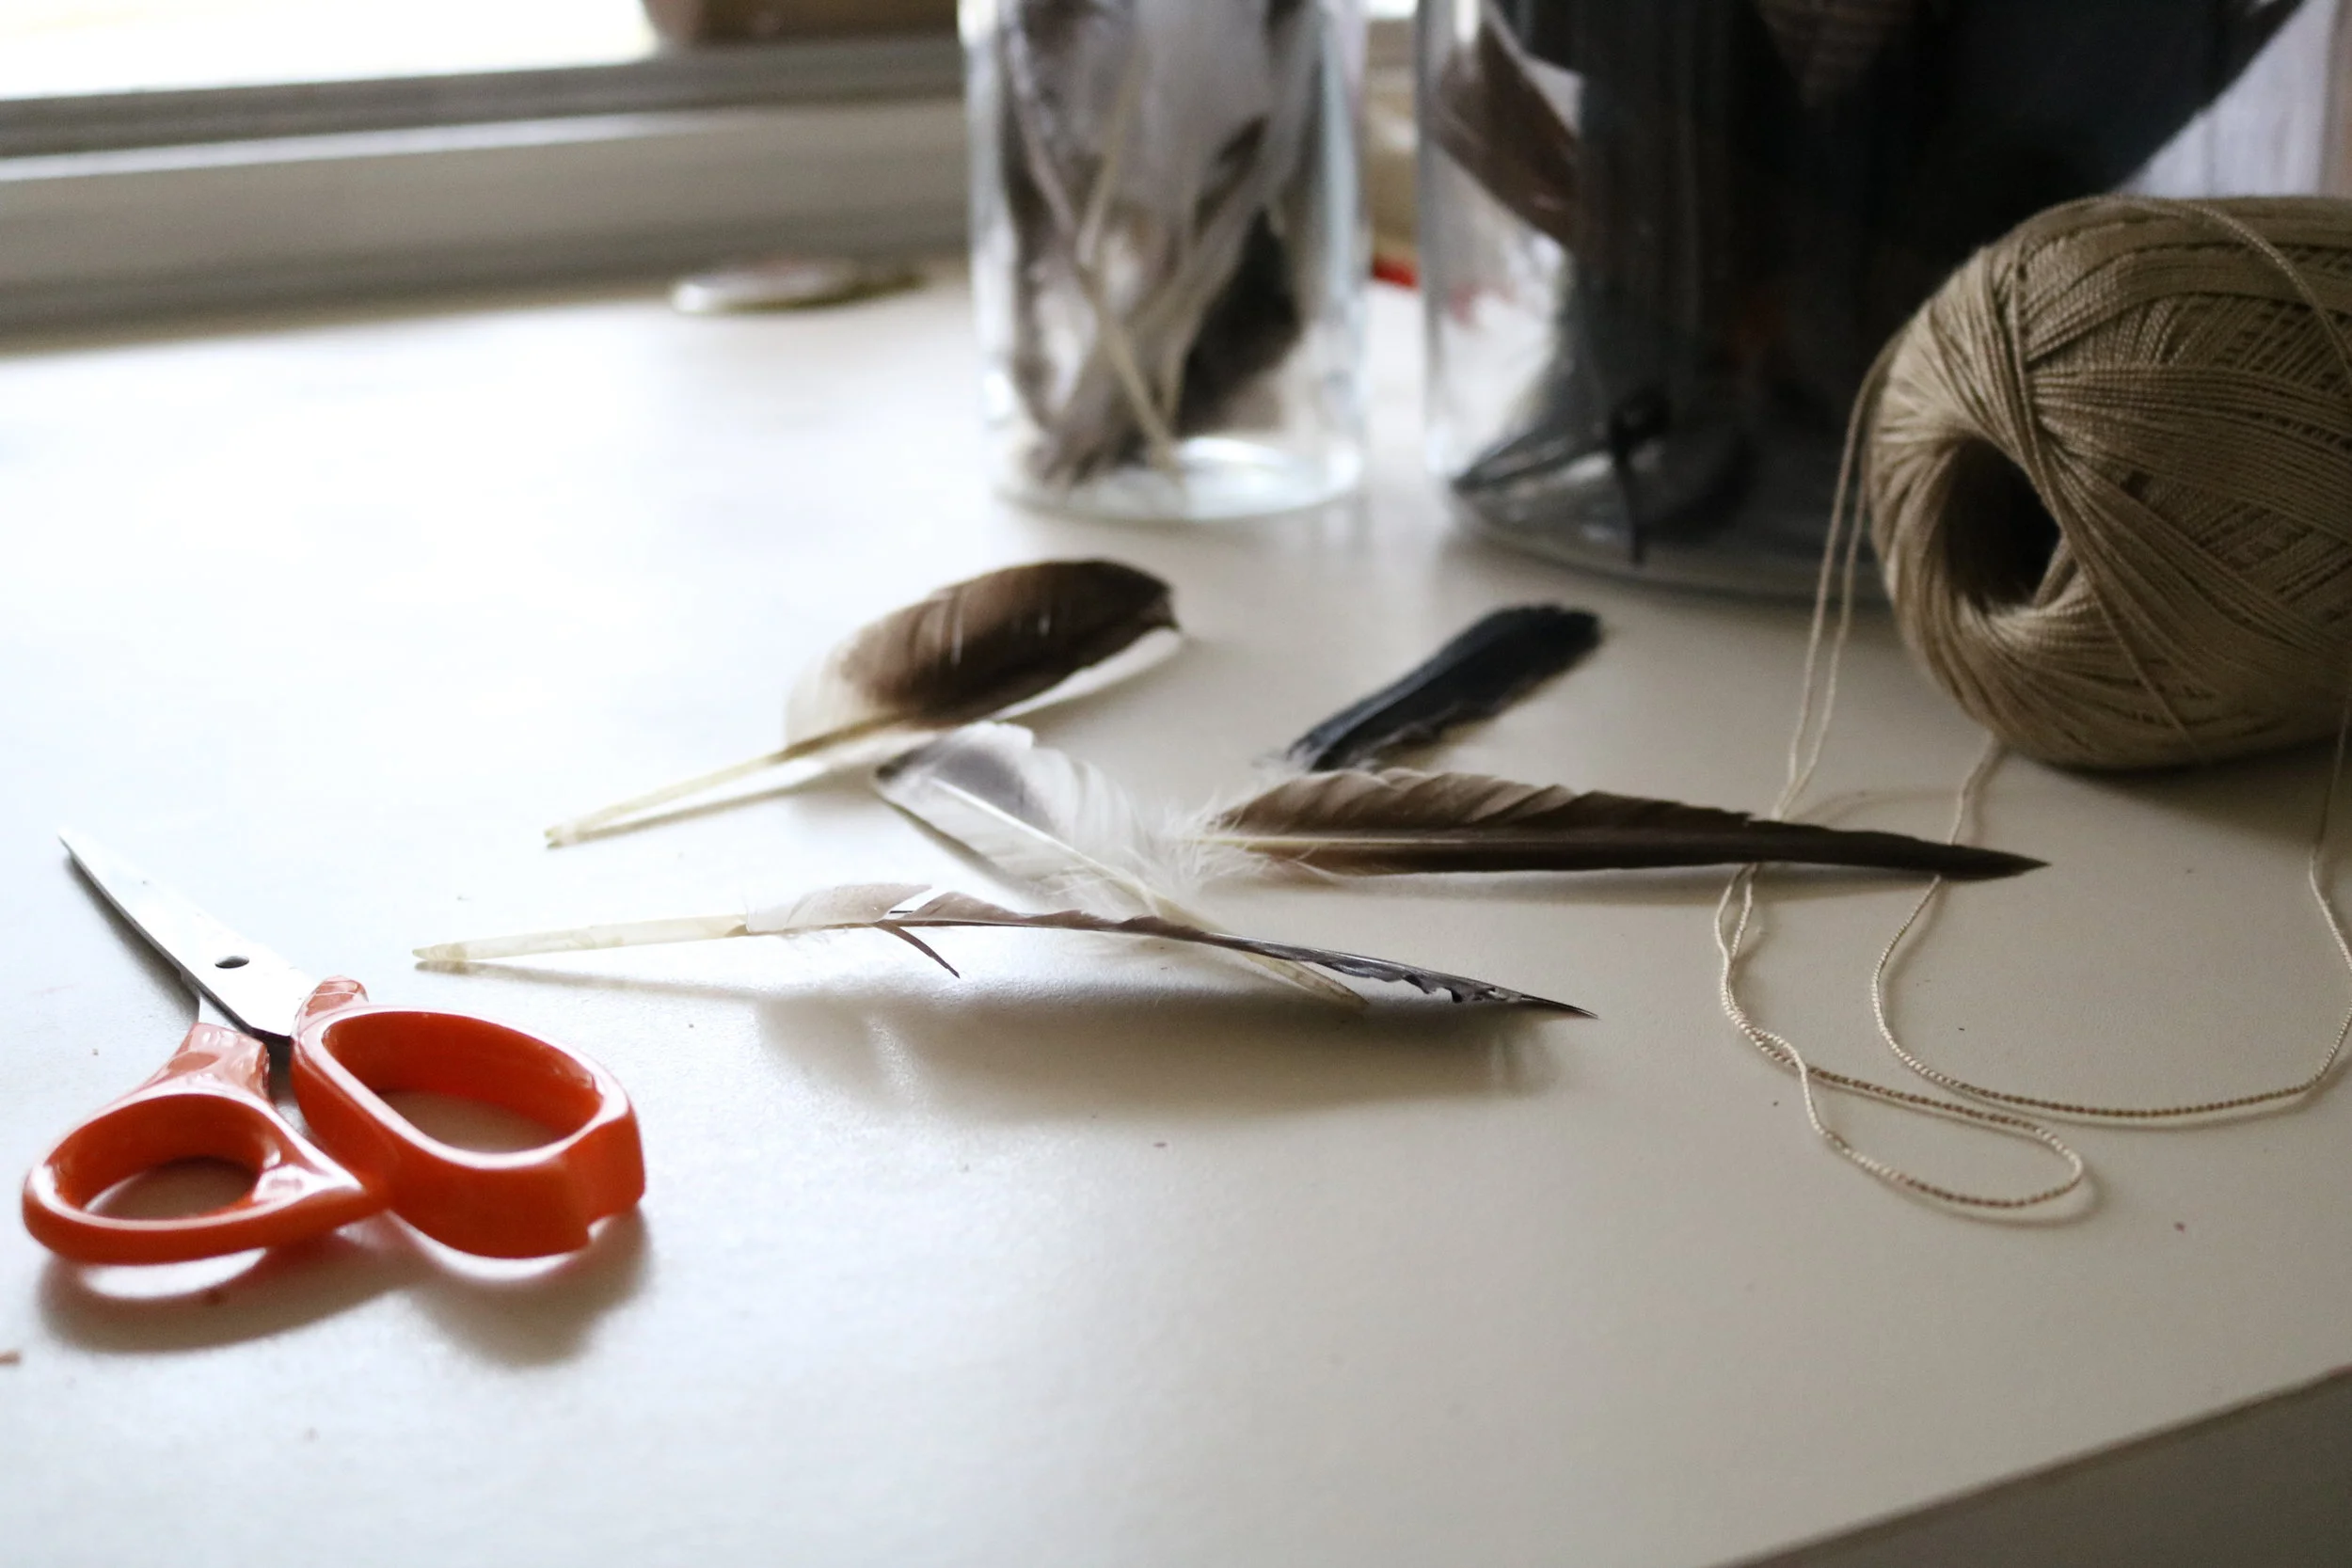
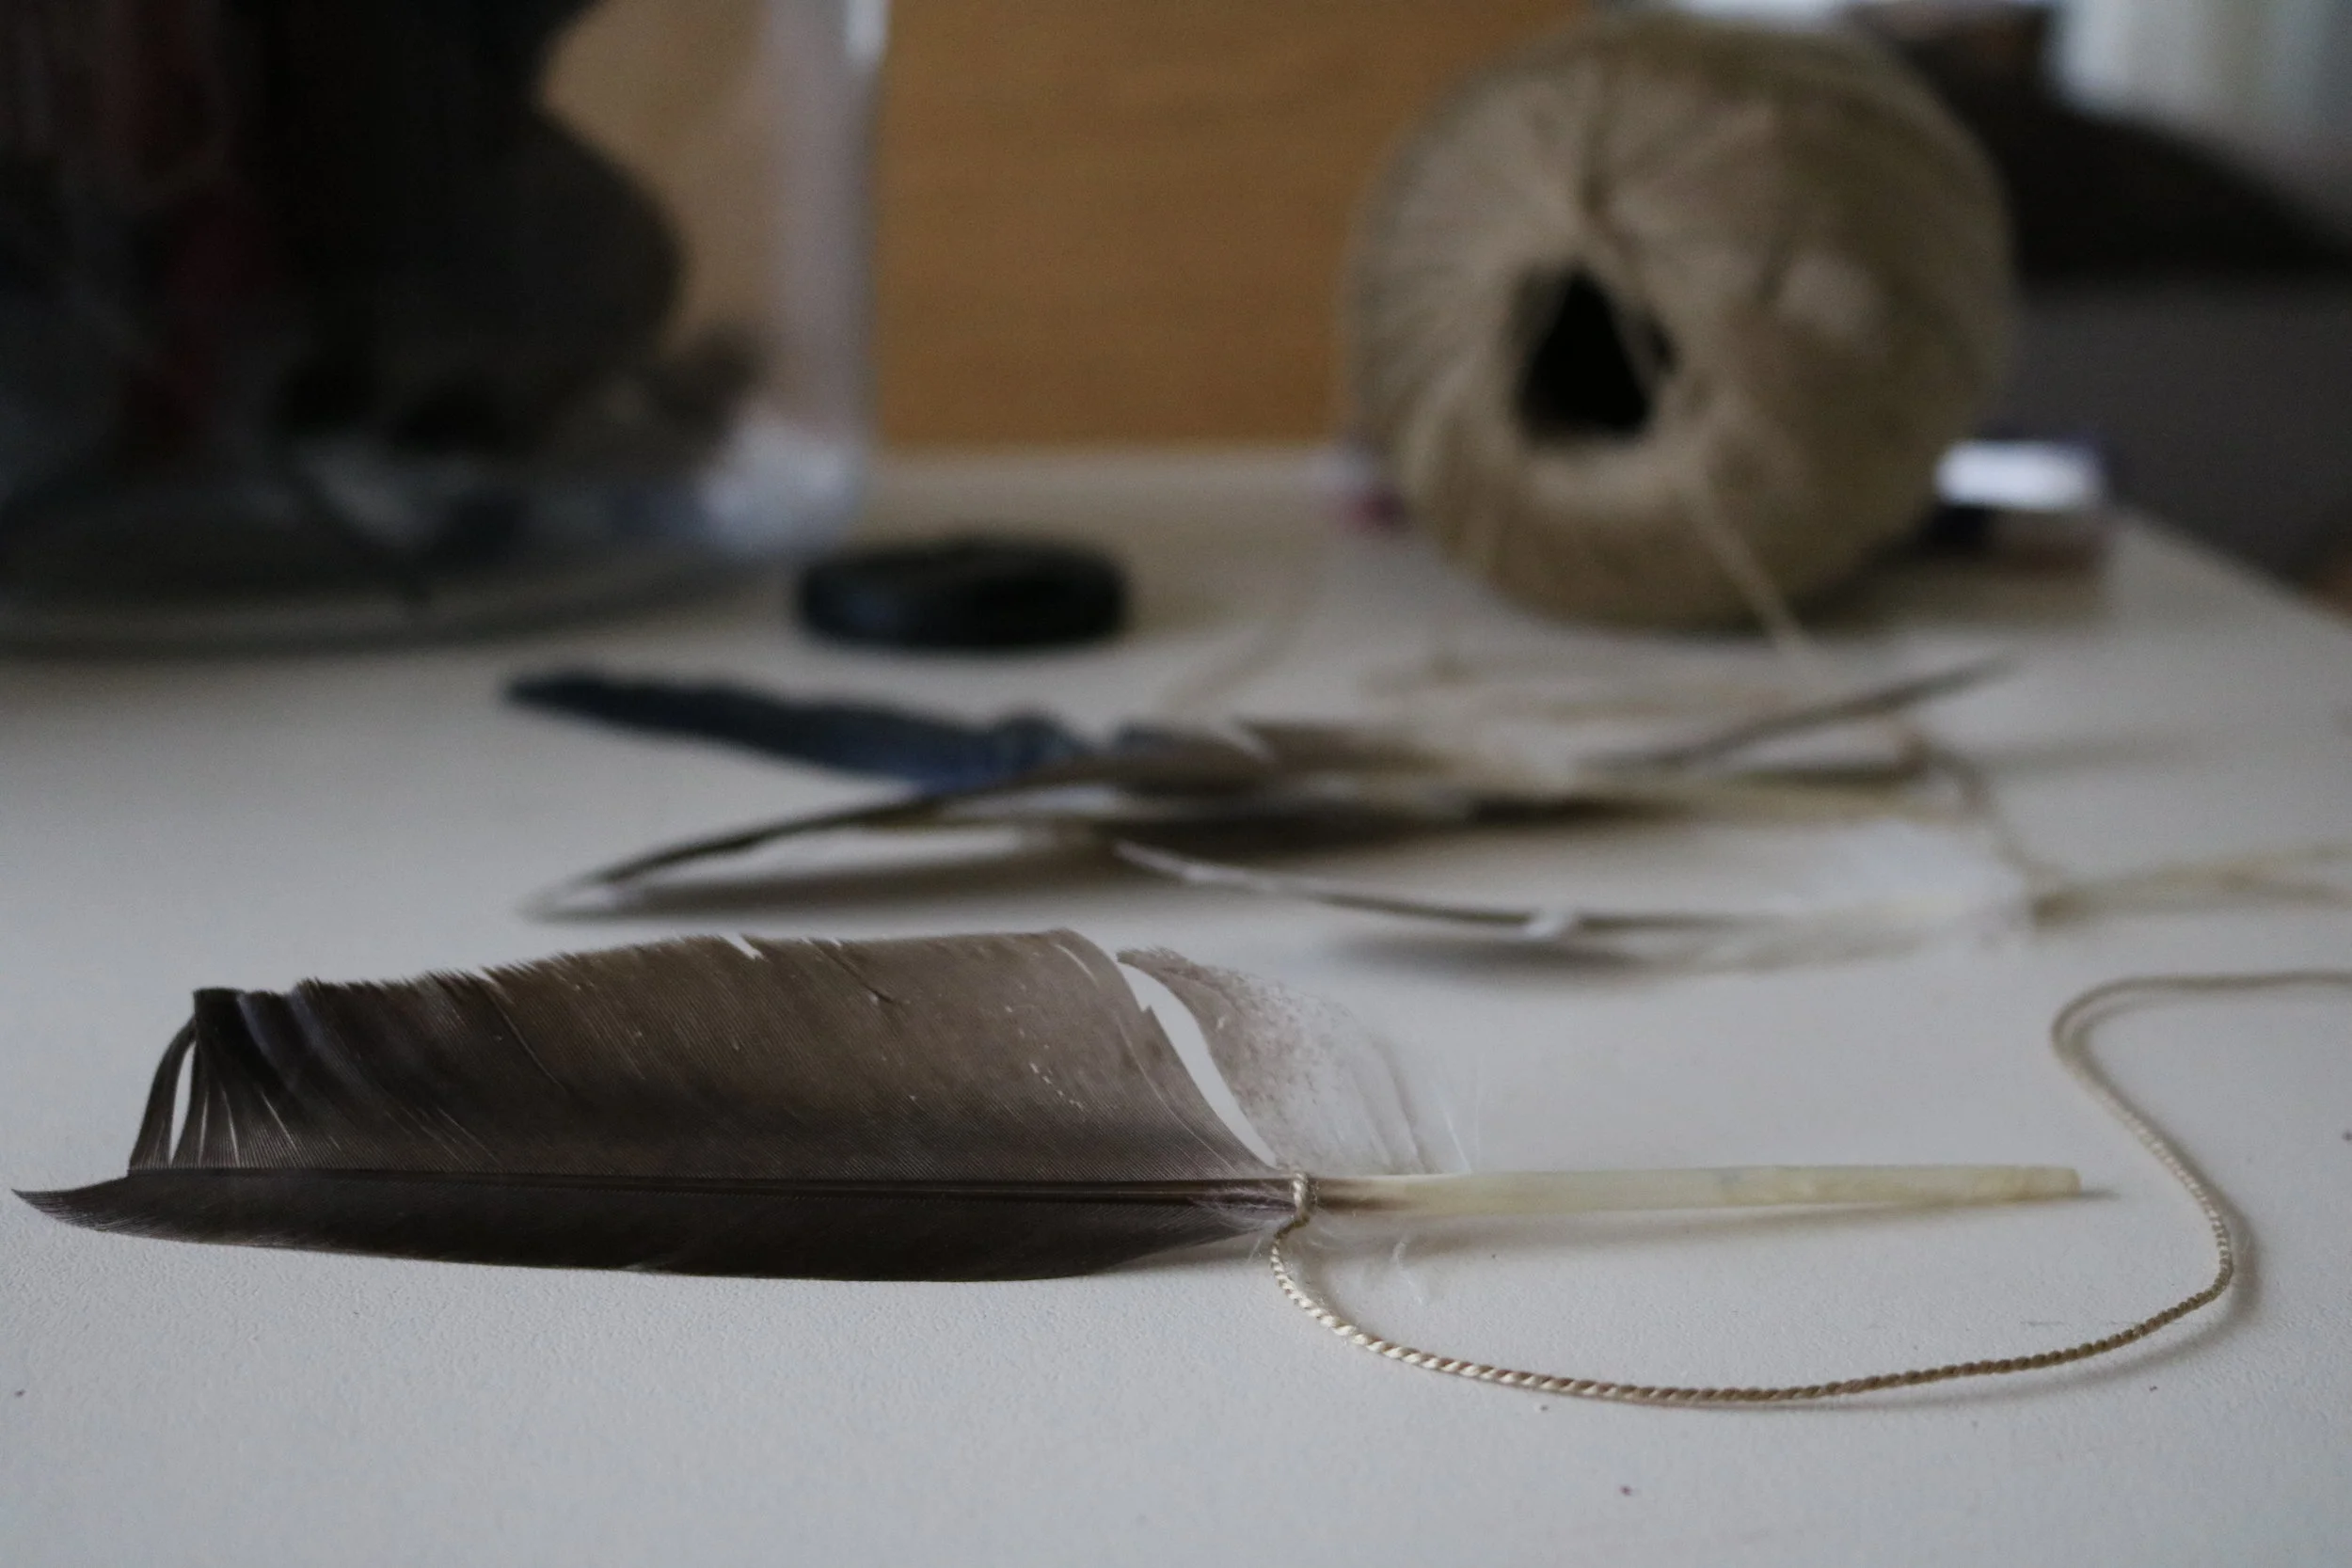
Step 3: Hanging and Optional Feathers
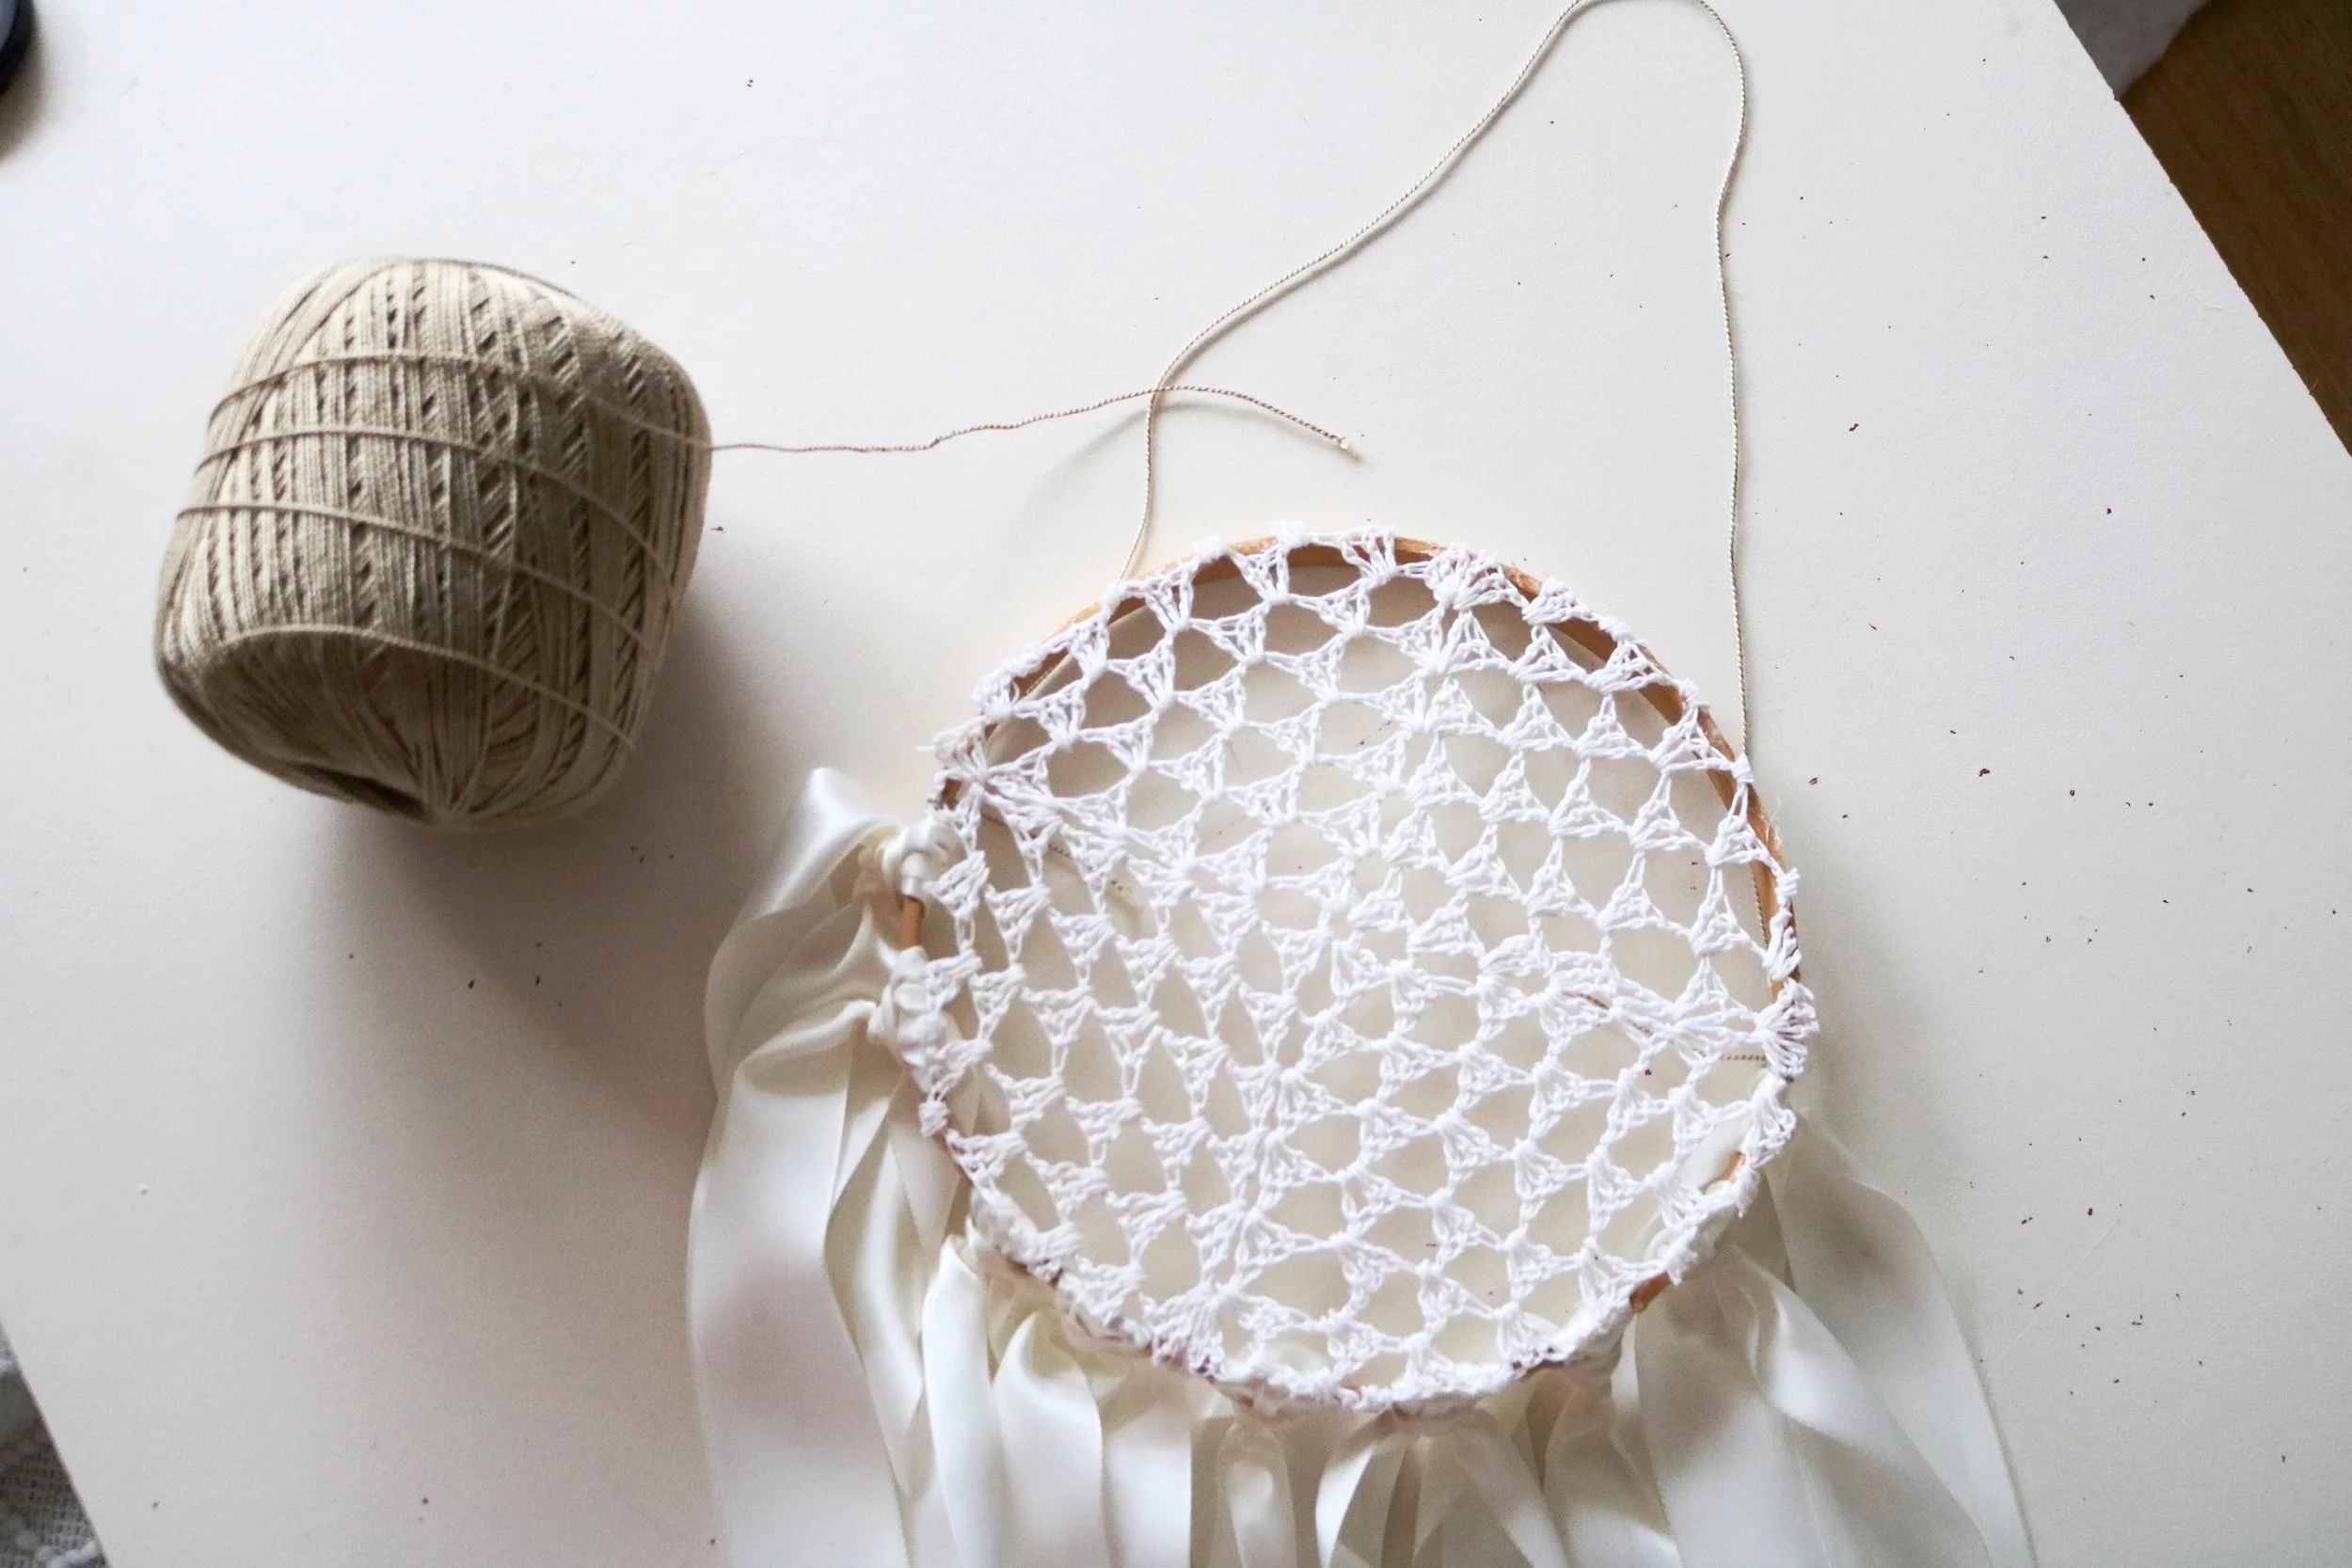
Lastly, I used my twine to create a loop to hang the dream-catchers. I used the same twine to tie feathers into a V shape to add some personal flare. You could also use lace, fabric, or beads to personalize your piece as well.
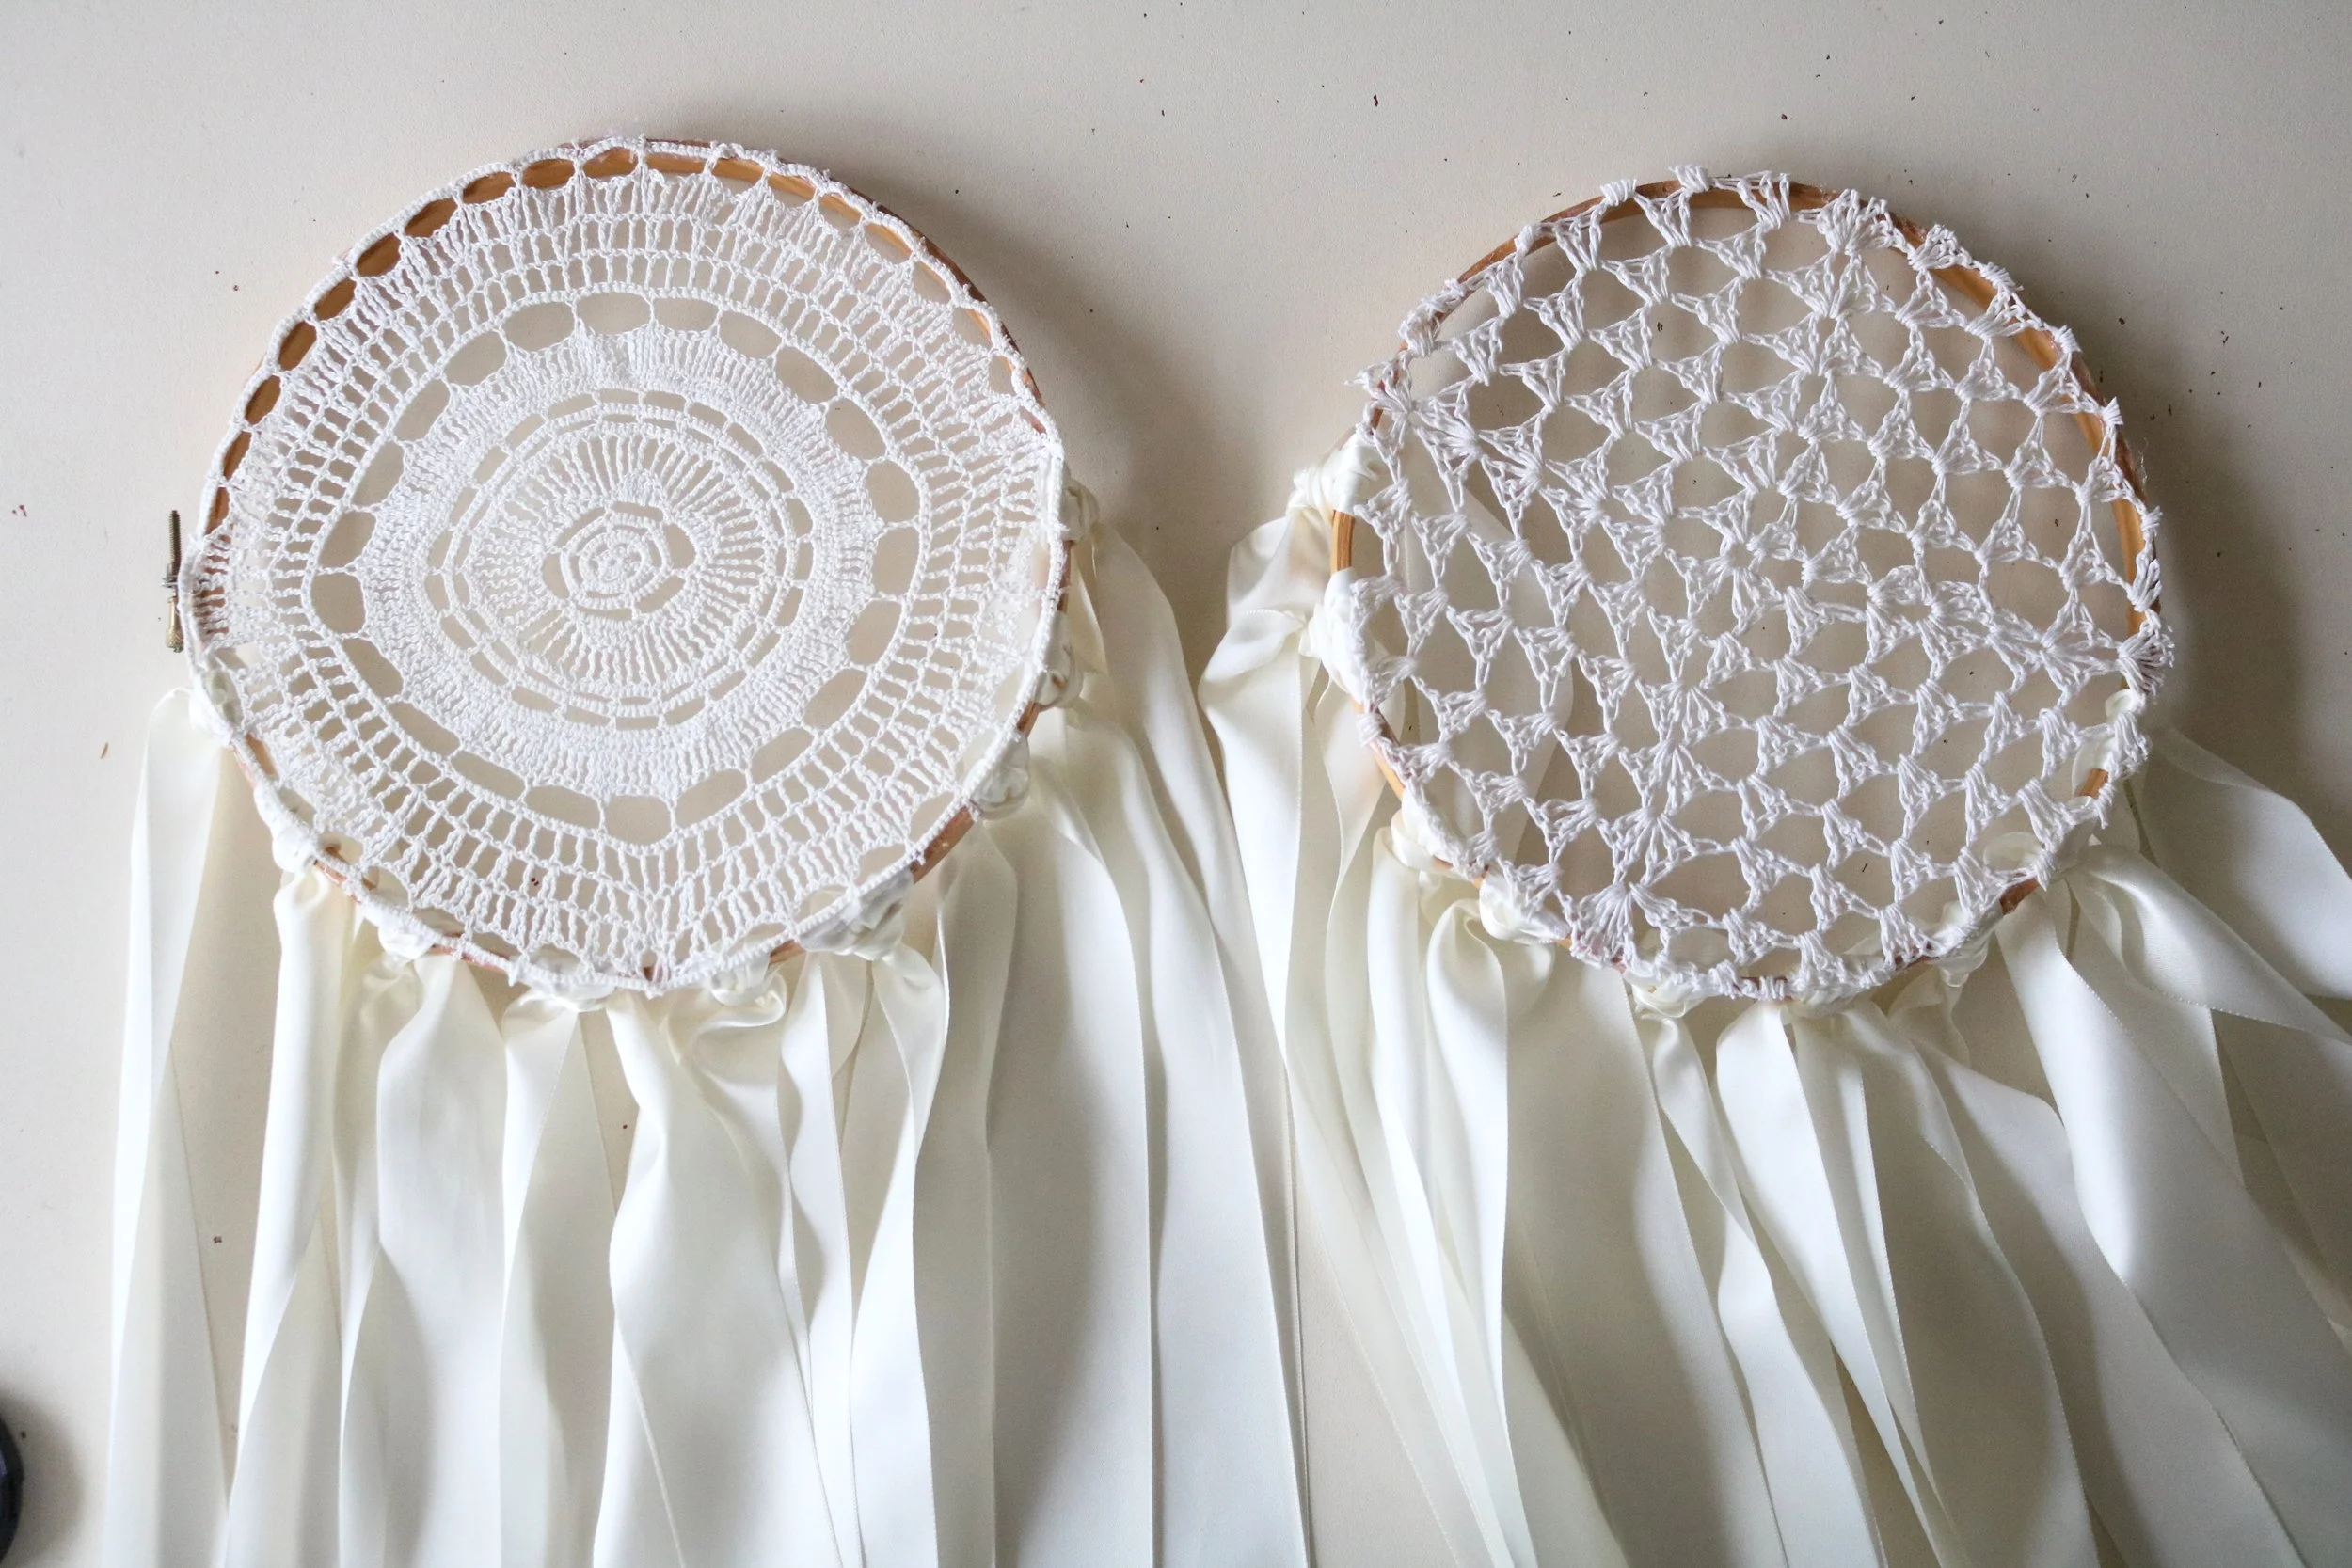
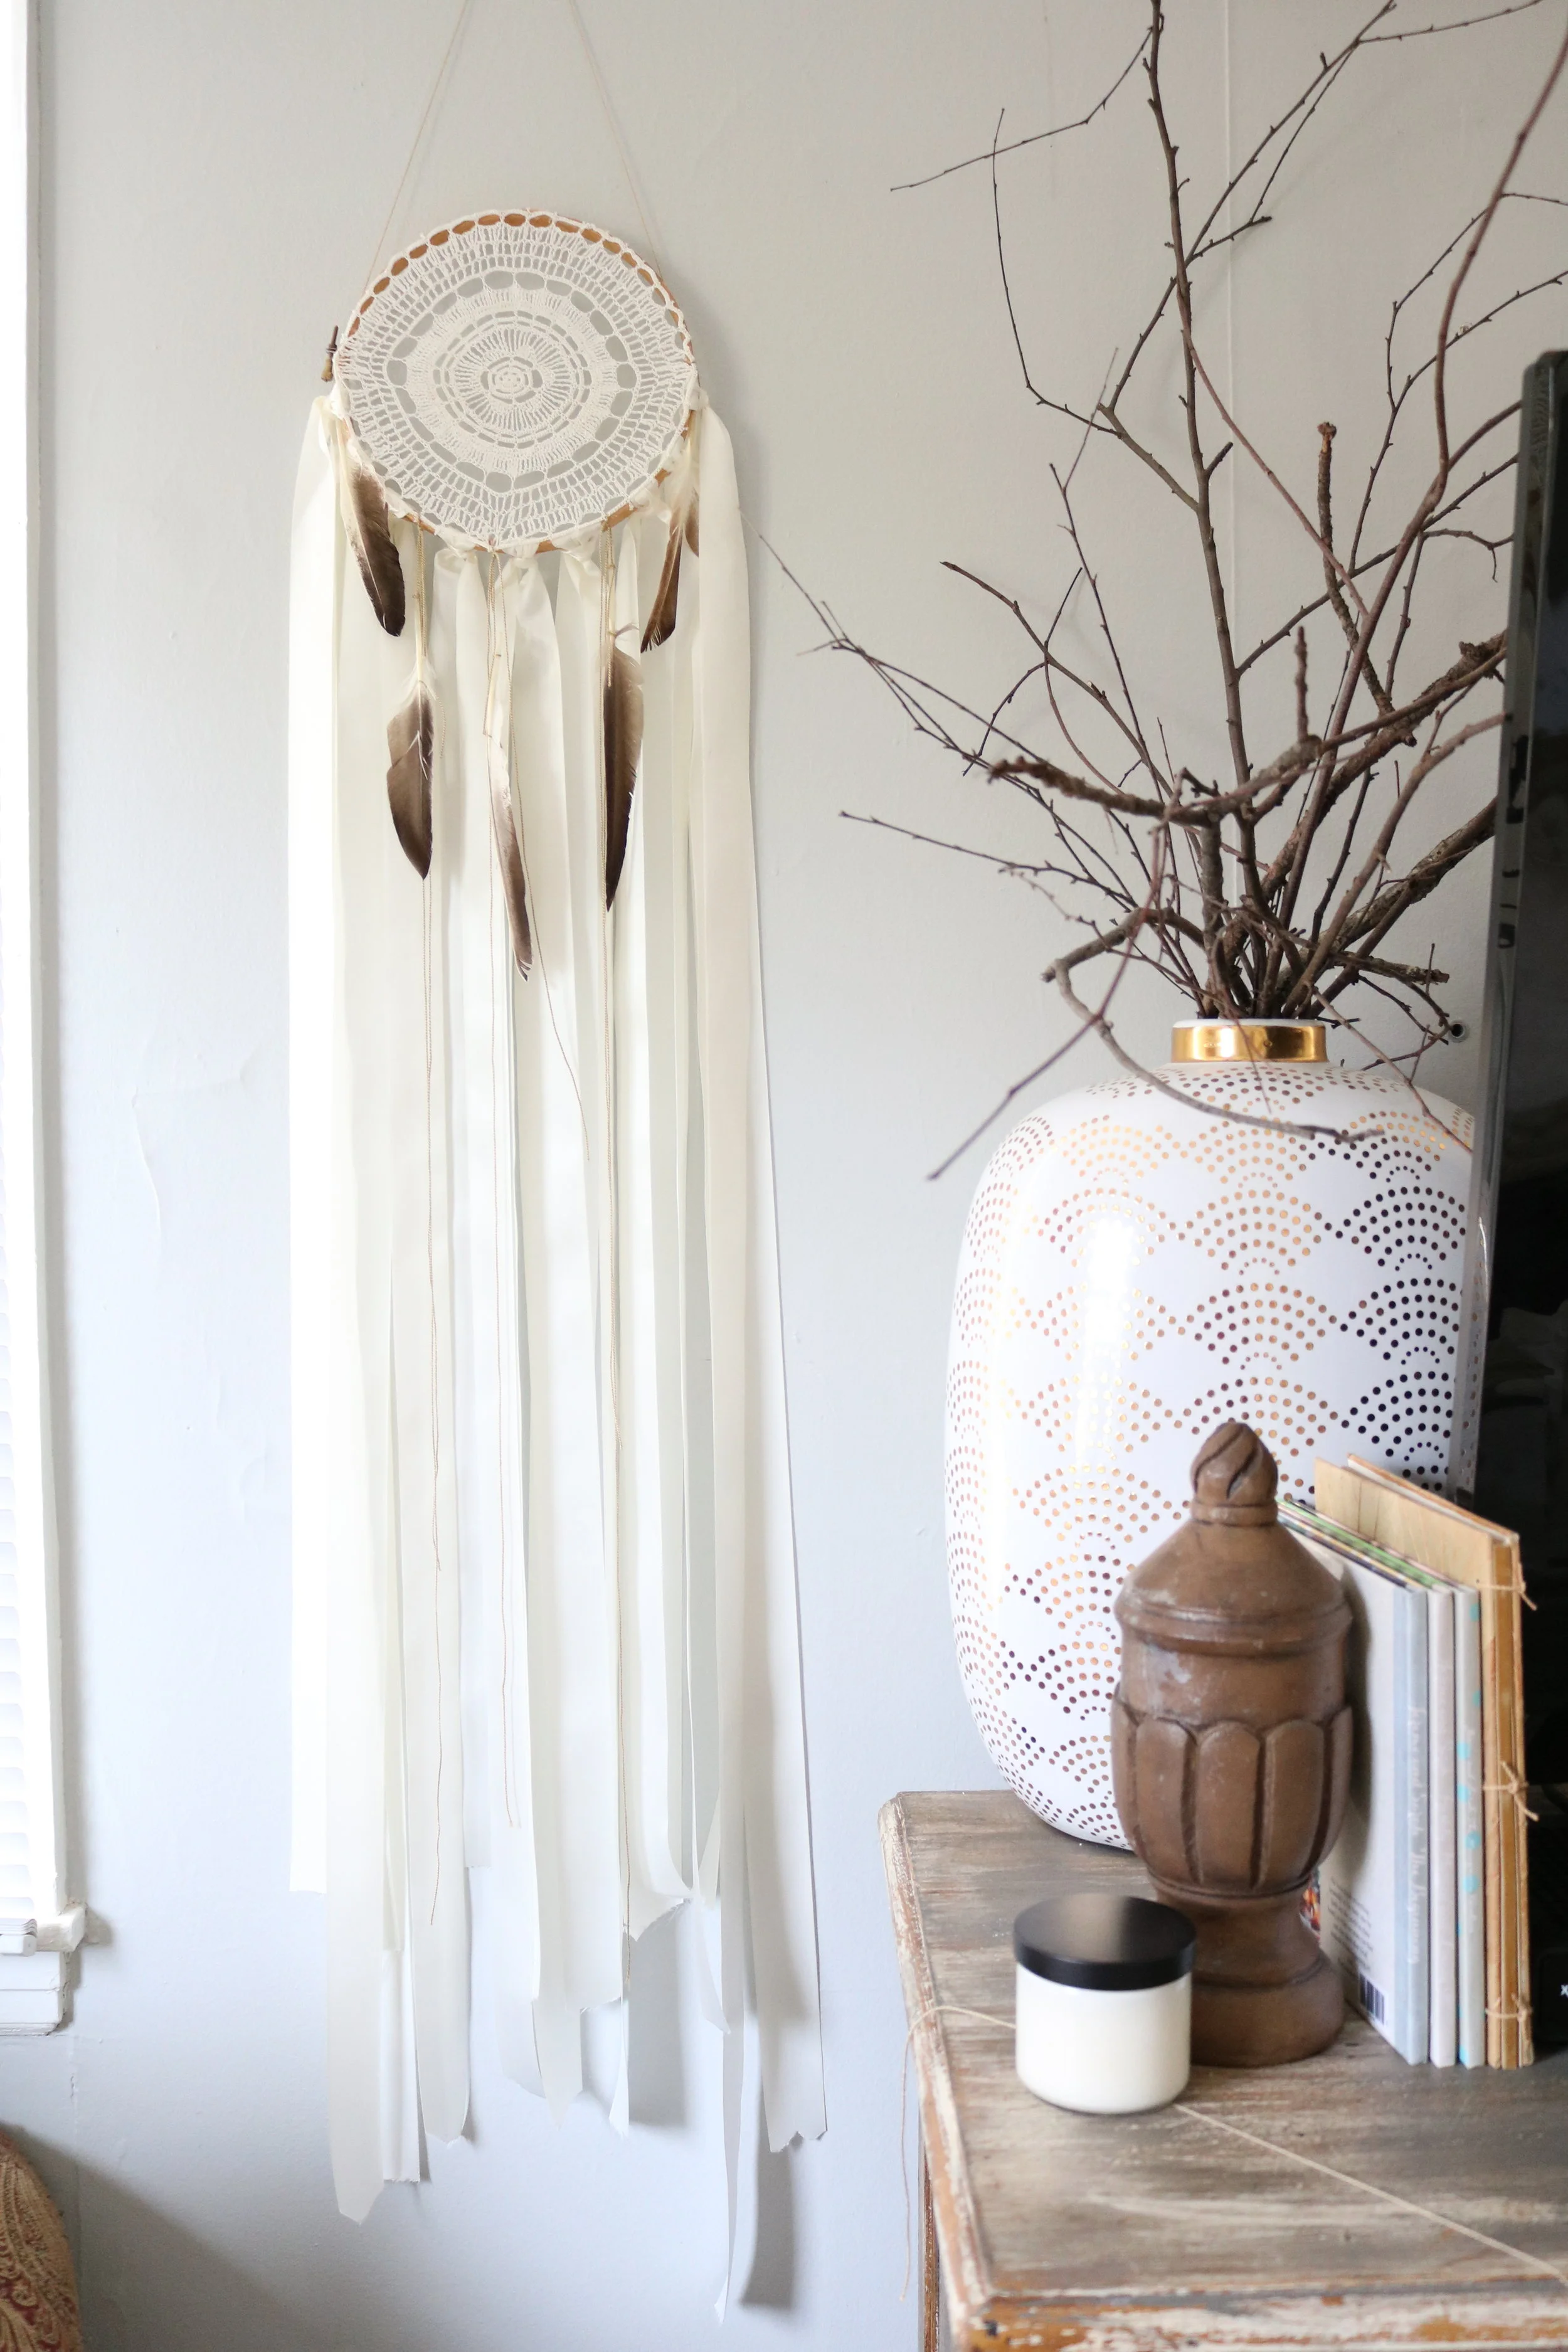
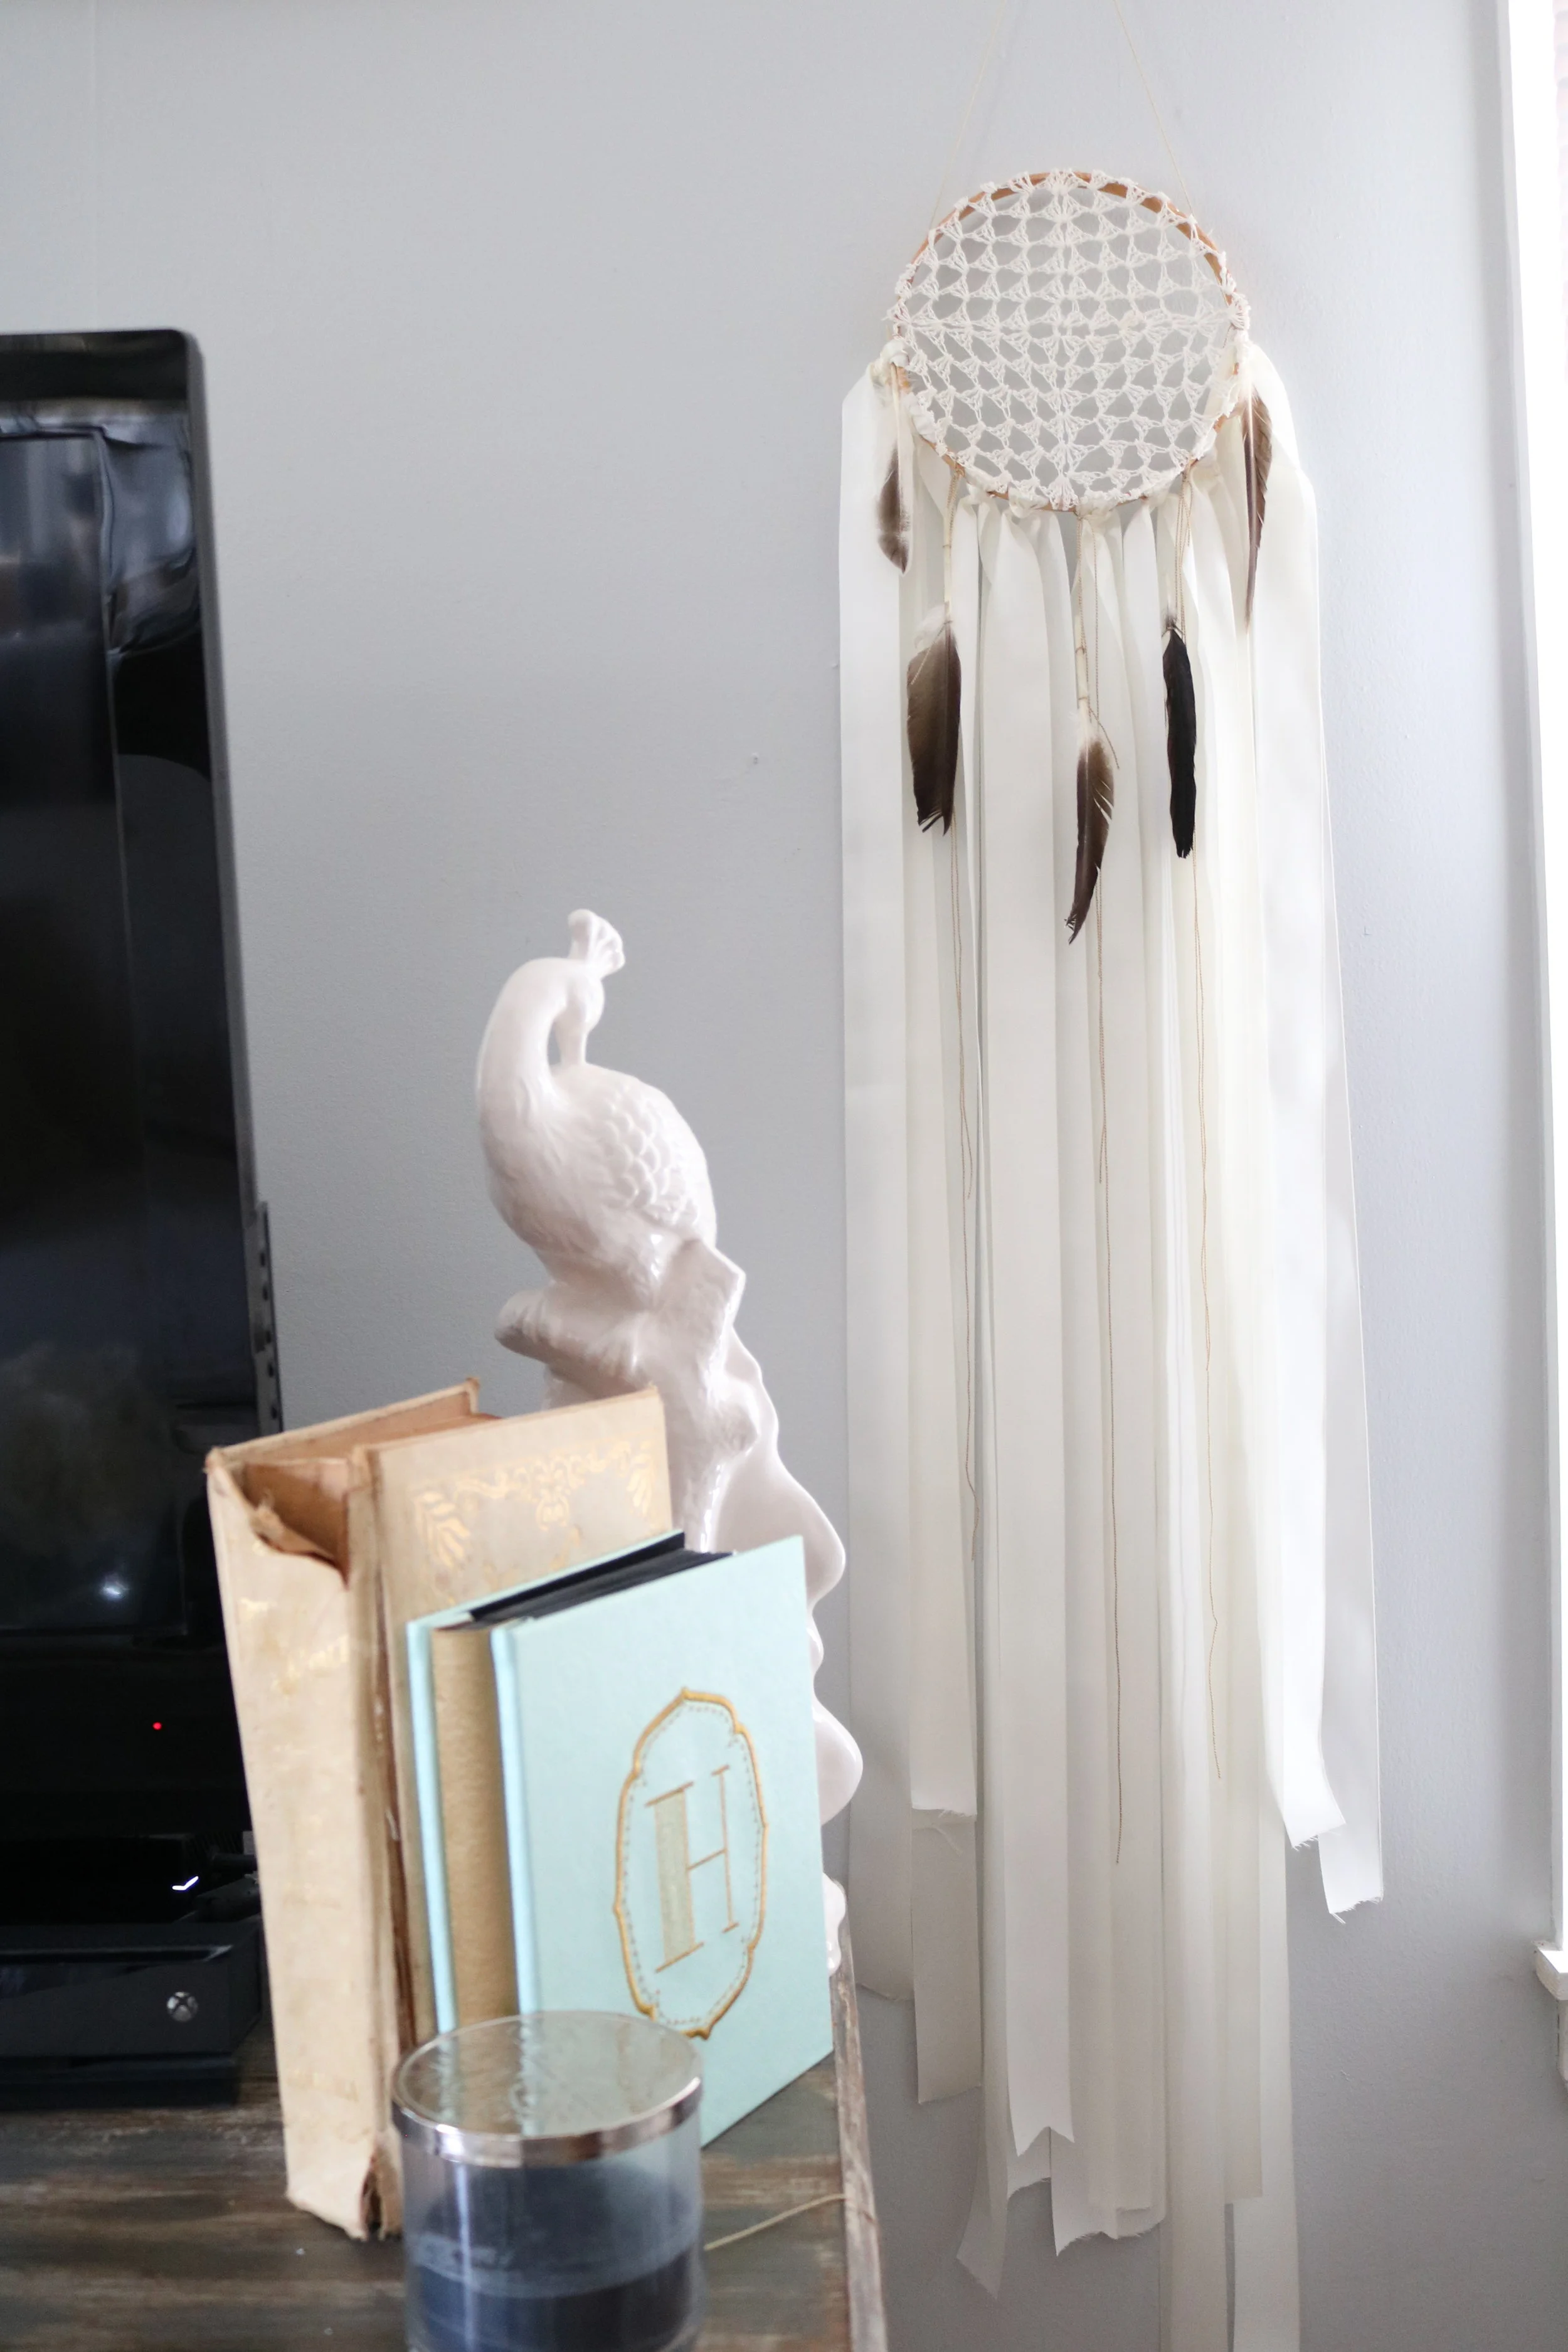
And there you have it, two complete boho dream-catchers. It is the easiest thing ever.
I hope you find this to be helpful. Please take pictures and tag me in them if you decide to try these at home. I would love to know that I was able to inspire you to try a new fun project. Thank you so much for stopping by.
Love Always,
Sarah.